Over Spring Break, better known as Masters’ week where I live, I decided to start working on my sewing room. Quick history: Hubby and I bought our house November 2011. We (I) decorated our bedroom and nursery since I was already a few months pregnant with baby girl. The third bedroom quickly became the “storage/whatever we don’t need right now/whatever baby girl has outgrown” room. We kept the door closed most of the time, and went on about our business. Last summer, I got the “I need to paint something” itch, and created the office Hubby had been desiring. That blog post is here.
Hubby was happy, I was happy. Good, right? Well, yes, at first. Making the curtains for the office awakened a sewing/crafting maniac that I did not know was hiding inside of me. I began churning out skirts, scarves, and wreaths. Hubby’s computer-programming room had become an office for two. We dealt with cohabiting the space, but my craft materials quickly began to outgrow the office. I knew that I was going to have to do something about the space issue, but the idea of tackling the neglected room was very daunting.
Fast forward to March, when we finally got the “storage” room cleared out. I picked out fabric from my trusty favorite, Carousel Designs, that matched my DeniseMay Creations logo. I then went to Lowe’s and picked out a matching gray (I’ve been looking for a reason to paint some walls gray) color in Olympic One (eggshell finish). The rest is (soon to be) history.

This is the view from the door. That ceiling fan up there? This lady installed it! As I mentioned in the past, the previous homeowner took all lighting fixtures when they moved out. We usually just kept a lamp hooked up for light, but for sewing, lots of light is needed. You can also see the rocker that was previously kept in baby girl’s room. I don’t use it much, but baby girl and Hubby like to sit in it sometimes while I’m working. Okay, now a quick run-down of the different areas of my room. My sewing desk came from Walmart.com. It was super inexpensive, and is super functional. It stores all three of my machines. Pictured here are my Singer sewing and Brother embroidery machines. Inside the side cabinet is where I store my Singer serger.  Next is my Closetmaid cubeicals organizer. I literally have one of these in just about every room in different sizes. I use one as a shoe rack in our foyer, there is one in our entertainment room, two in the office, one in the living room, one in my daughter’s room, one in the Master closet, and one in the Master bath. They are relatively inexpensive and can be customized for whatever your needs may be. For this room, I bought the largest one in the house because I know I have a ton of odds and ends to keep up with (cloth, thread, shipping supplies, paint, etc). We either purchase ours from Target or Walmart. I have also seen them at Lowe’s.
 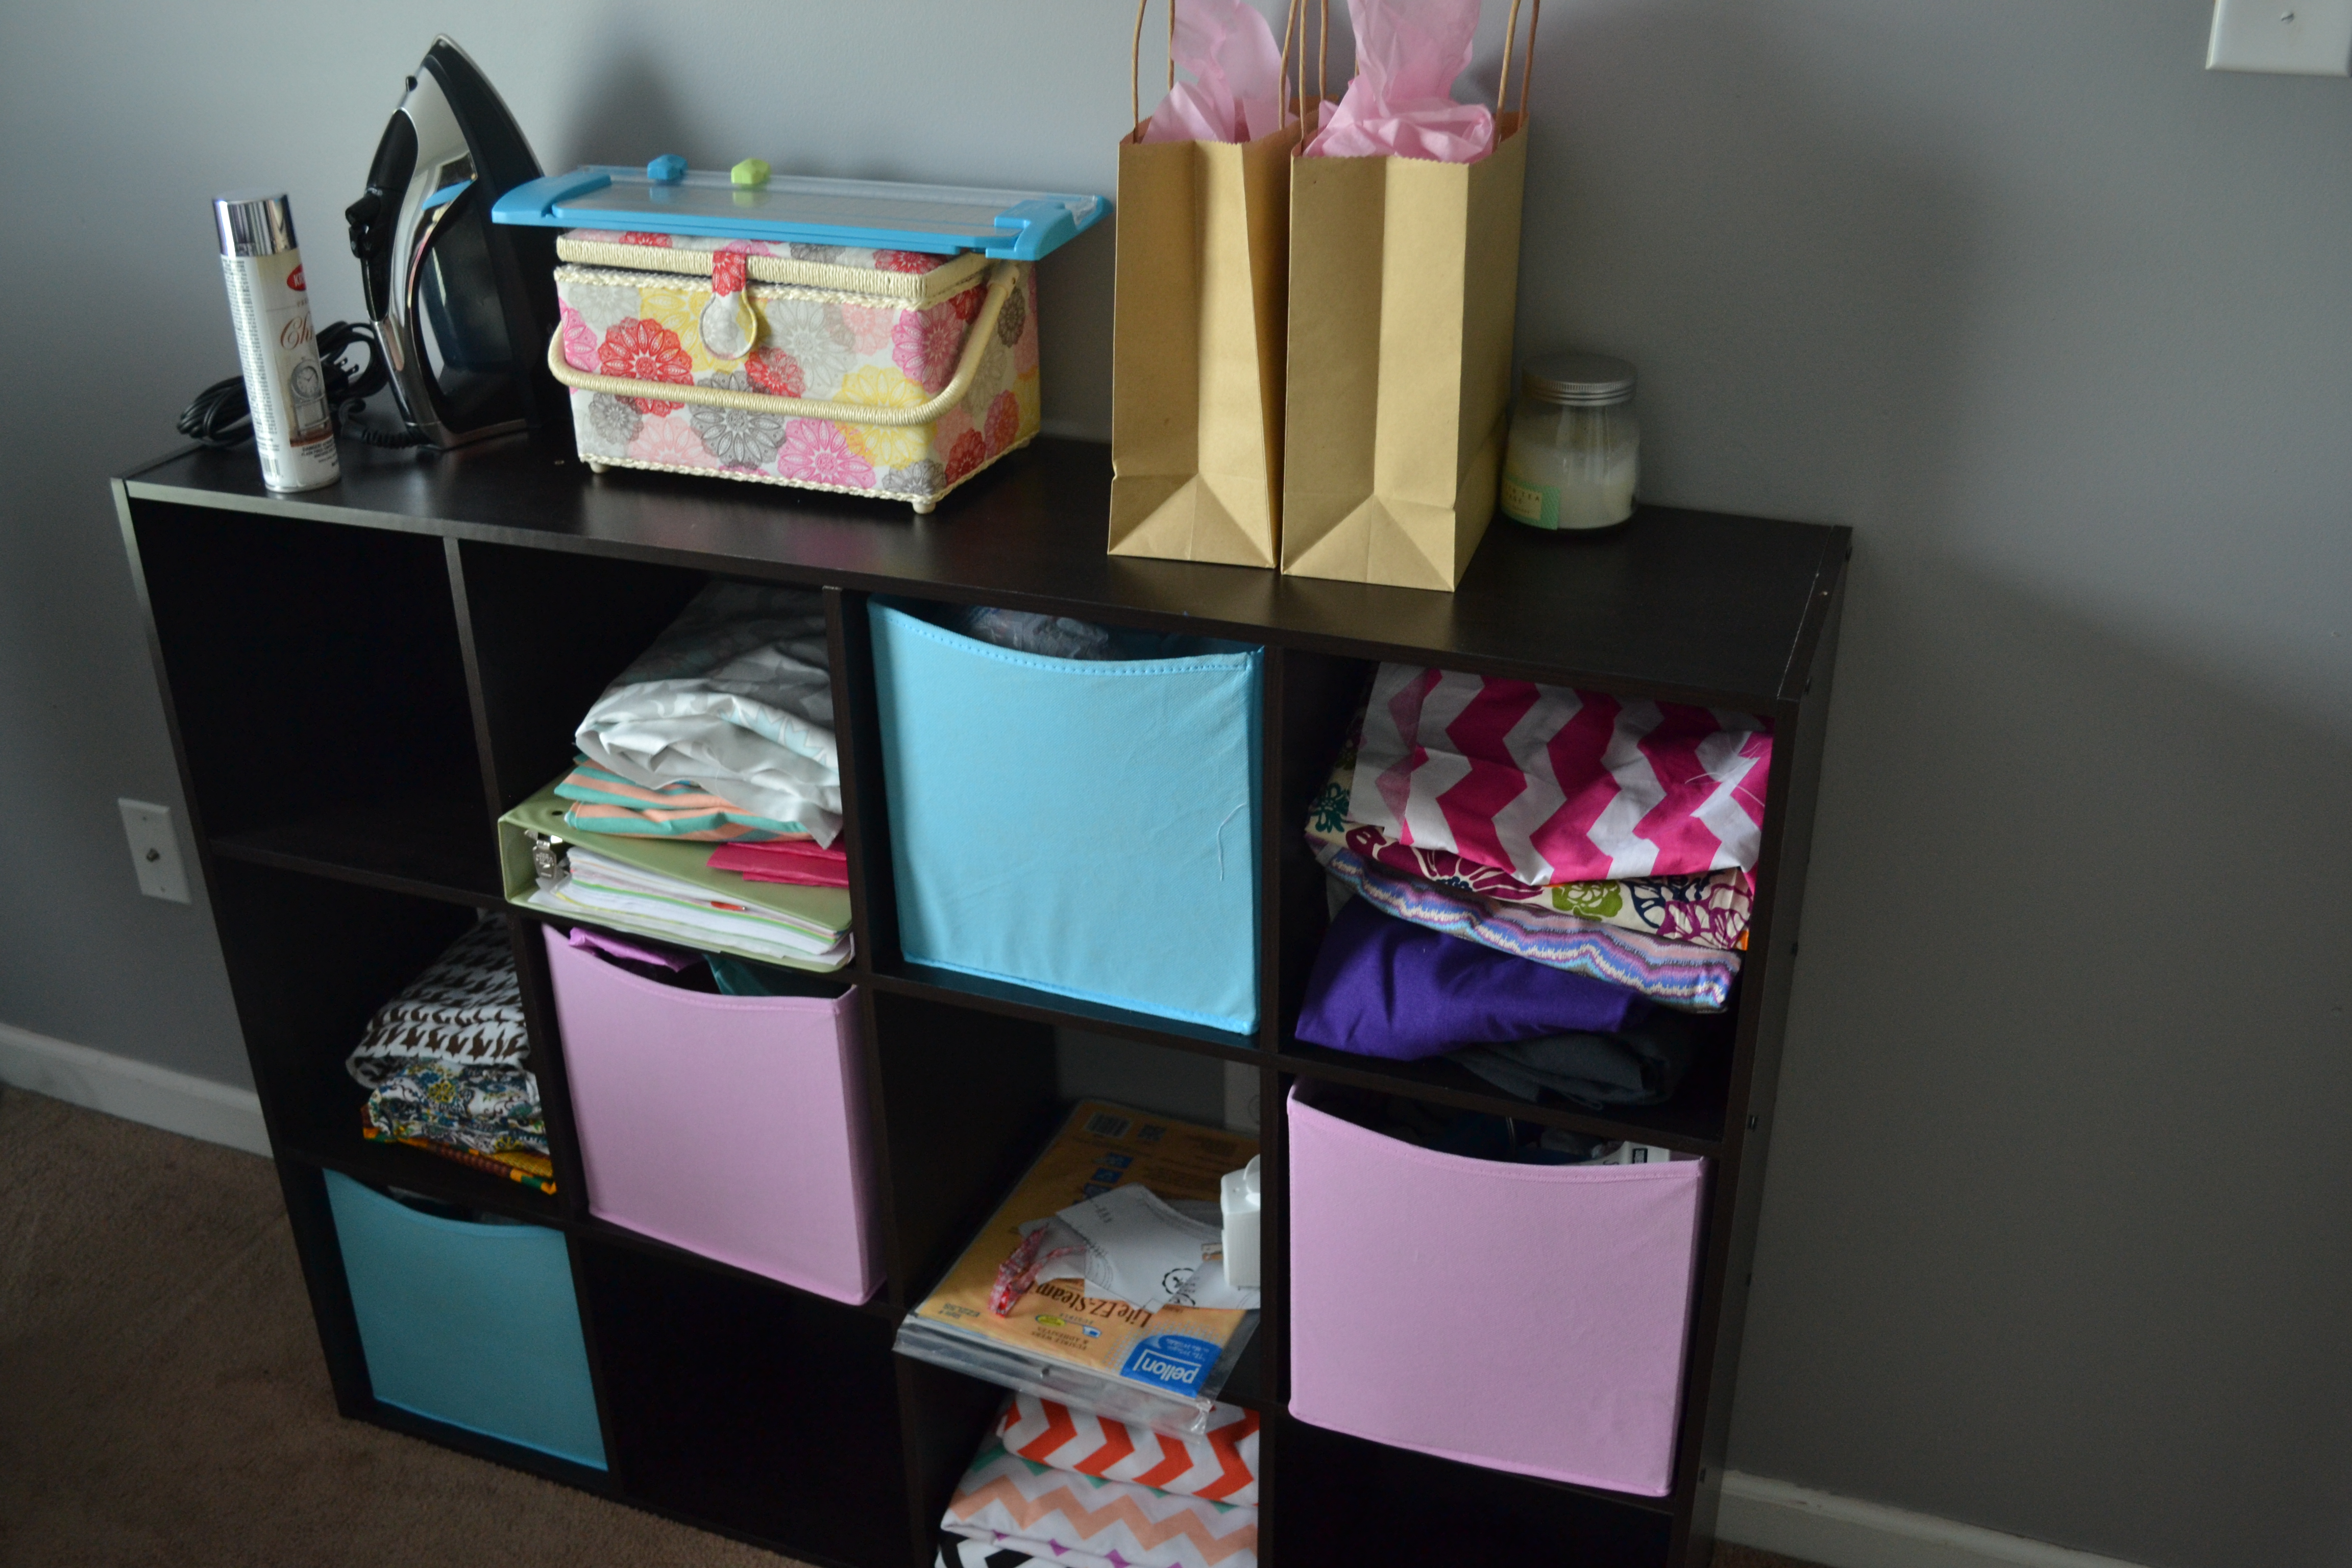 I was going to stage the organizer and make it look pretty for the picture, but I wanted to be real with y’all. It’s a work room, and therefore, looks worked in. 😉 Next is a different view of the desk. You see a hanging plastic mannequin my parents had leftover. Also hanging on the wall is a huge board I found at Hobby Lobby for a steal (with a coupon)! I can’t find the exact one, but here is one that is about the same size. Mine has a wood trim, and I don’t think it’s magnetic. I covered the edges of the white area with painter’s tape and painted the wood a pretty blue to match my logo. I use it to list the open orders I have, as well as any business-related tasks I need to care of. Having it in plain view helps a TON.
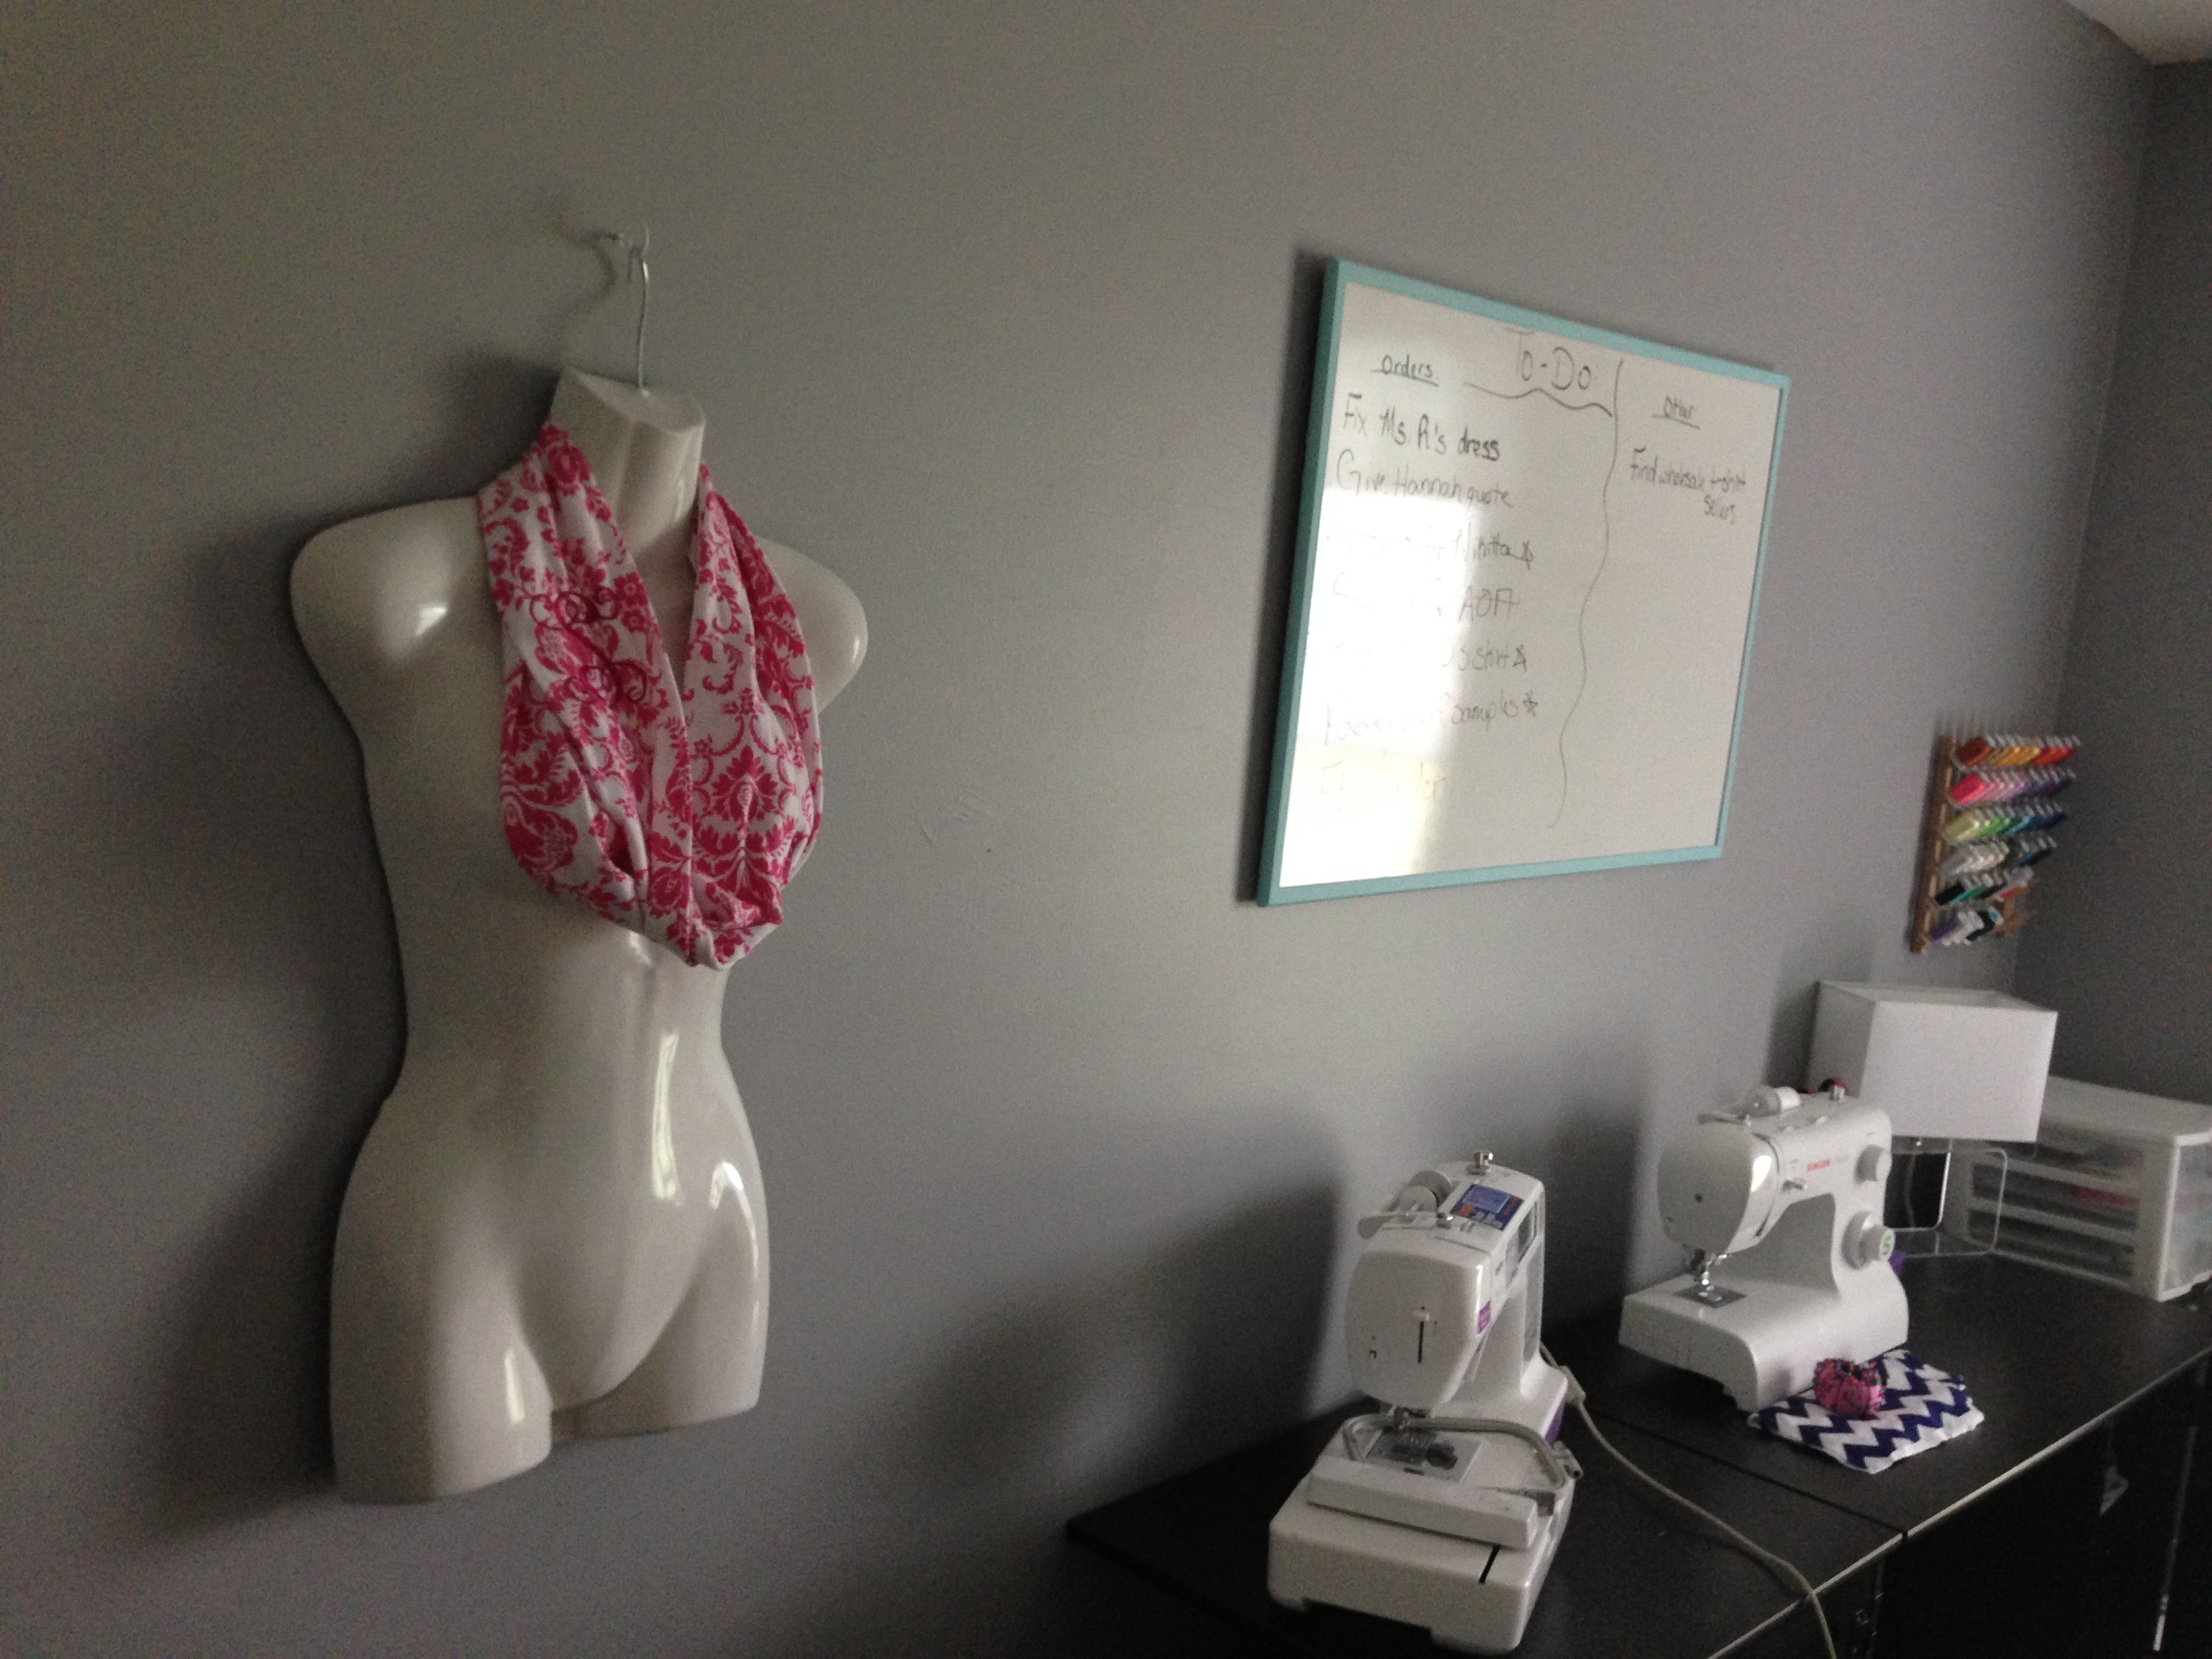
 Above is a picture of how I organize my embroidery thread, as well as a few spools of sewing thread. Since I embroider several times a week, it helps me to be able to have it within easy reach. I found the rack at Walmart. It is meant to be propped up, so I drilled one hole at the top of each side and secured it to the wall with large nails. The following pictures are sewing-inspiration-related pictures I found online. The first: “Periodic Table of Sewing Elements”, came from The Scientific Seamstress’s blog. Her blog is full of functional cuteness for sewers/crafters. I just printed, trimmed the edges, and stuck it in a frame.
 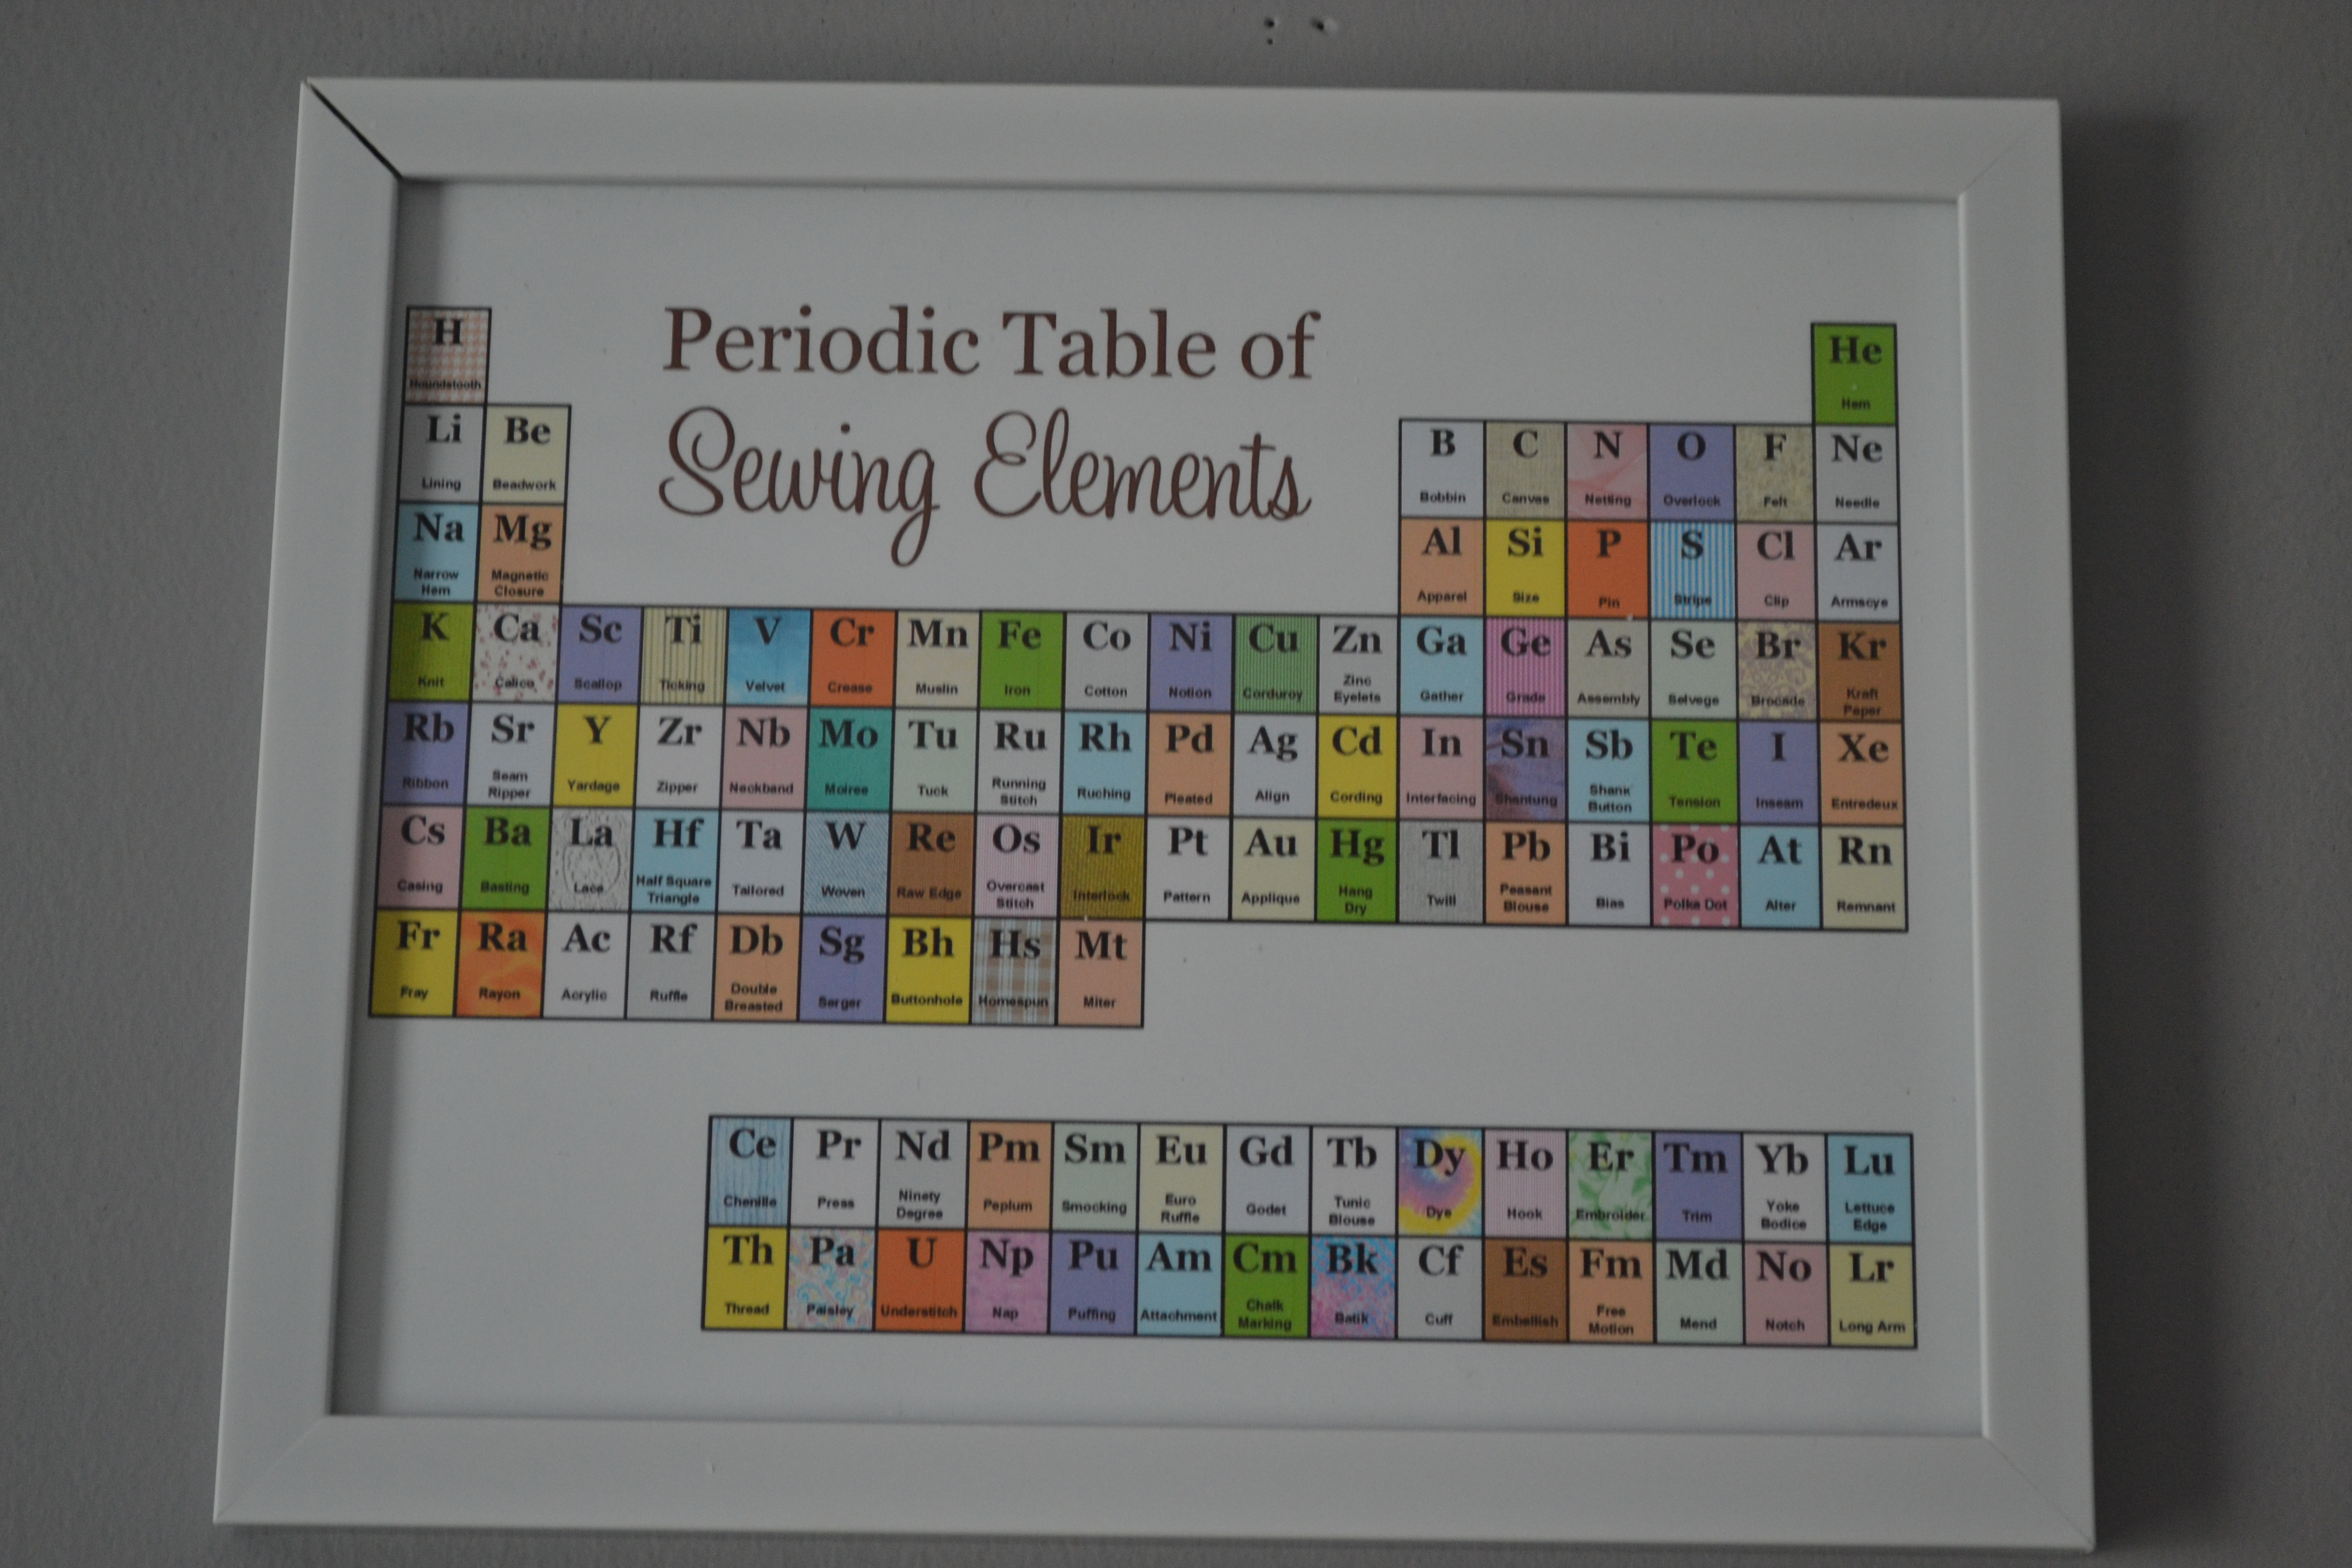 Next, is a printable from KooserDesign on Etsy. “She turned her can’ts into cans and her dreams into plans” is my new motto regarding my small business.
Finally, is one I picked because it’s pretty self-explanatory! I found this on Etsy as well at Heart Impression’s shop. 
“Do more of what makes you happy”
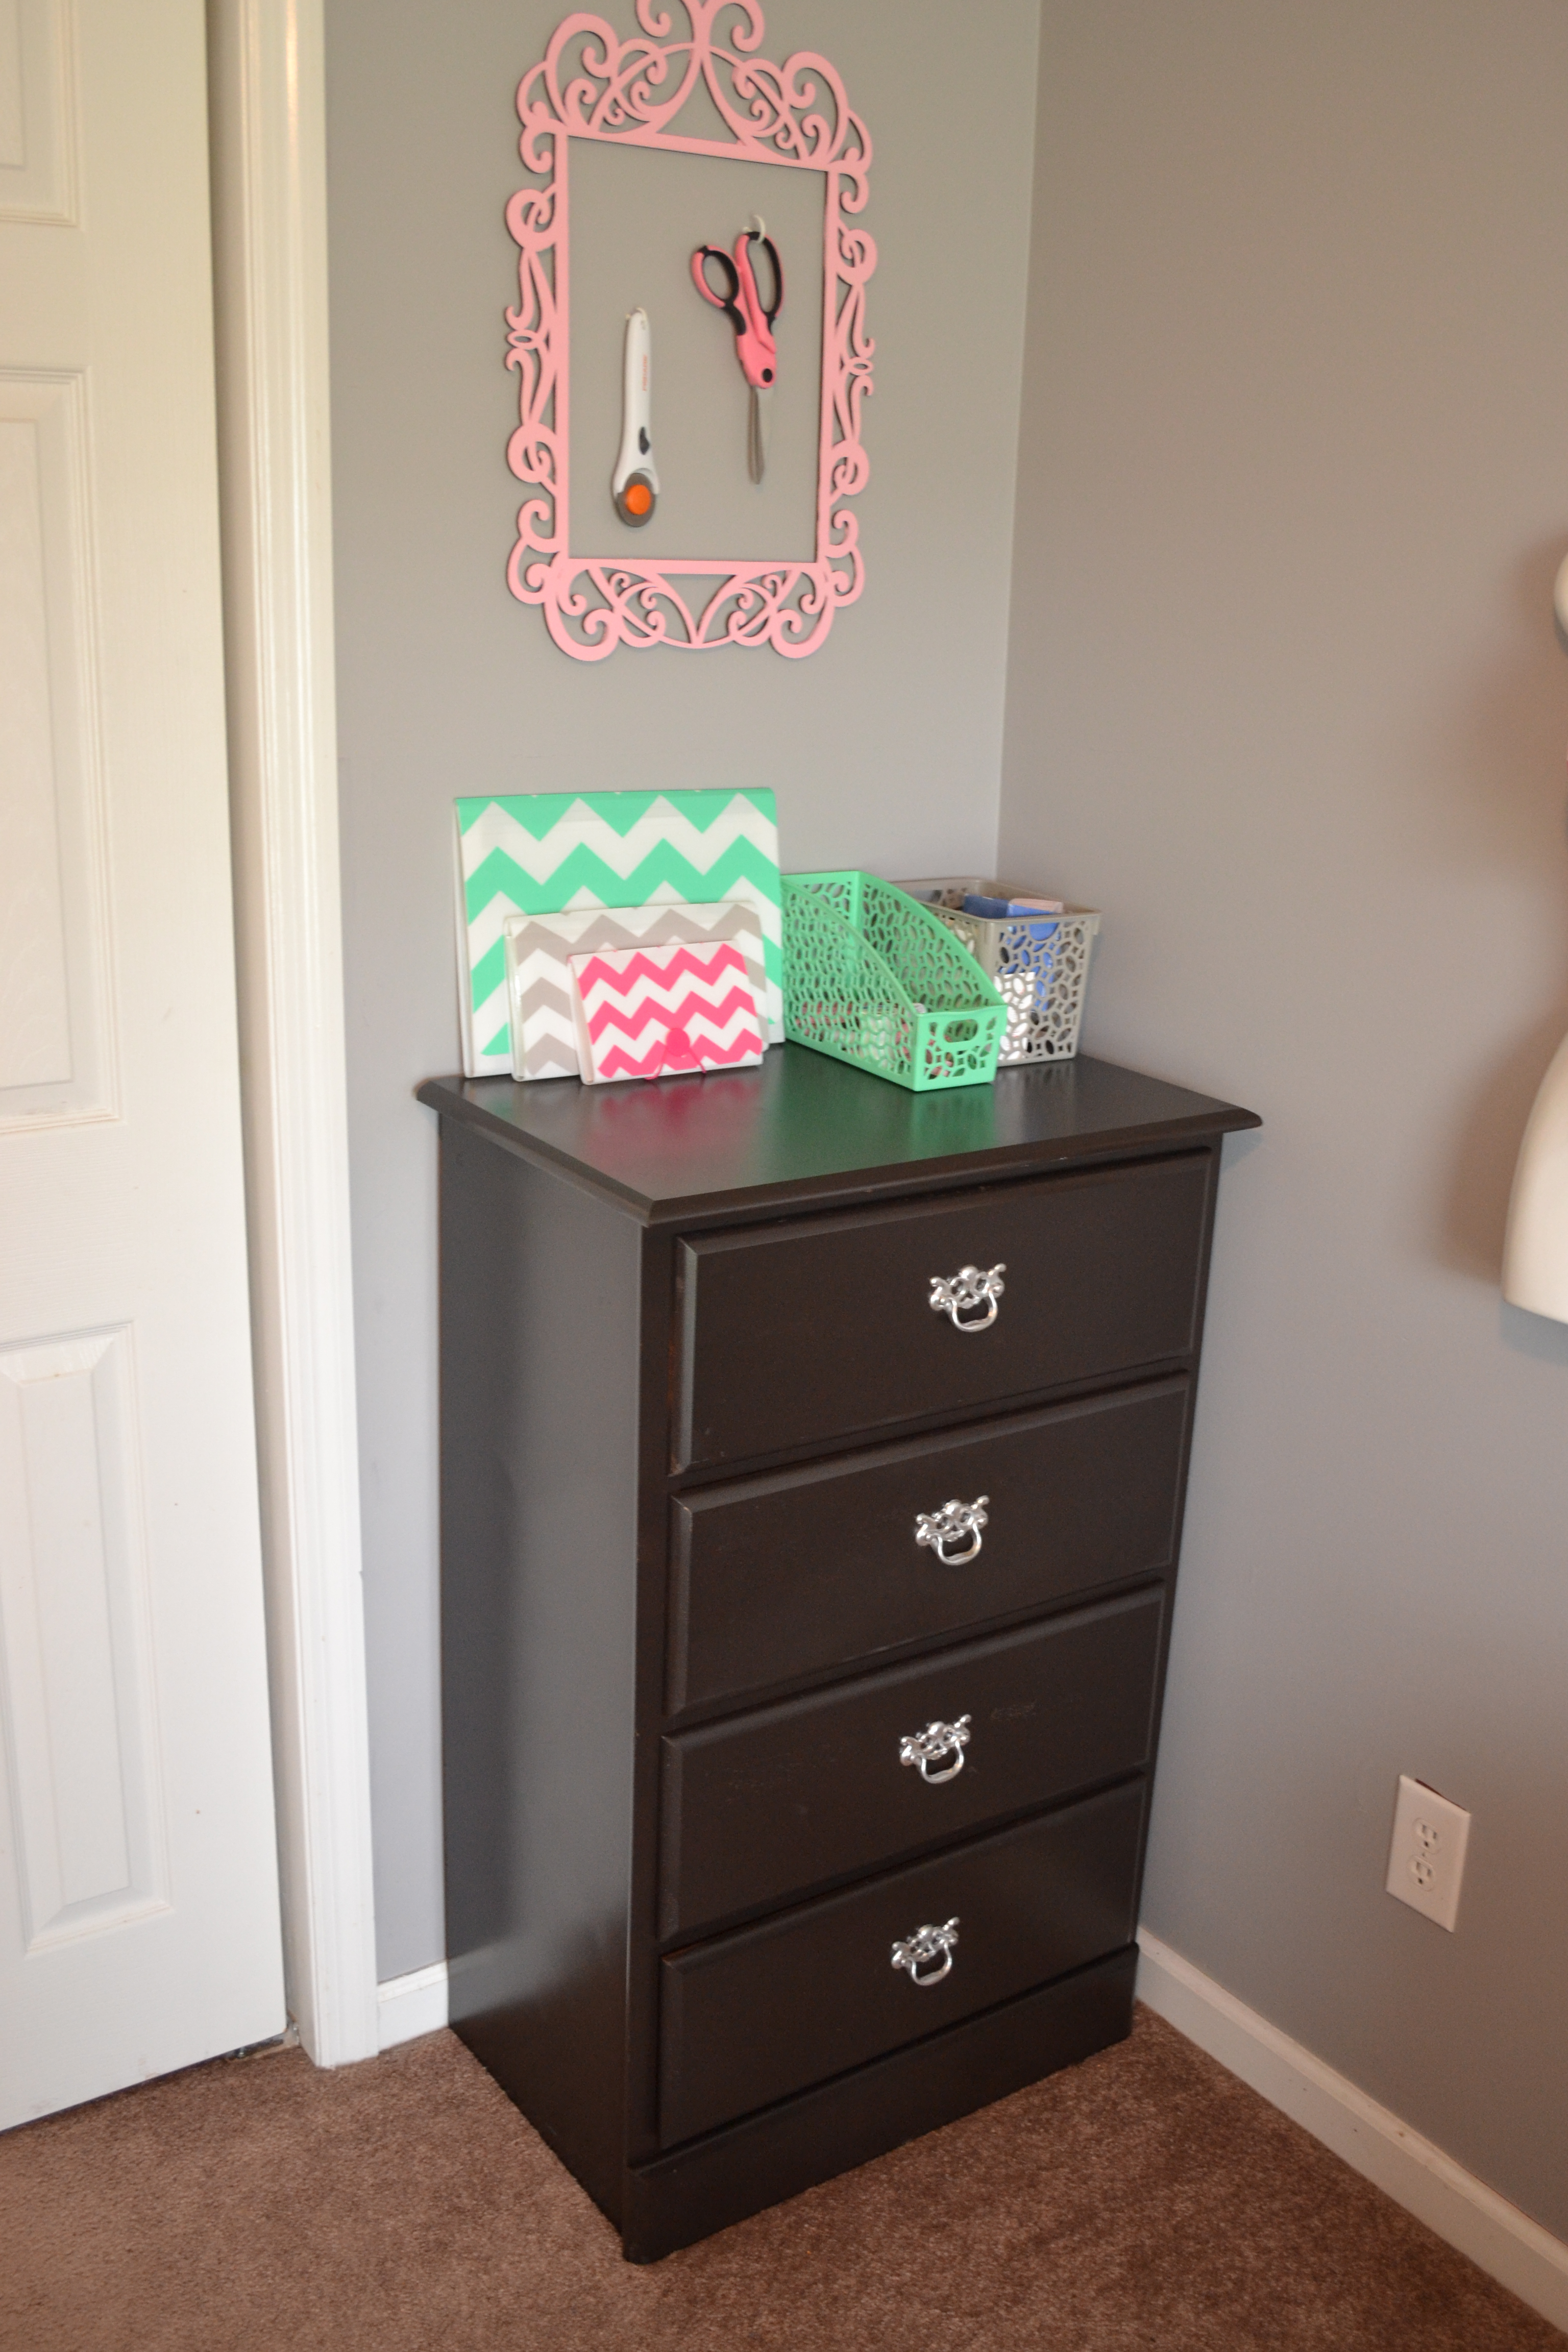
Shot of the whole wall with the organizer, chair, and artwork: I have my rotary cutter mat hanging behind the door:
  And I found this frame online at Michael’s. I originally bought it to put around my thread rack, but #1: it’s not big enough for it to fit, and #2, it’s cut to hang vertically, not horizontally. I refused to take it back, though, so I painted it pink, hung some hooks in the wall, and hung my rotary cutter and extra pair of scissors inside of it above the dresser that holds my infinity scarf fabric stash.
 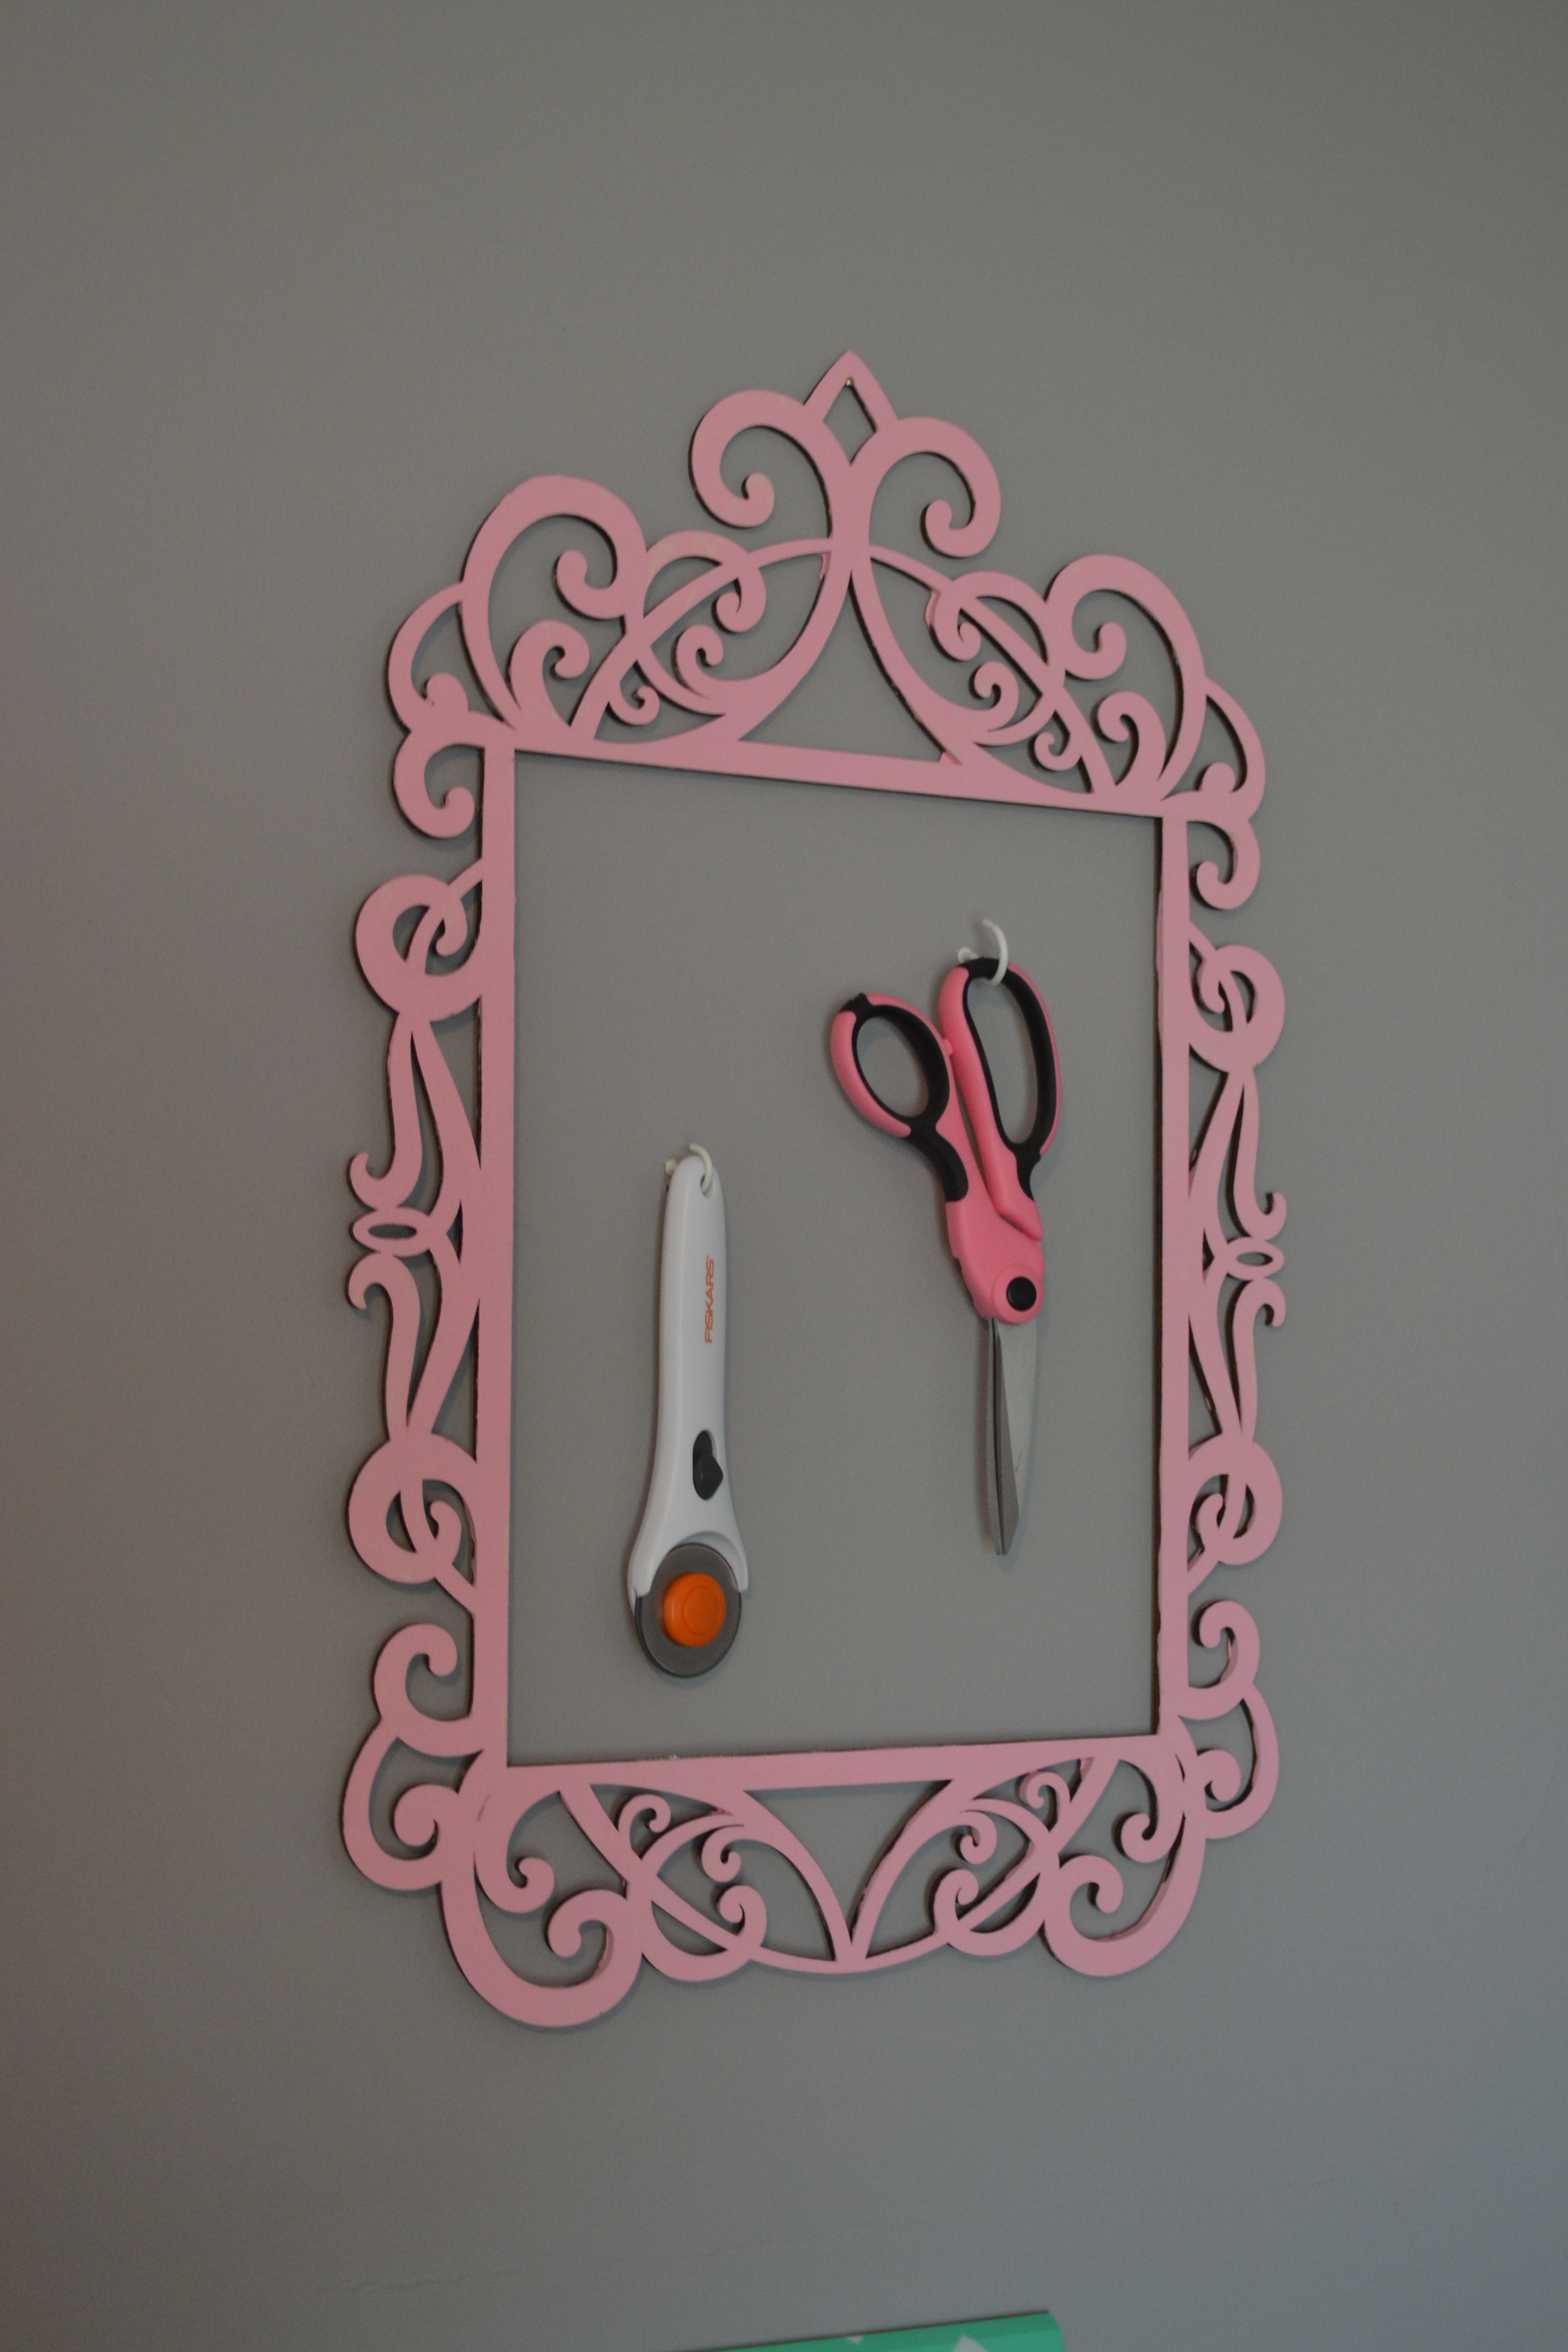 I found all of these organizers months ago at the dollar section in the front of Target. I randomly bought 1 or 2 at a time, with no real original use for them, I just thought they were cute. Turns out they match the overall color theme pretty well (or at least close enough to live with).
  The following dresser is very near and dear to my heart. It’s the dresser I used when I was growing up. My parents bought all three of their kids one, and I took mine with me when I moved out during my second year of college. It was a much lighter color than this originally, and the handles were gold. I had it in the corner, and when I called my husband to come look at the progress I was making, he said “That dresser has to go!” He meant it in the nicest way possible, though. 🙂 I totally agreed that it didn’t match, but I couldn’t part with it just yet. I did what any paint lover would do: bought a couple of cans of a brown-black color spray paint (I think I used Dark Walnut) from Jo-Ann, and a can of chrome-colored silver Metallic paint and painted the dresser and handles. It looks brand new!
 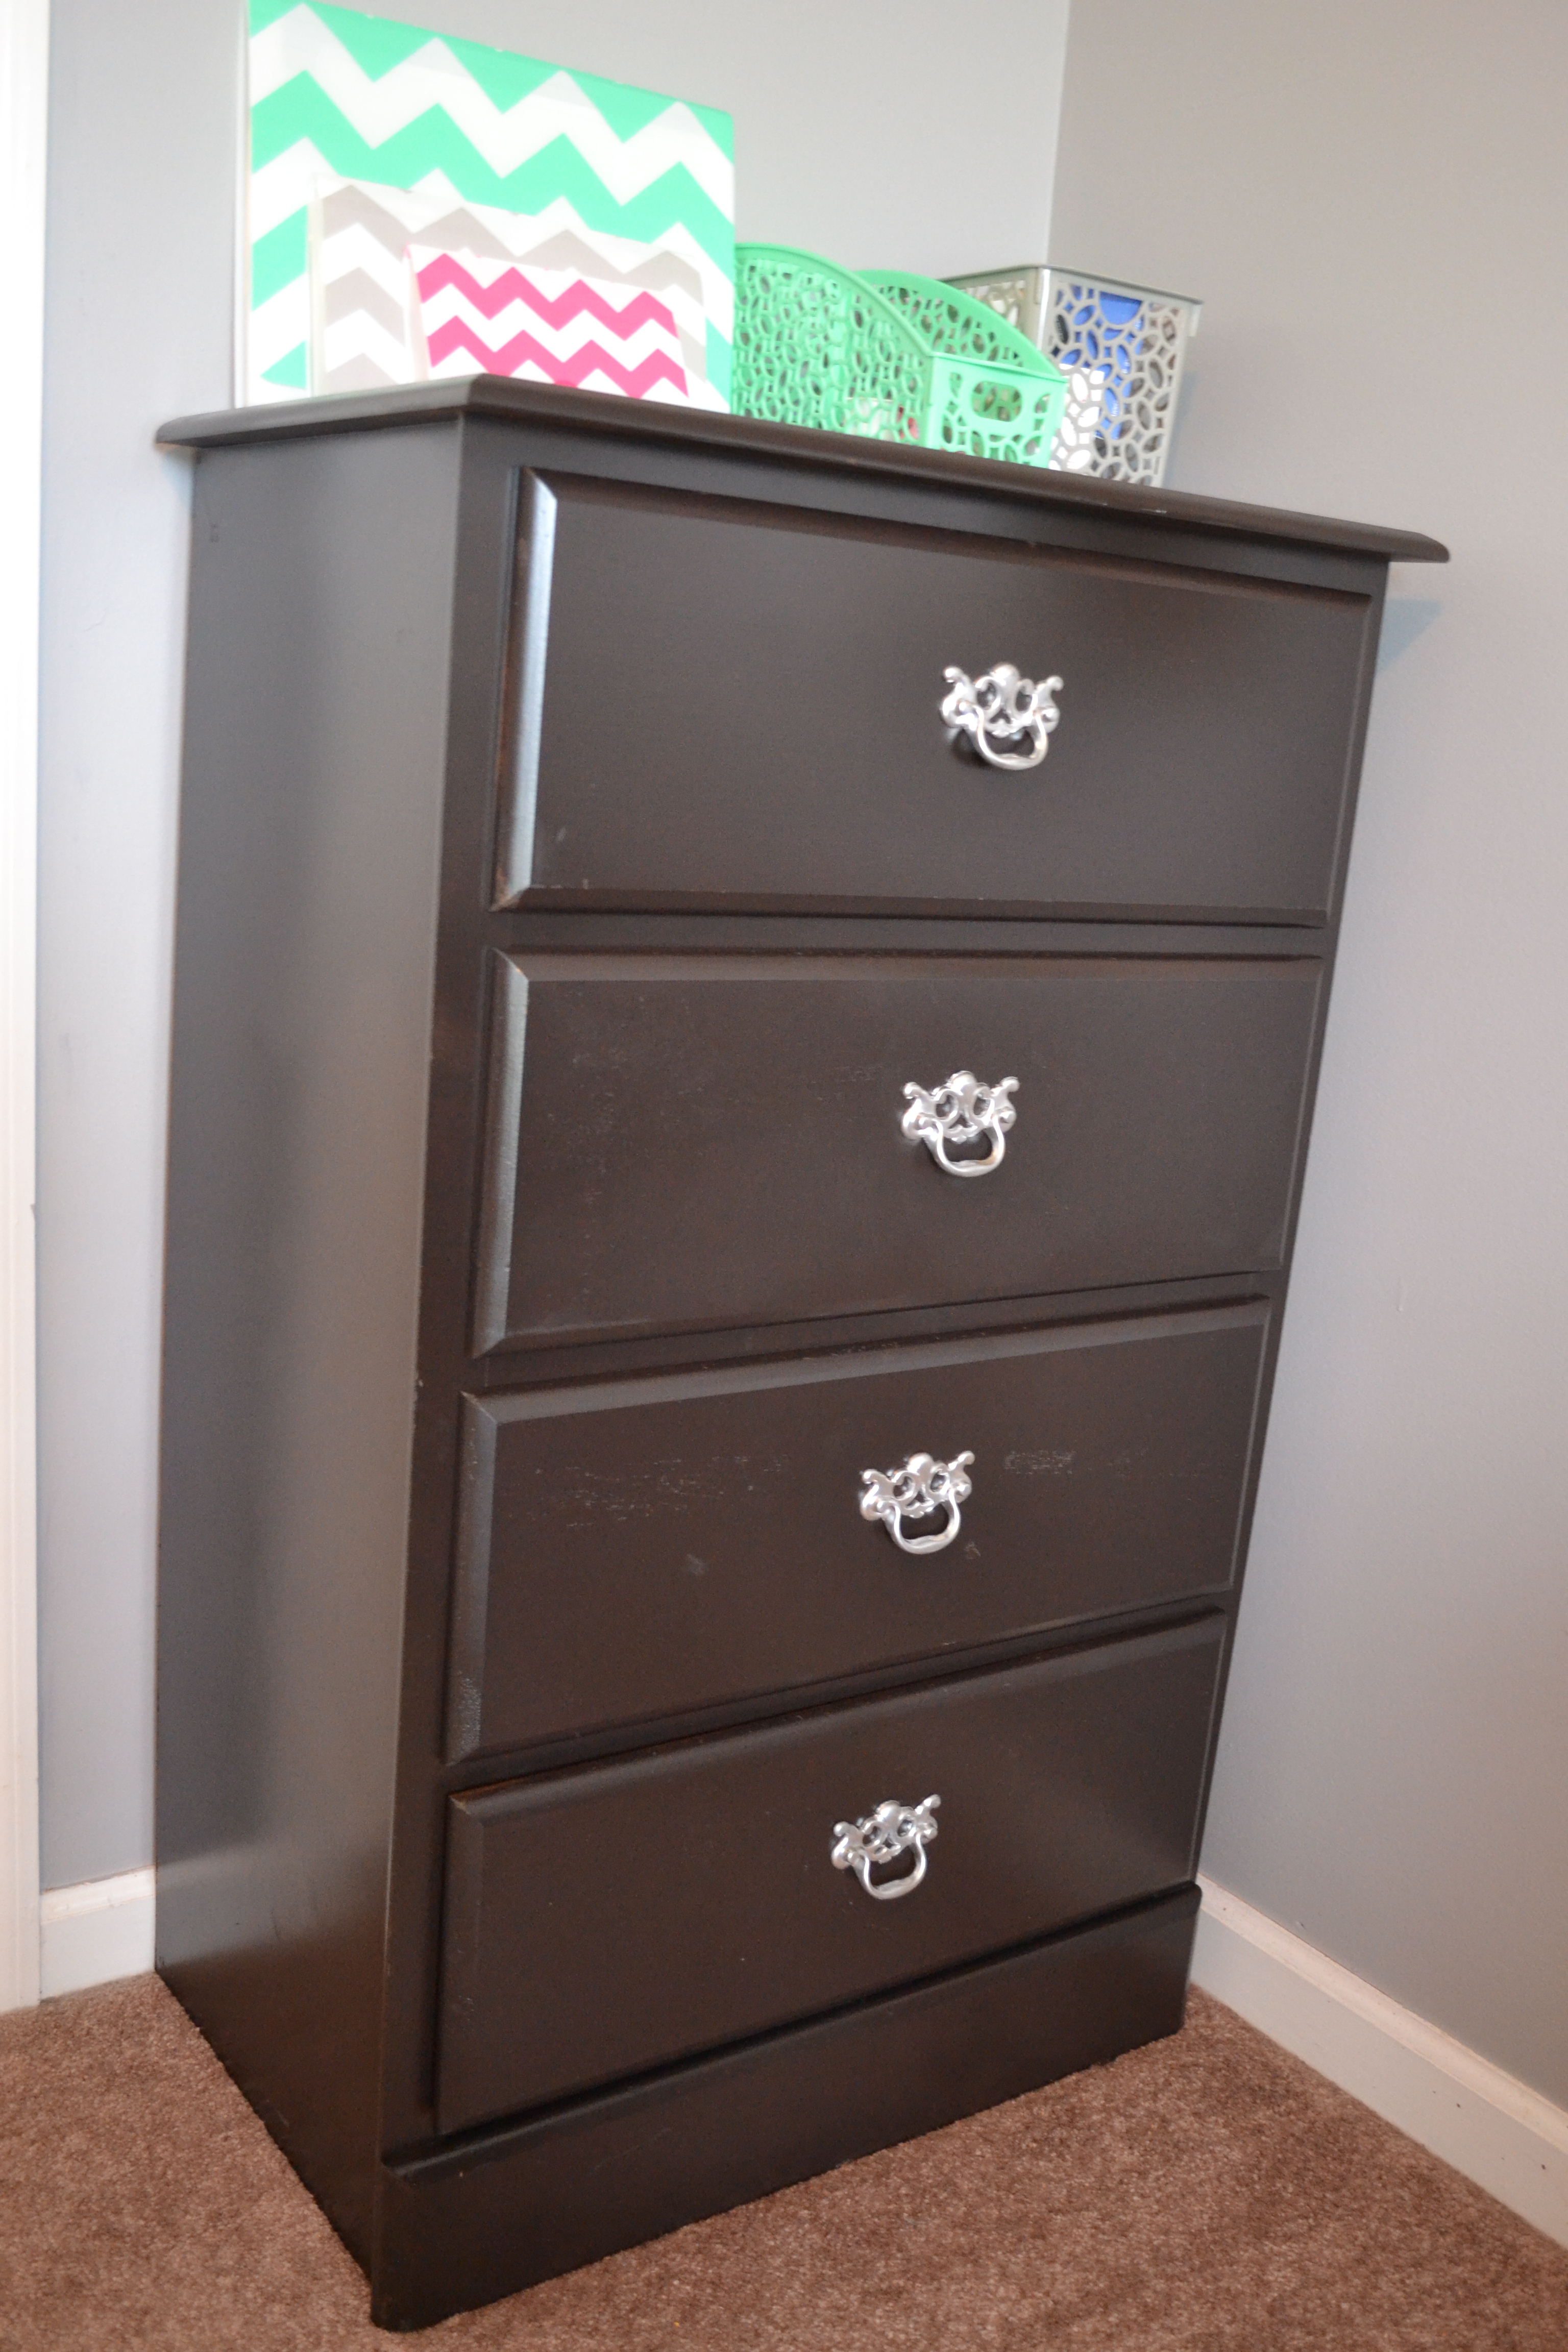 Shot of the wall from top to bottom:
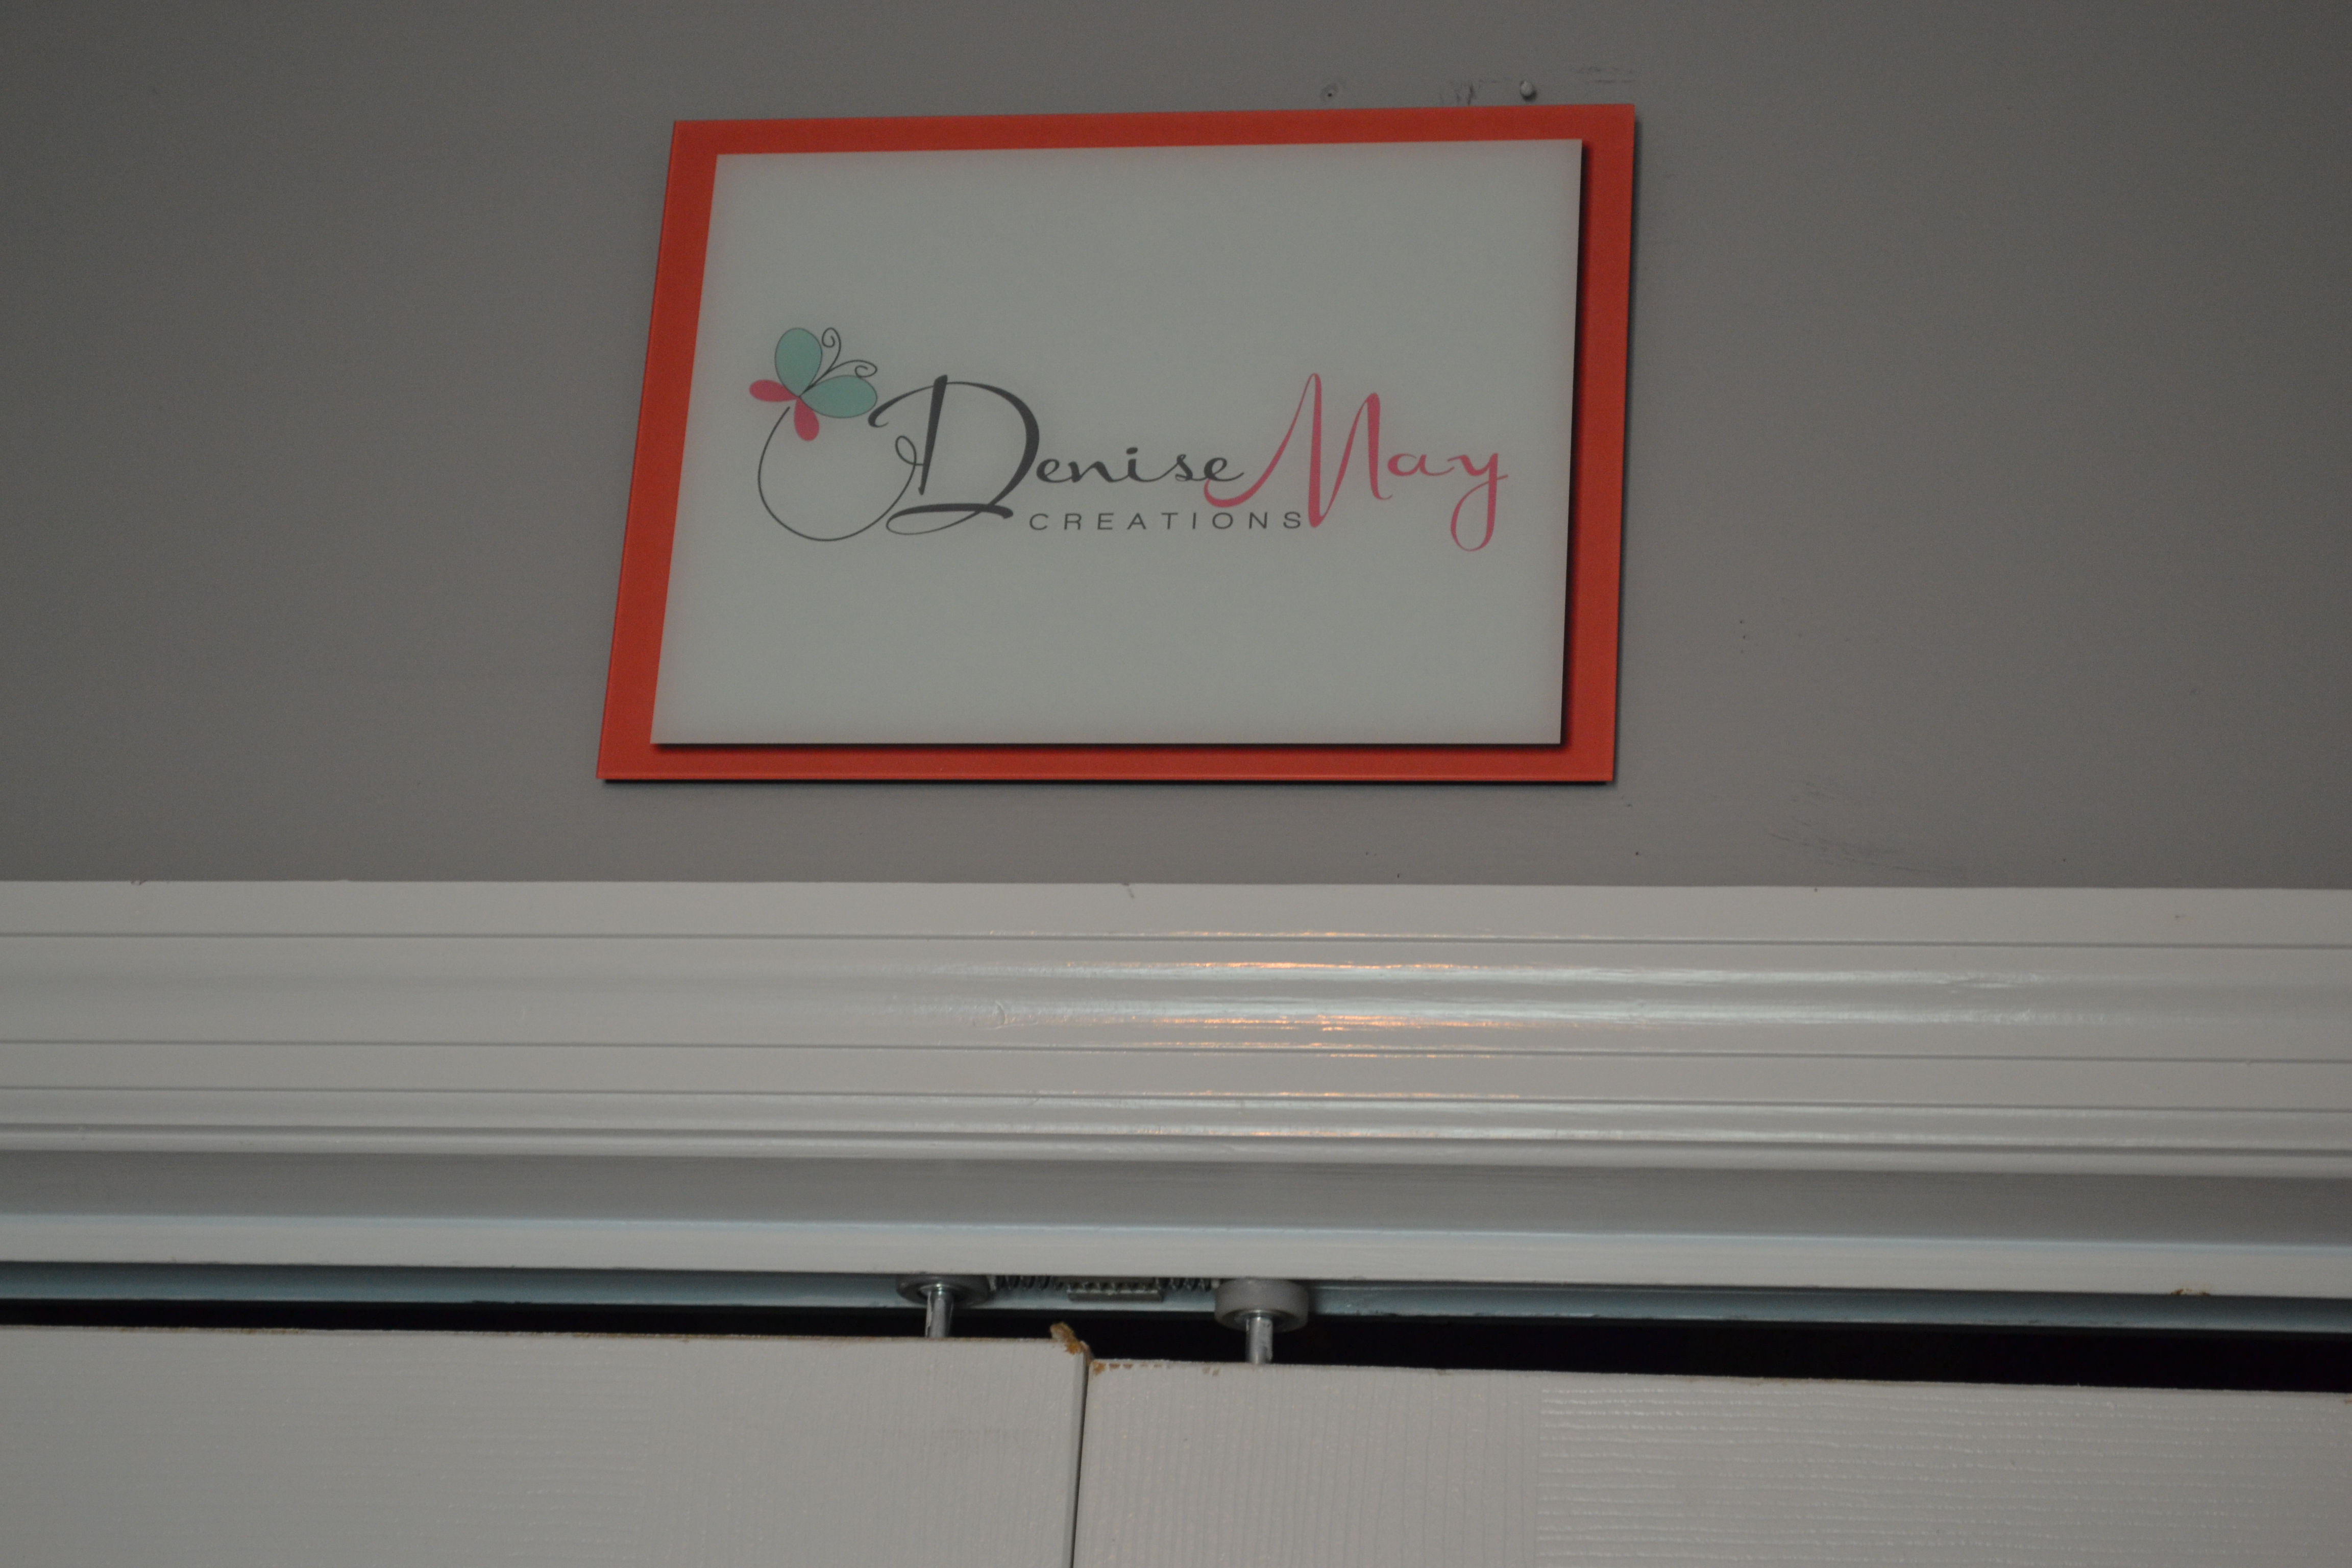
 A copy of my logo that my Hubby had framed in glass for me hangs above the closet:
**Update** I forgot to include a shot of the curtain valance! This is one of the last things I did, besides painting the dresser. I found the silver curtain hooks and rod at Lowe’s. It may be a little hard to see all of the detail, but I linked the fabric at the beginning of the post.

That’s pretty much it! I still can’t believe I finally did my room. It’s so peaceful to work in and makes me feel really productive! Thanks so much for visiting my blog and reading my ramblings! 🙂