Minnie Mouse Centerpieces

photo 3 (9)


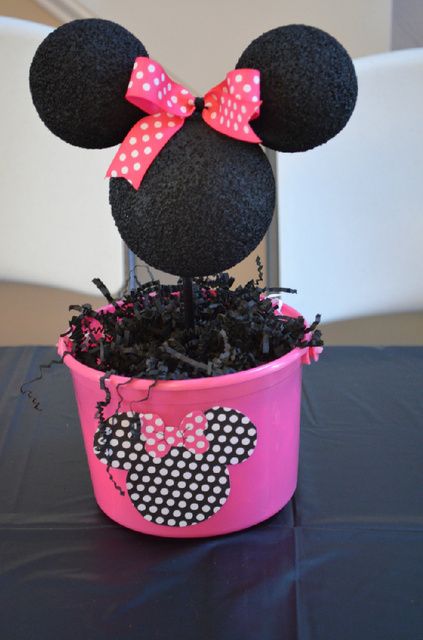
If you’ve clicked on this post hoping to get a tutorial to make this adorable centerpiece, you won’t be disappointed! This was super easy and cheap to make, so keep reading if you want to make them too!

I started out with these cute pink pails from Target. They were on the cute aisle when you first walk in that’s full of treasures and goodies if you’re crafty, a teacher, or a Mommy. In my case, I’m all three!DSC_4783

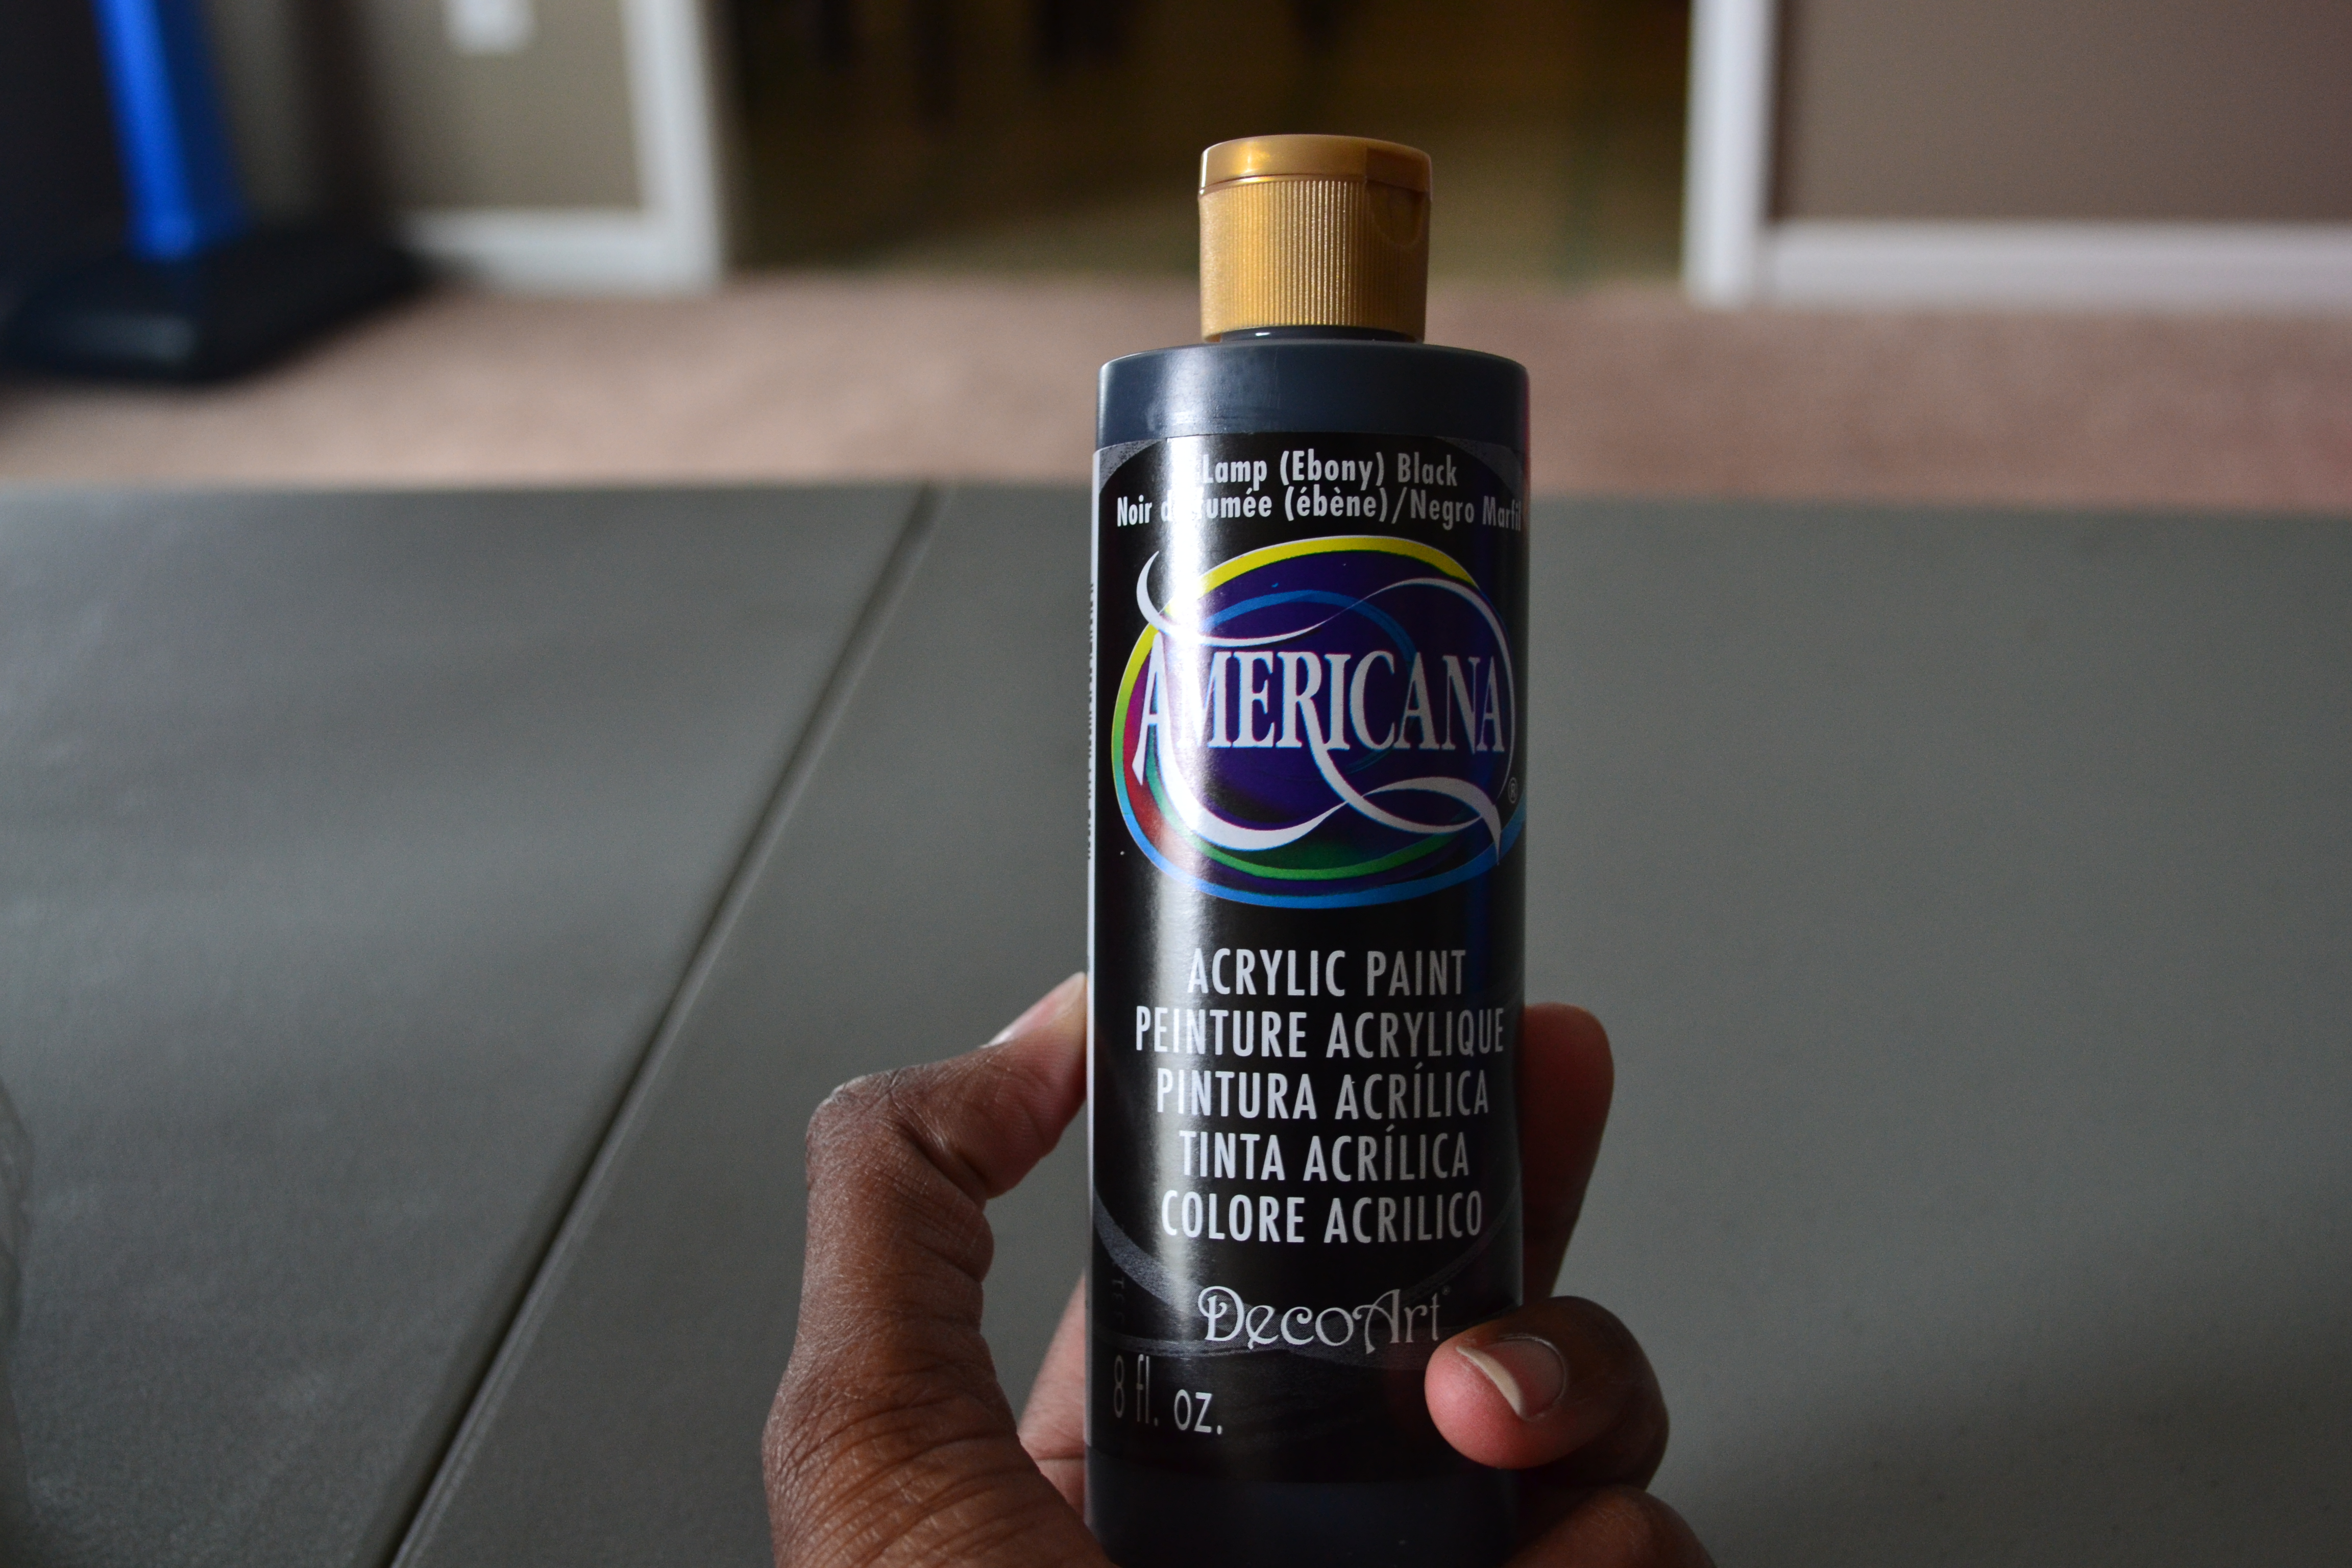
Black paint and paintbrush from Joann:

DSC_4784DSC_4786

Cute hot pink/white polka dot wired ribbon and floral foam (Joann):

DSC_4788DSC_4790

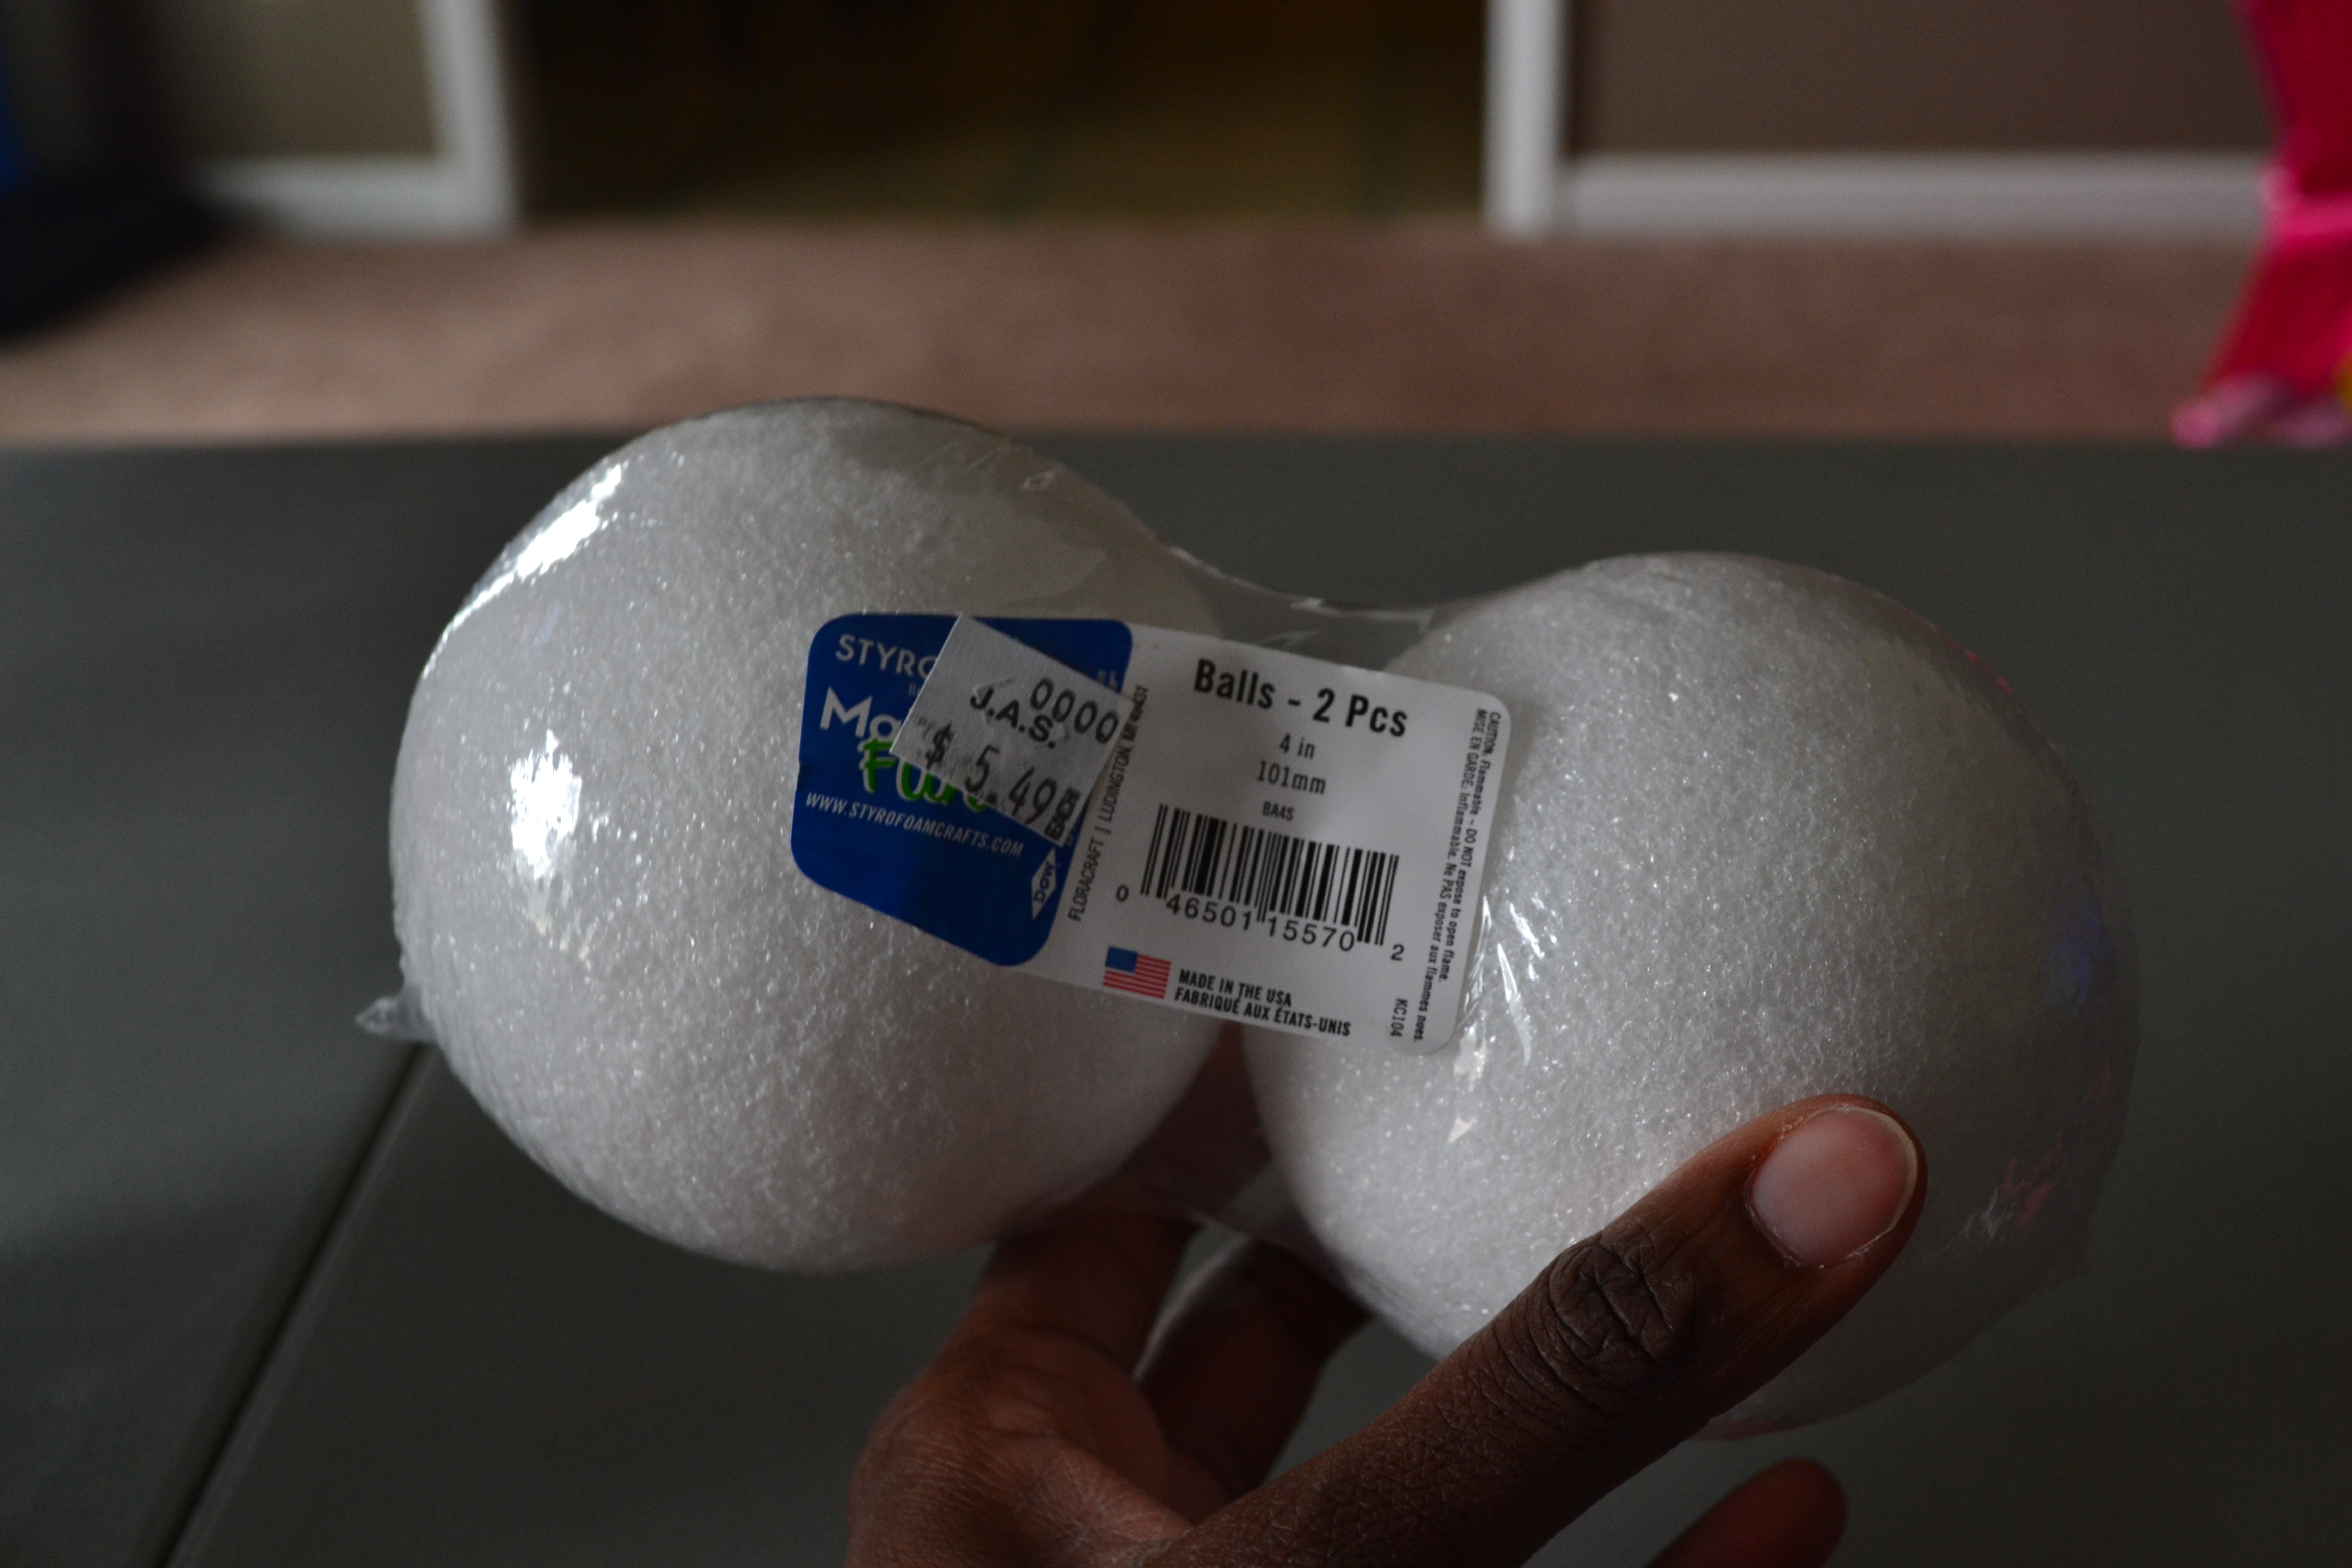
Small and large Styrofoam balls (Joann):

DSC_4792DSC_4793

Pink and white polka dot paper straws (Target) and black tulle circles (Joann):

DSC_4795DSC_4797

Toothpicks (Kroger)

DSC_4798

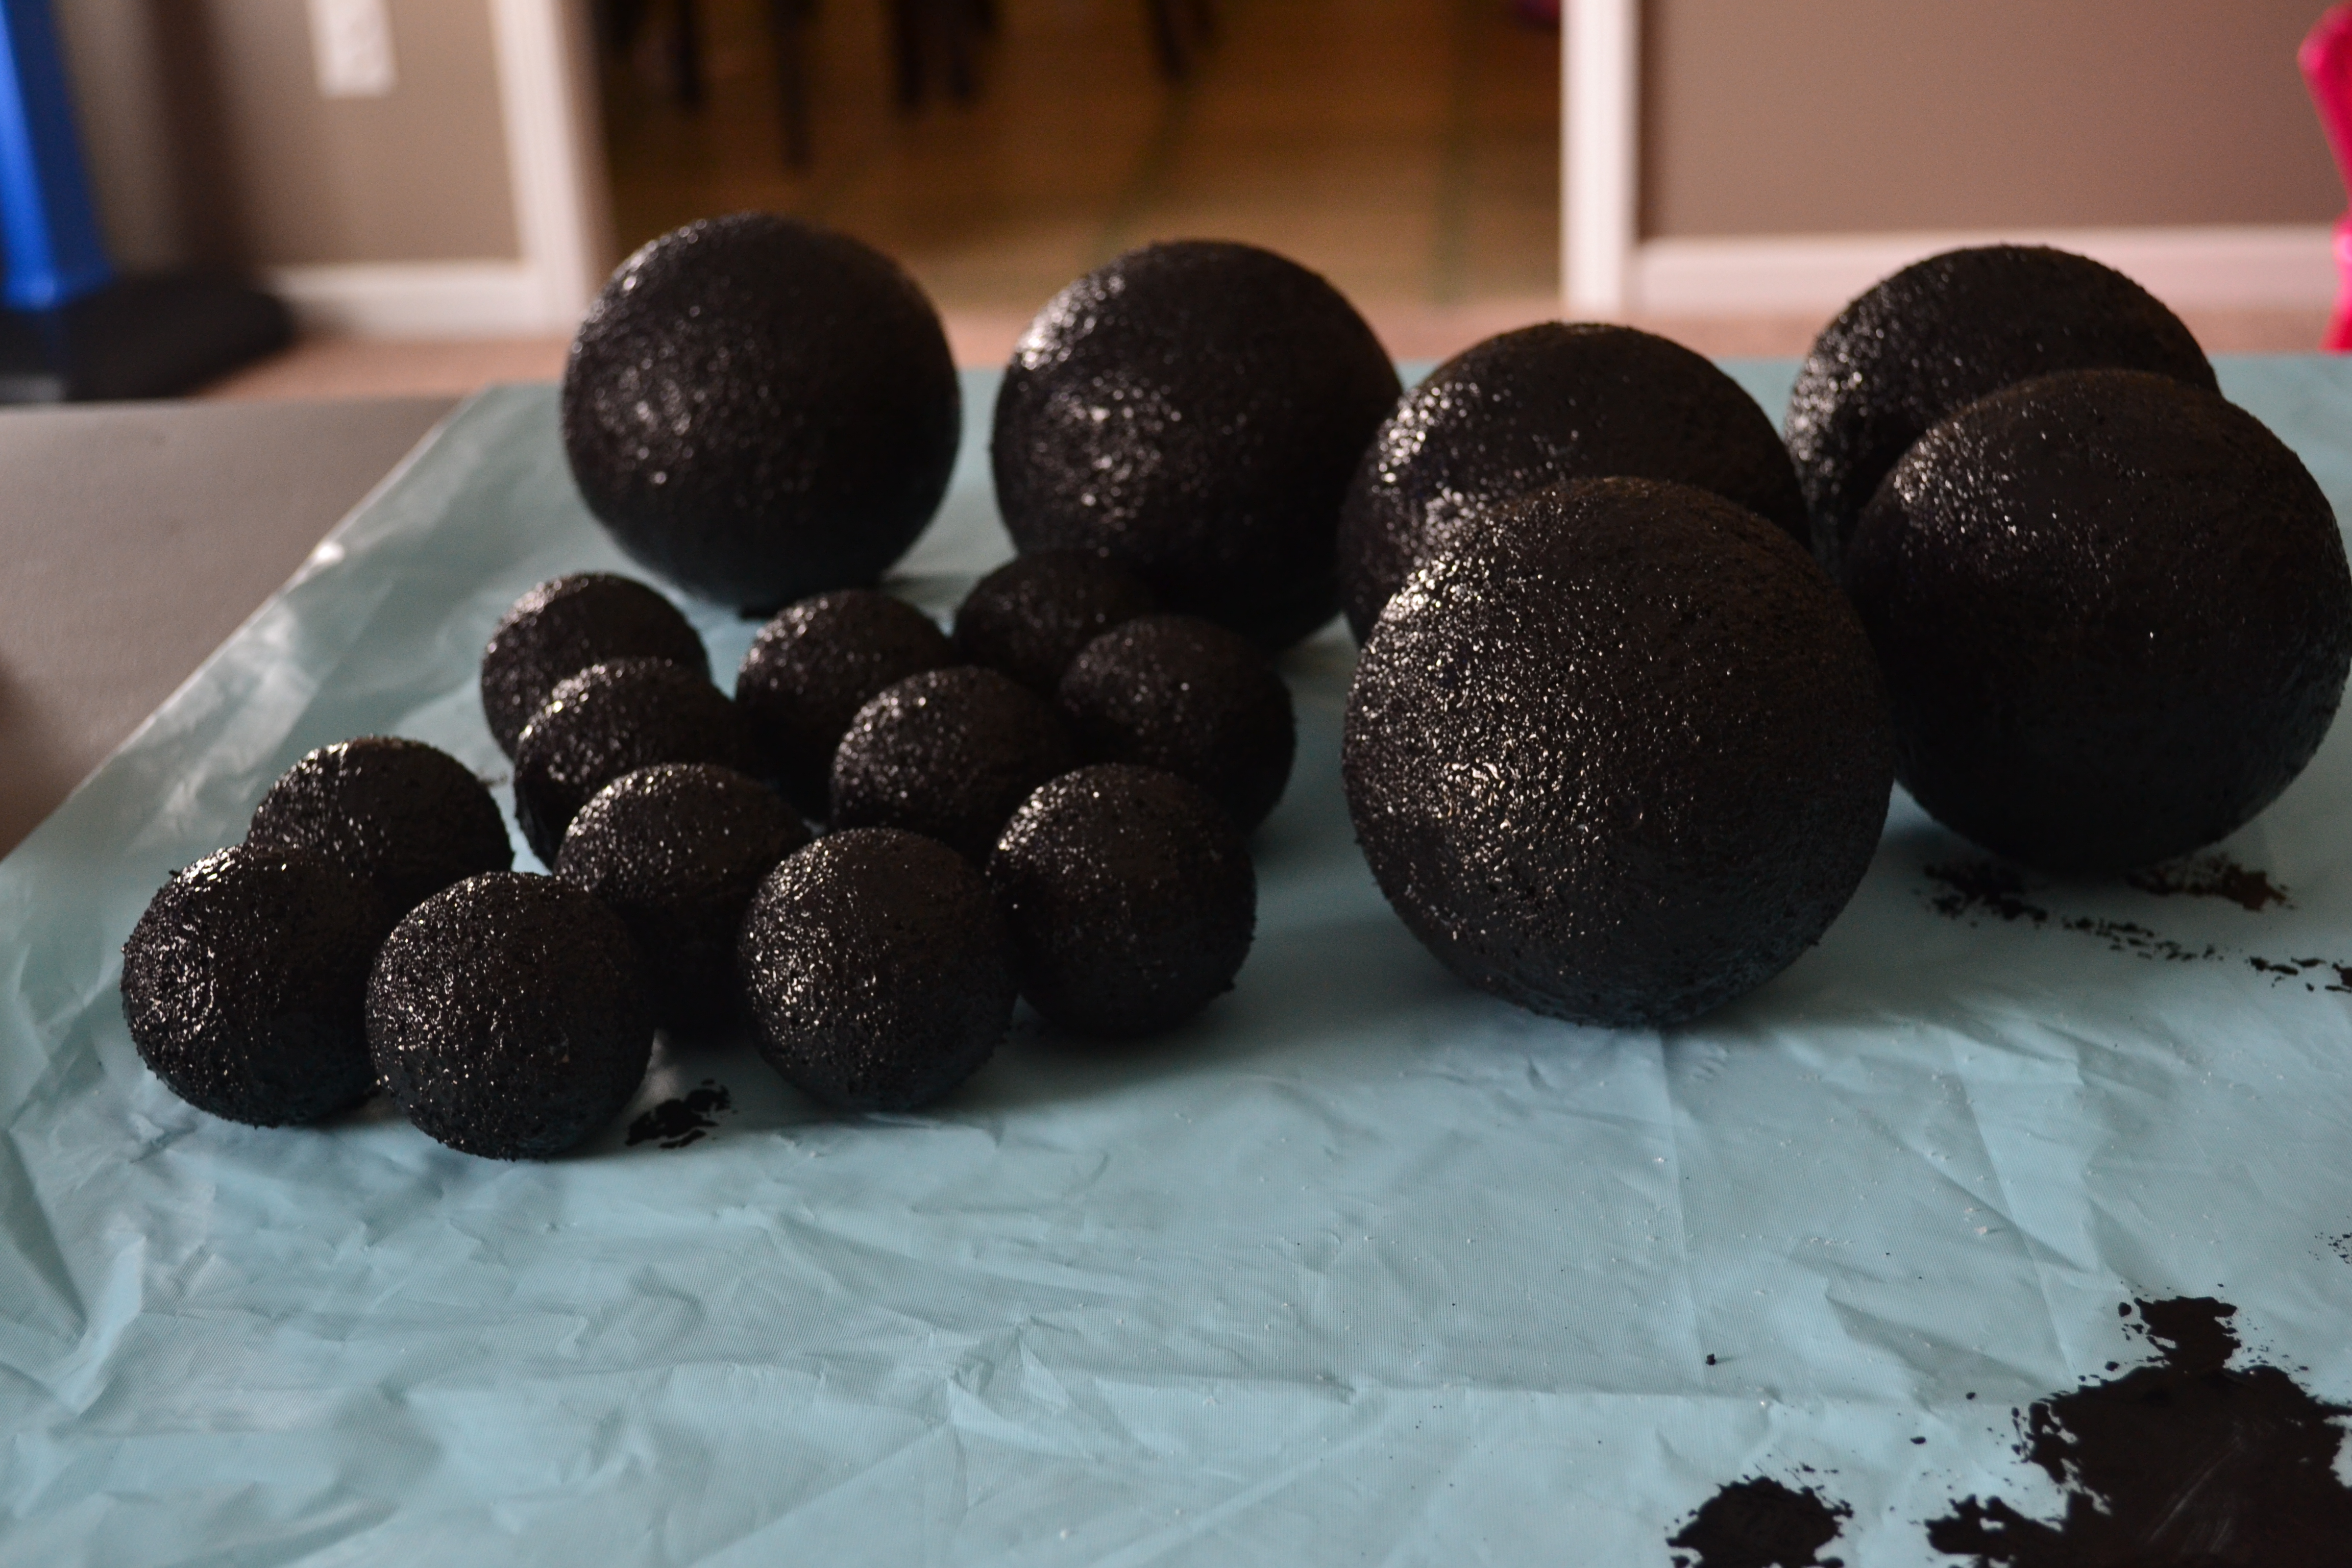
First, I protected my table with an old tablecloth and laid the balls out like this:DSC_4799

I grabbed the brush and acrylic paint and got to painting!

DSC_4800

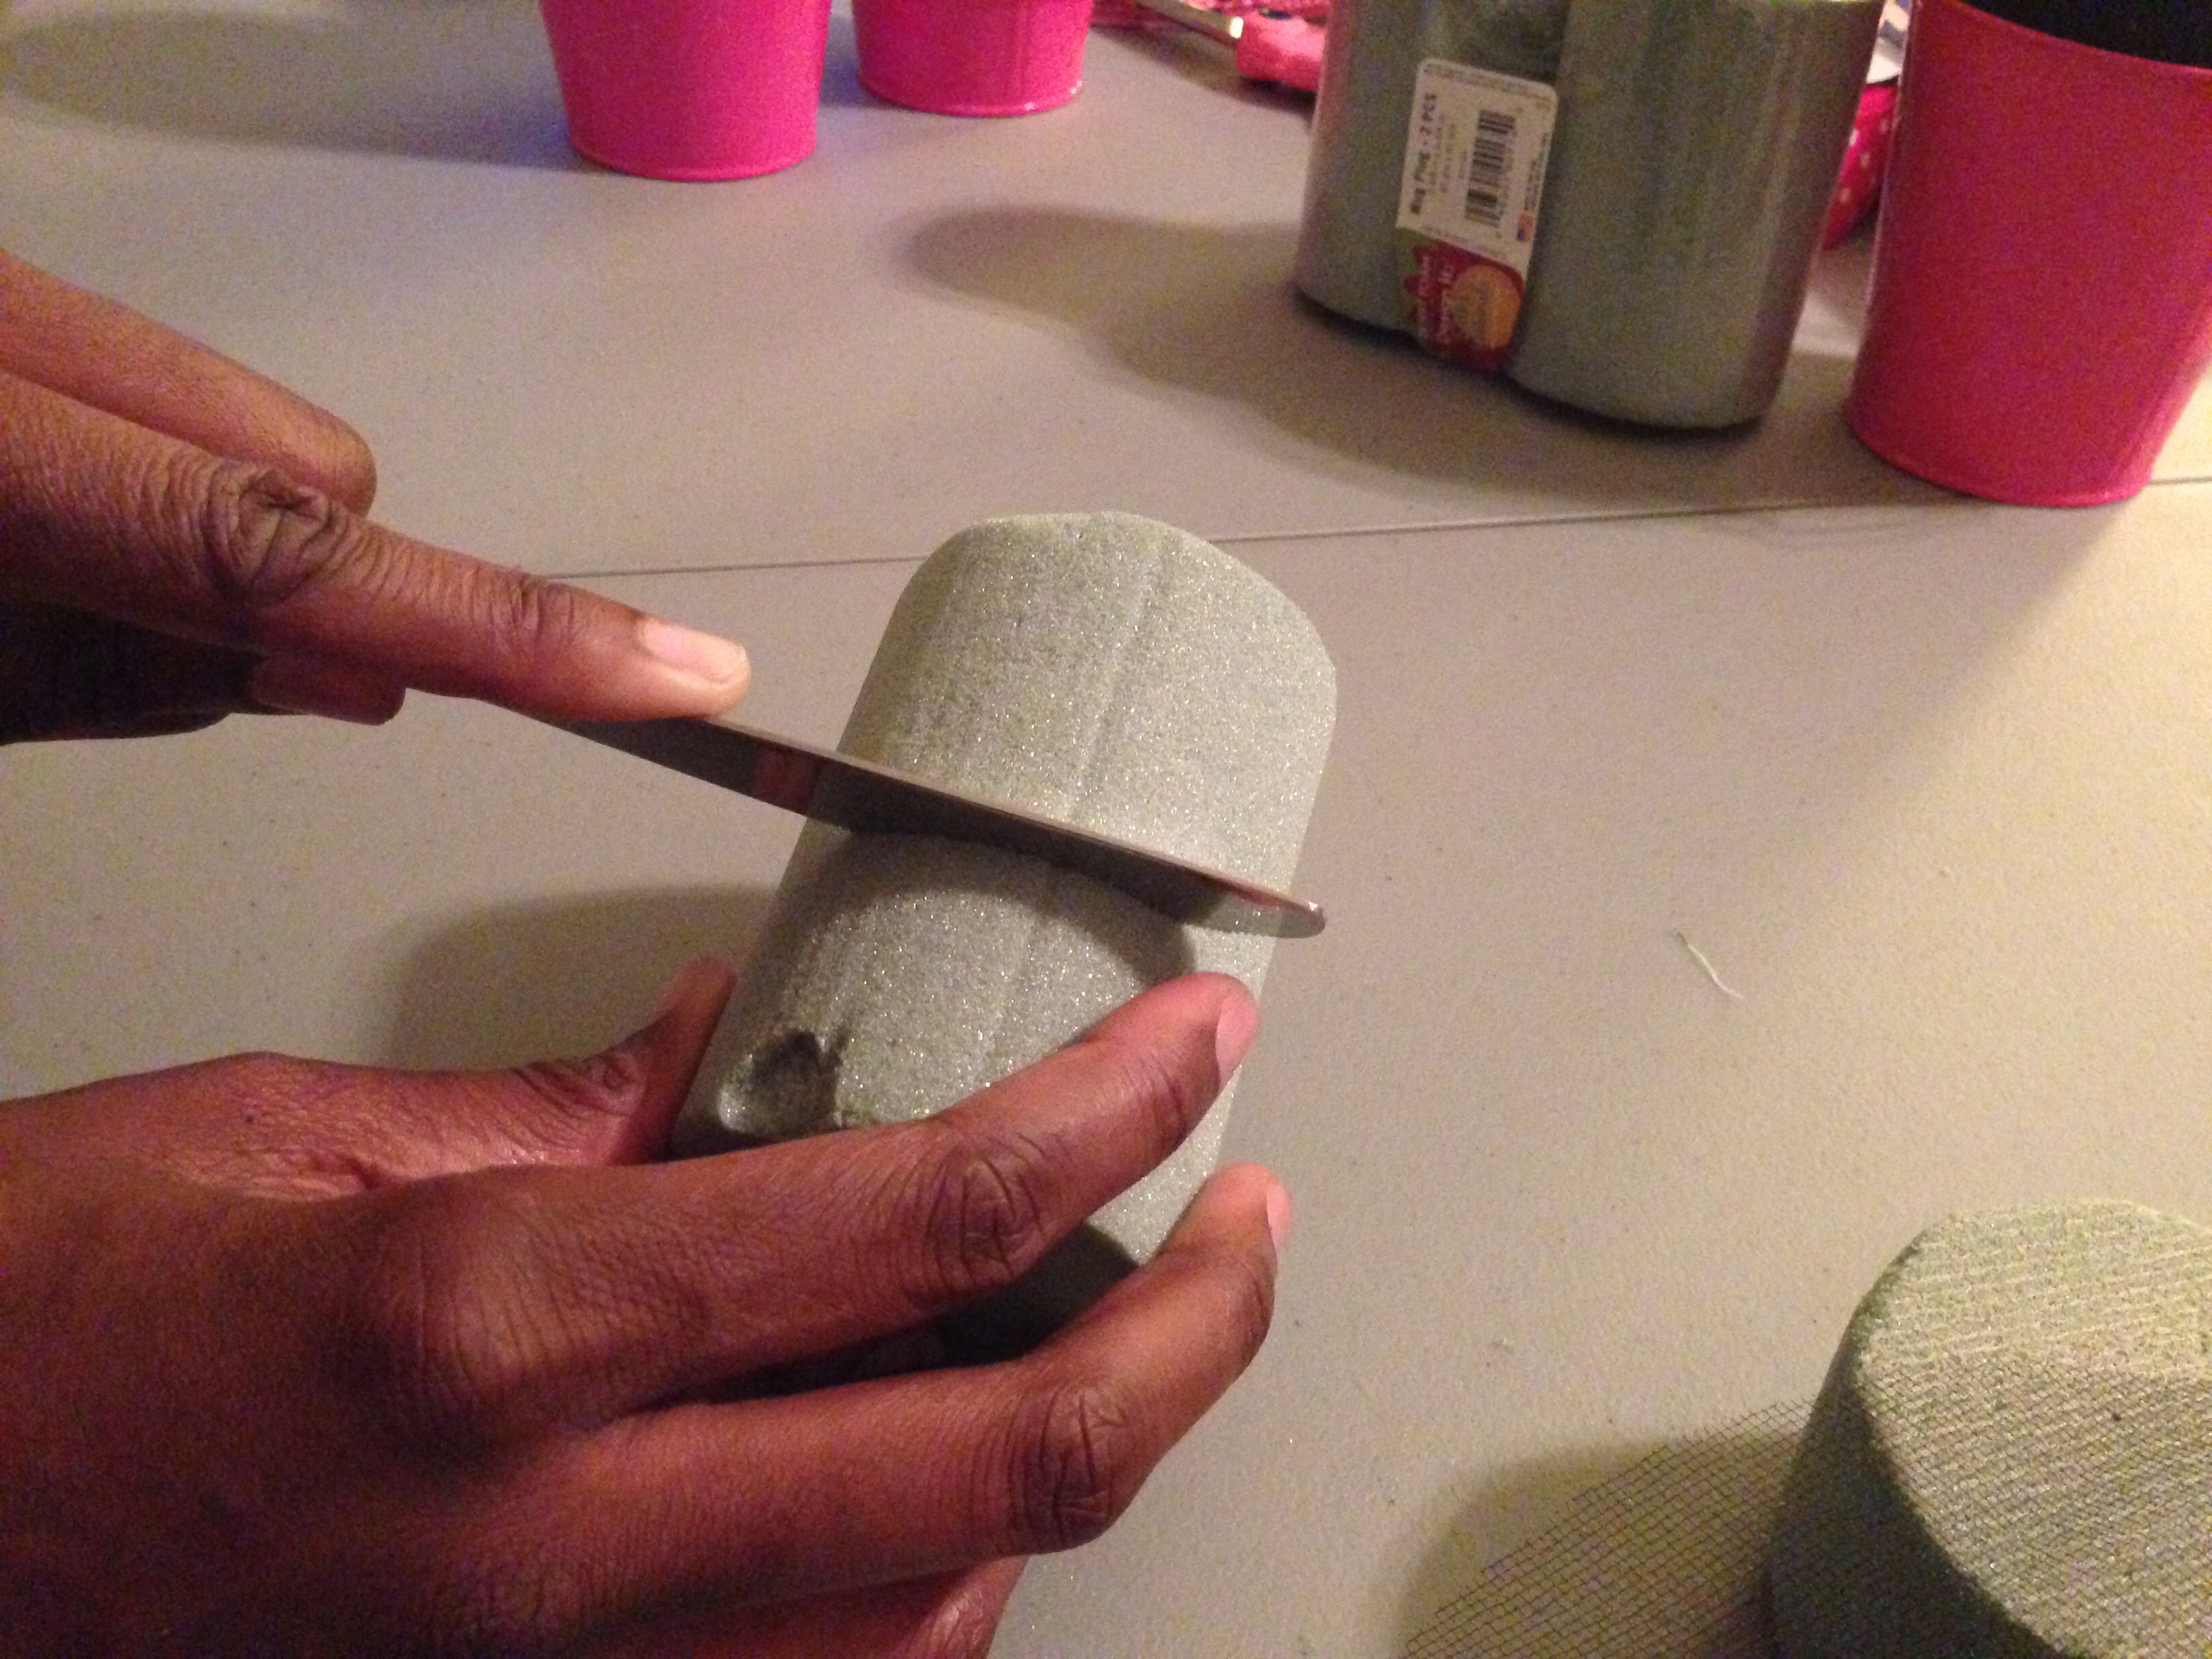
They took a while to try. A couple of days later, I had time to get back to work. I cut the floral foam in half using a dull kitchen knife, and inserted a paper straw in the center. I used “StyroGlue” to help secure it to the bottom of the pail.

photo 1 (9)photo 2 (8)photo 3 (7)photo 4 (5)

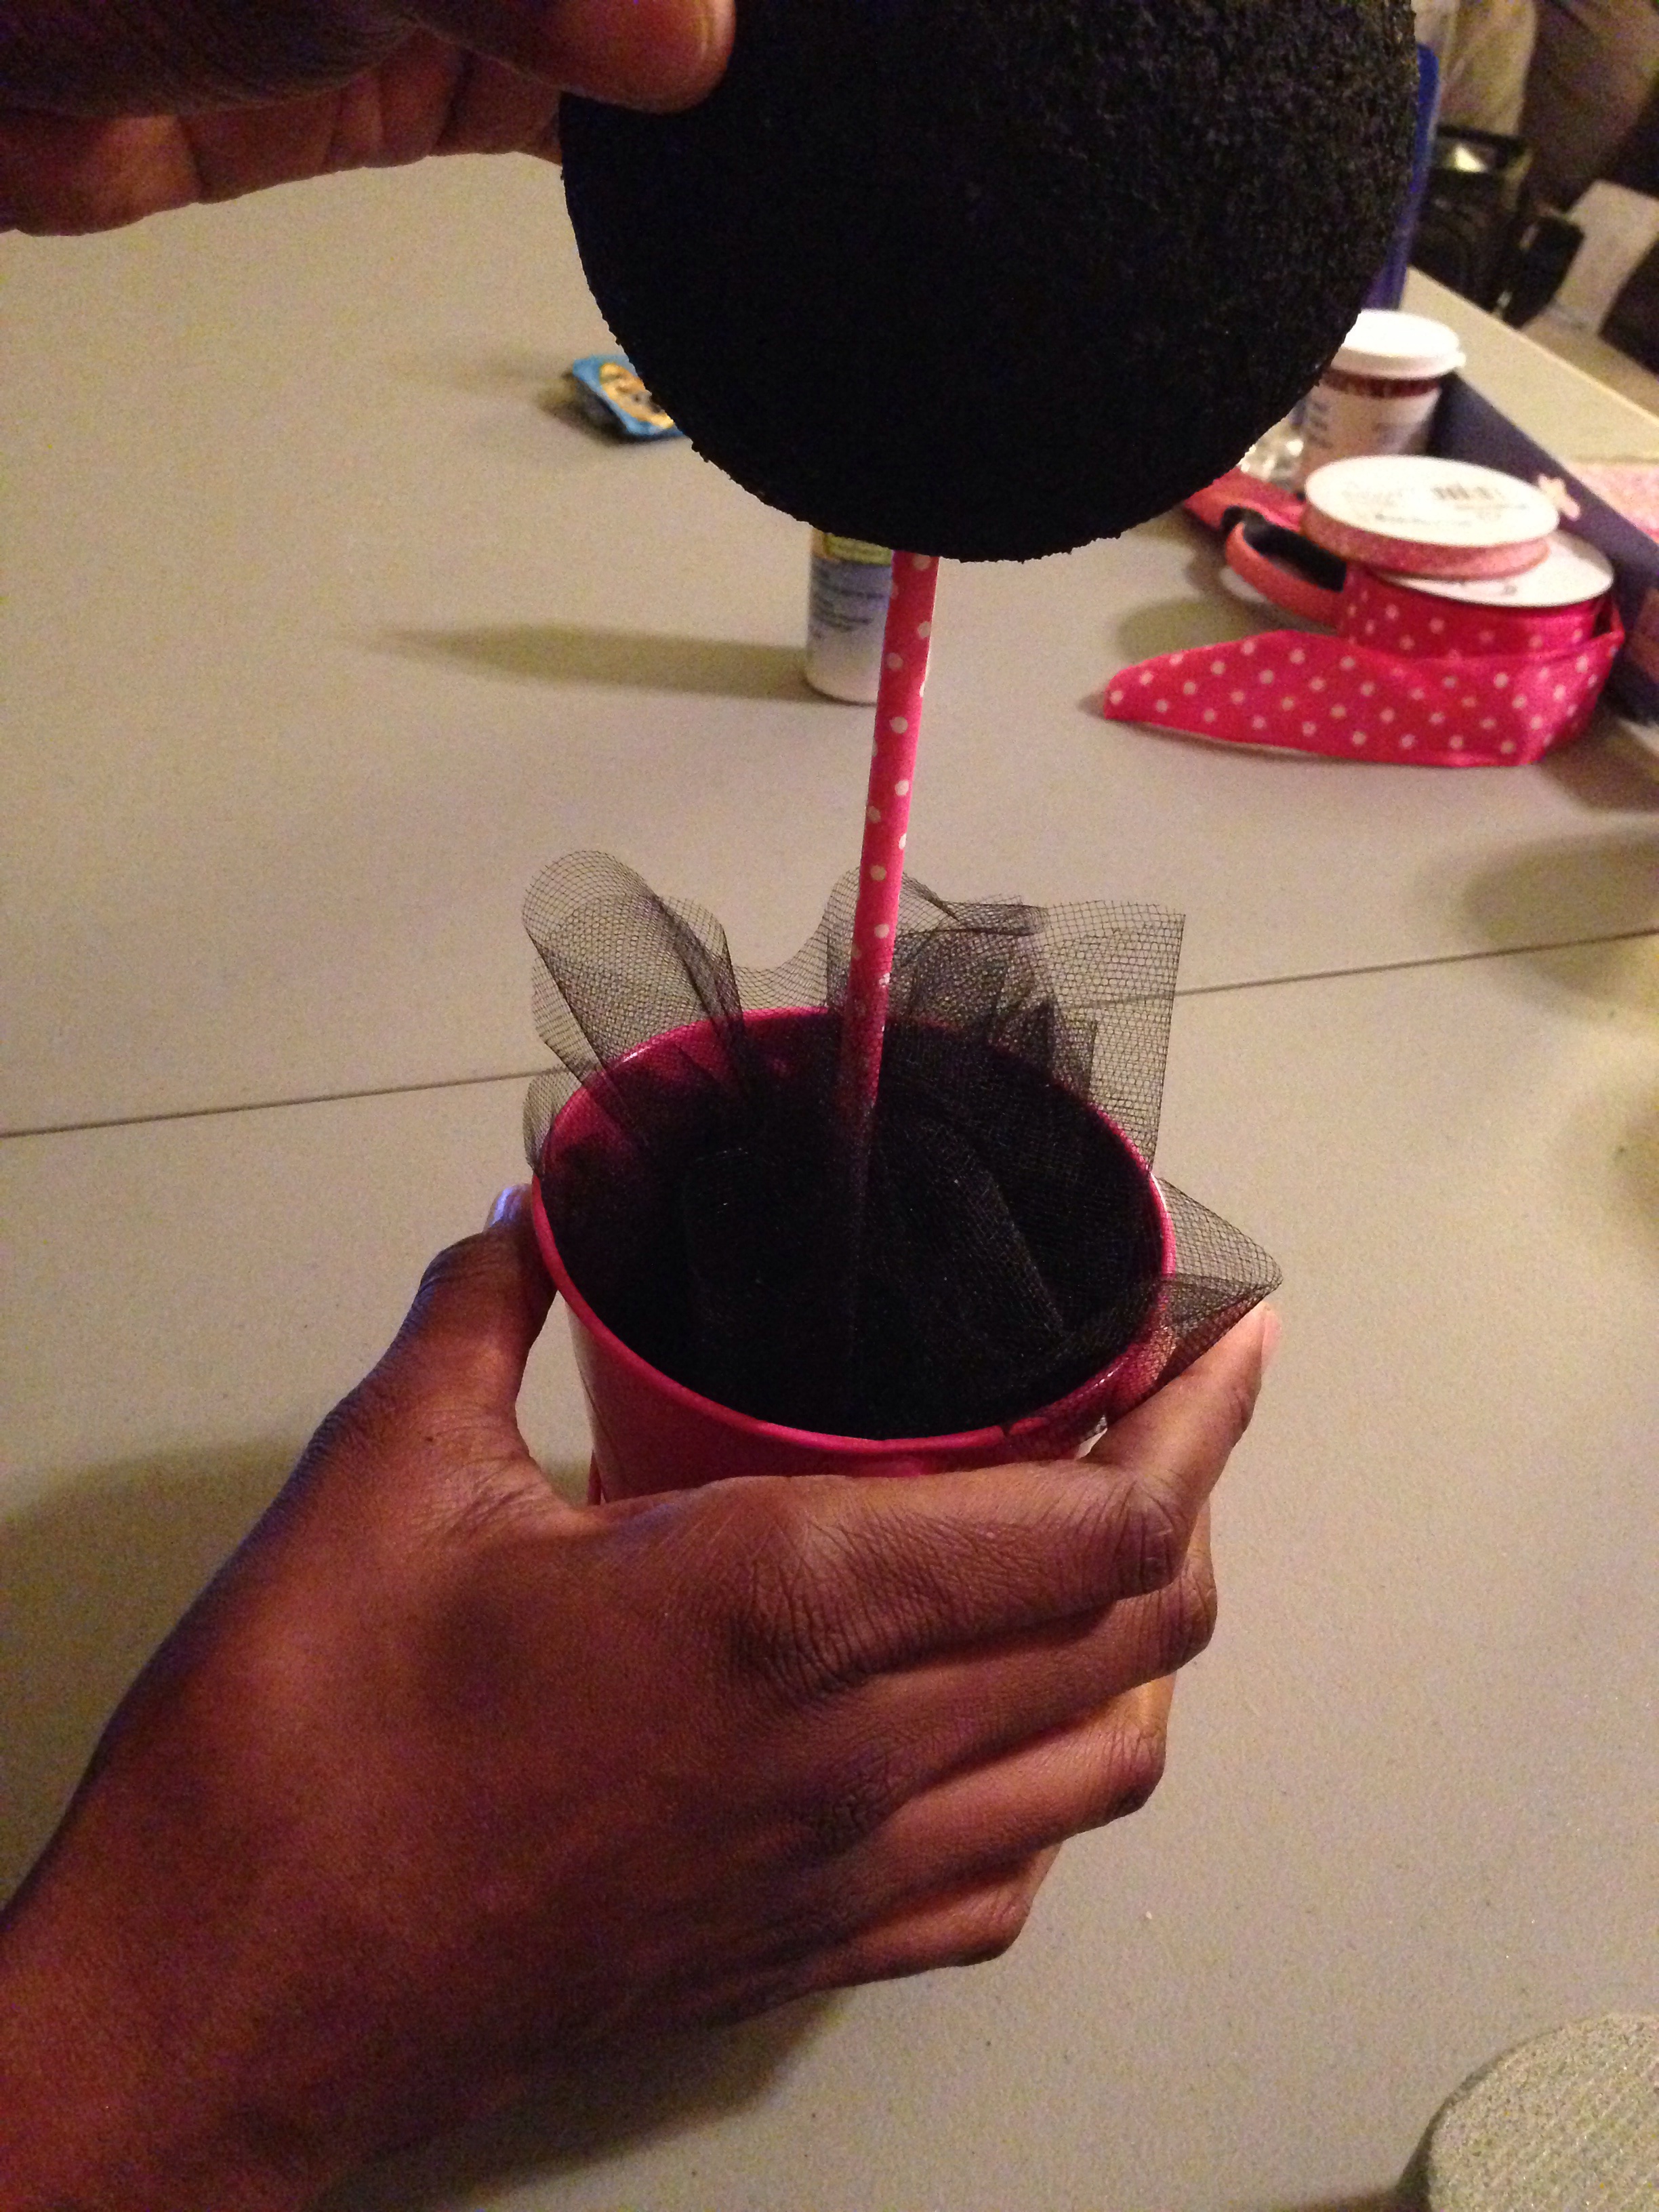
Next, I took several tulle circles, folded them, and pushed them down around the green foam. Poof! The foam is invisible!

photo 1 (10)photo 2 (9)

Just a few more steps! Take one of the large foam balls and push it on the top of the paper straw. Stick toothpicks on either side of the “Minnie head”, and attach the small balls on either side for the ears. If you prefer larger ears, simply purchase larger styrofoam balls instead of the smaller ones. 🙂

photo 3 (8)photo 4 (6)

I made a bow, and used a stick pin to secure it to the top of the head. I hesitate to use hot glue on styrofoam, which is why you see me trying out styrofoam glue and pins and alternate methods to attach things to it.

photo 2 (10)

That’s it! I have 5 more to make for the party and I’ll be set.

We’re going to have 3 tables for food, and one of these will go on each side of the table.

Since the party is now almost a week out, I will probably put up only one or two more posts before then. I’ll take lots of pictures of the decor and put it all in a handy dandy post for you to recap the festivities. Thanks for reading!

Birthday Party Planning: DIY

As mentioned in the first post, this special young lady turns two in April!

DSC_2788n

Well, April is just around the corner! The party is 12 weeks away from tomorrow, which sounds like a lot of time. However, if you’re like me (wanting to create a lot of personal touches), 12 weeks is just enough time to create the Minnie Mouse party I see in my mind.

When I sat down to plan her party, I came up with the following categories:

  • Party theme
  • Party date and time
  • Guest list
  • Invitations
  • Decorations
  • Favors
  • Activities/schedule
  • Menu
  • Cake
  • Photography

Once I had the categories, I researched to see how much each should cost, as well as when we need it by. I split the total cost up over January-April budgets, and will slowly purchase everything needed between now and then. My motto for this is: “Slow and steady wins the race”.

Last year, we had her first birthday party at our house. While it went well, there was a LOT to be learned from the experience. I spent a lot of time of Pinterest (and I do mean a lot), and came up with ideas for each category listed above. I have started enlisting the help of those who are needed to pull this off, and I have made my list to DIY projects for the party.

The posts over the next several weeks will show the process behind completing those projects. They include:

  • Pin the bow on the Minnie like this:

Pin the tail

  • Centerpieces like this:

Centerpiece

  • Minnie/Mickey ears like these:

Ears

  • Favor bags like these:

goody bags

  • Birthday outfit like this (I think….I may do a cloth tutu):

Outfit

  • And, info board like this:

Info board

I plan to tackle the Minnie/Mickey ears first, so expect to see how those turned out on the next post (1st Friday of February). So that’s it, y’all! A (very) brief synopsis of how I get the ball rolling when planning a small event. I’m sooo looking forward to digging in to all of the DIY awesomeness!