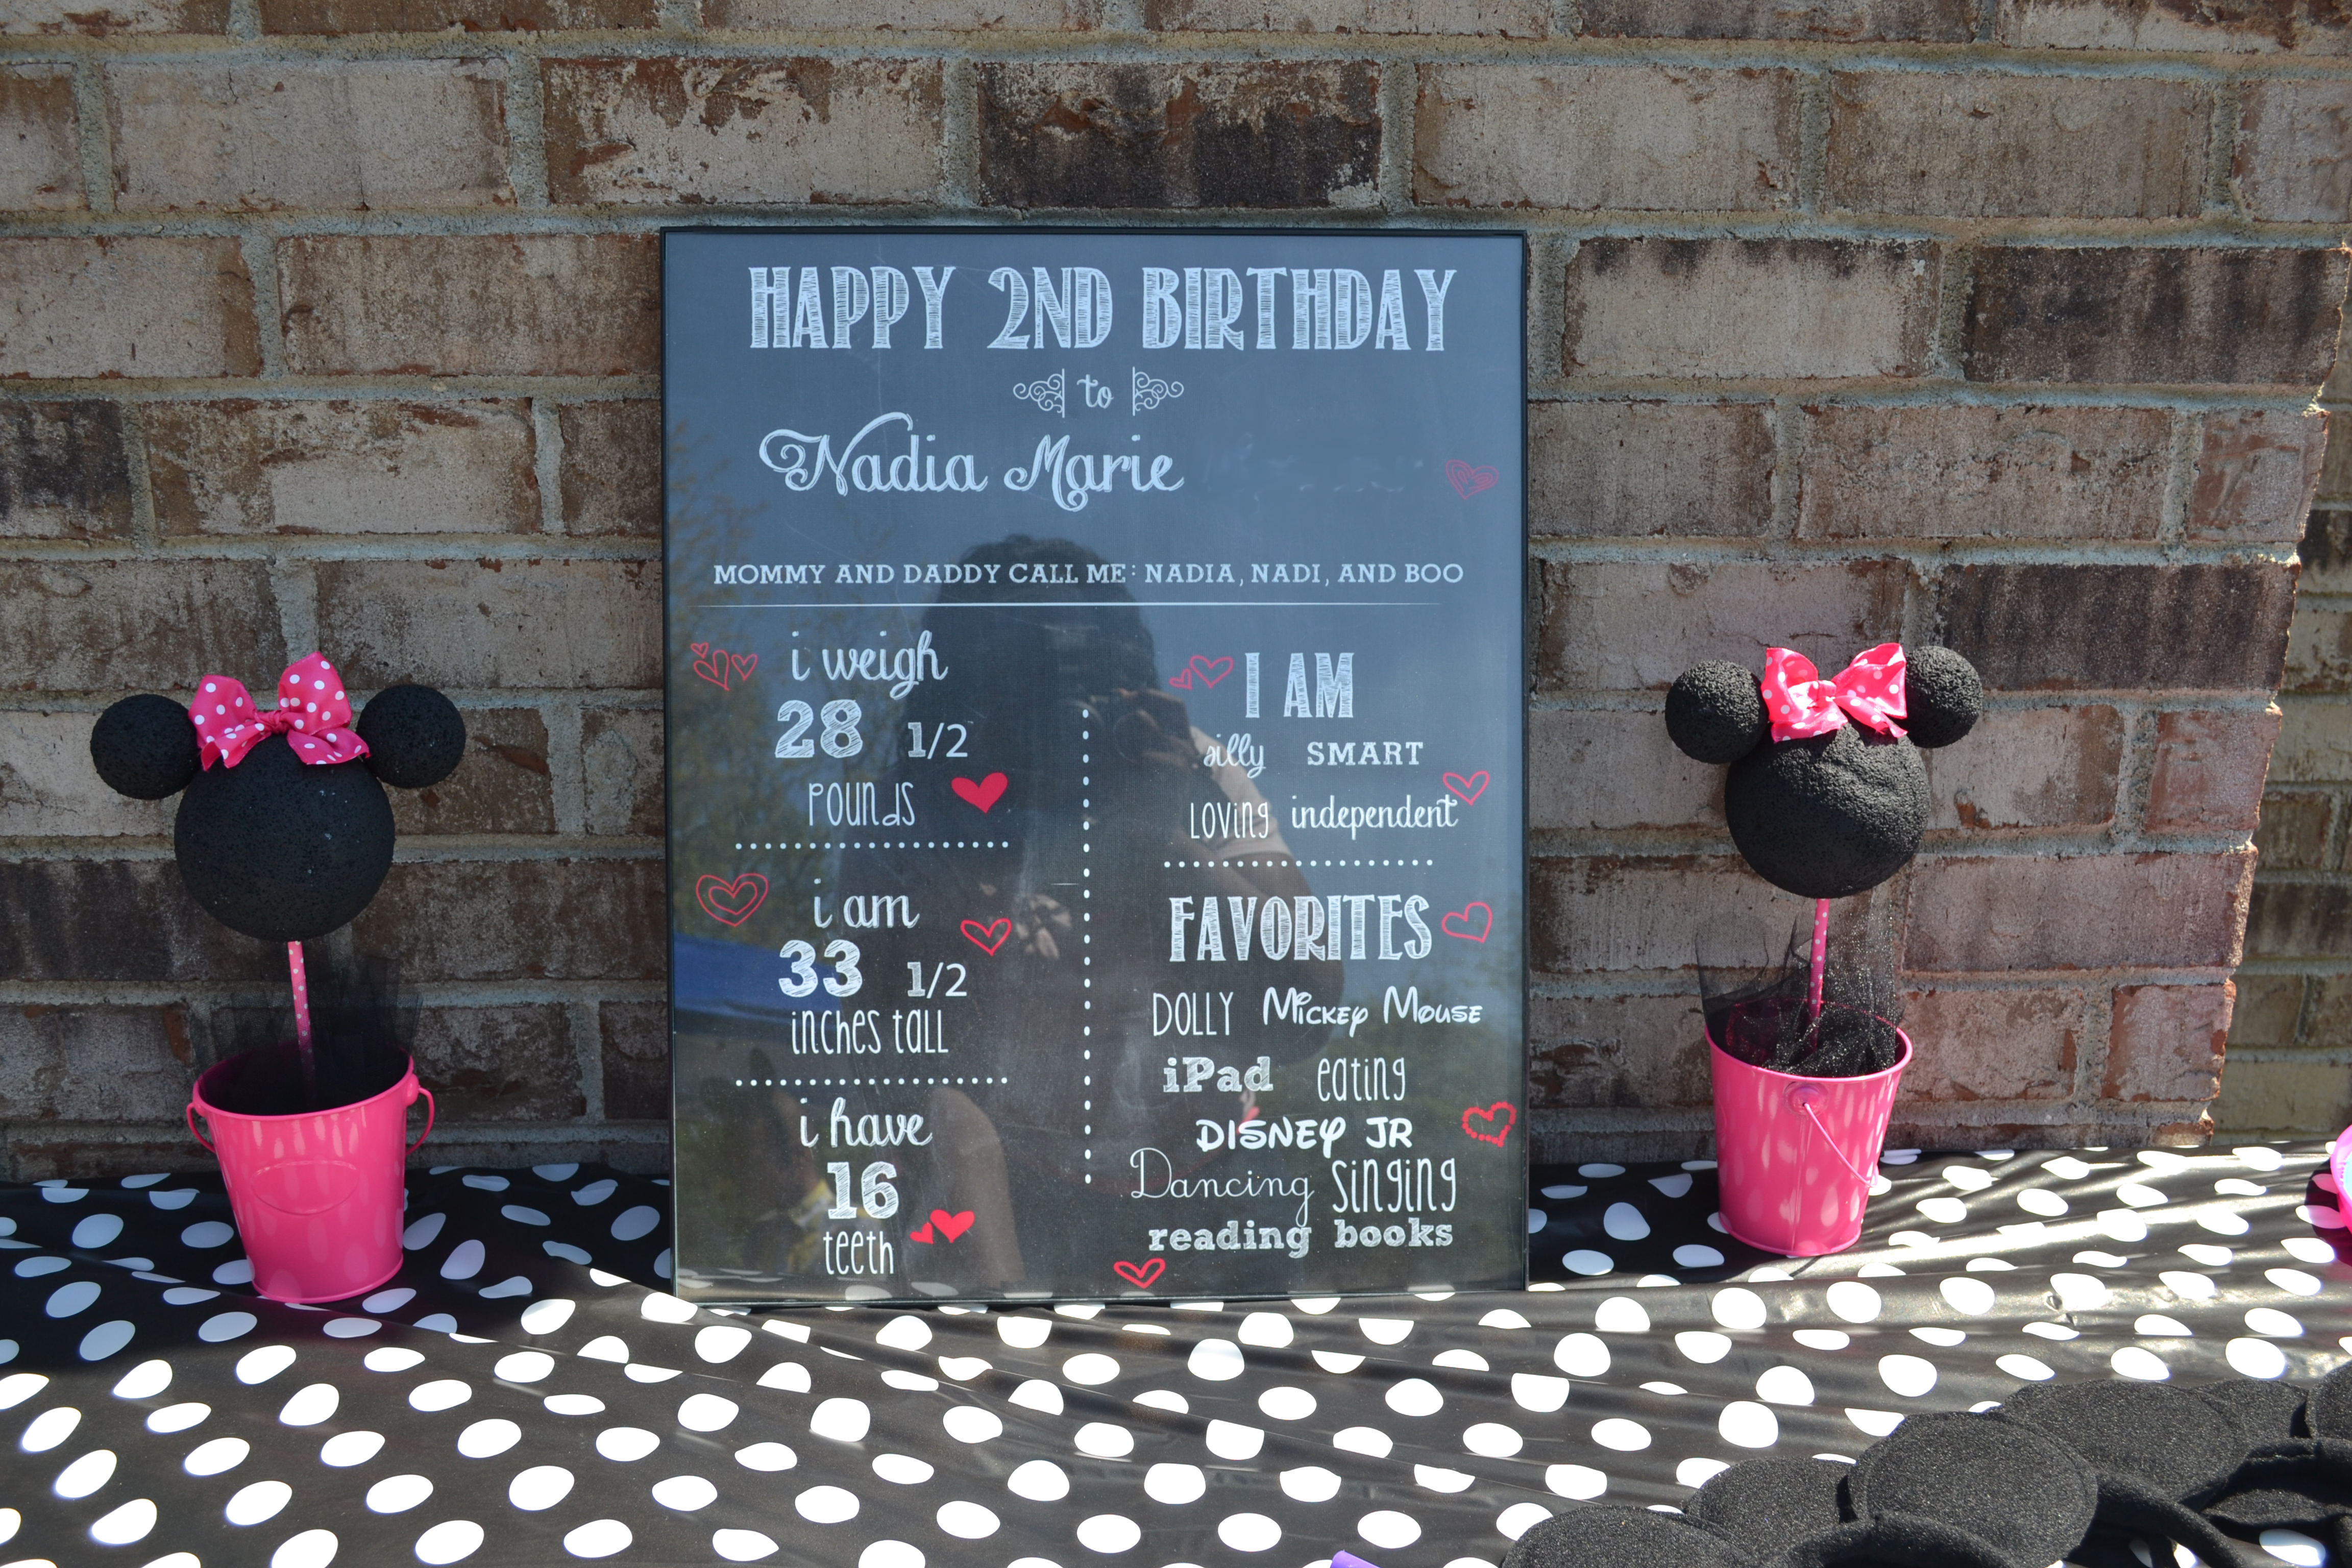
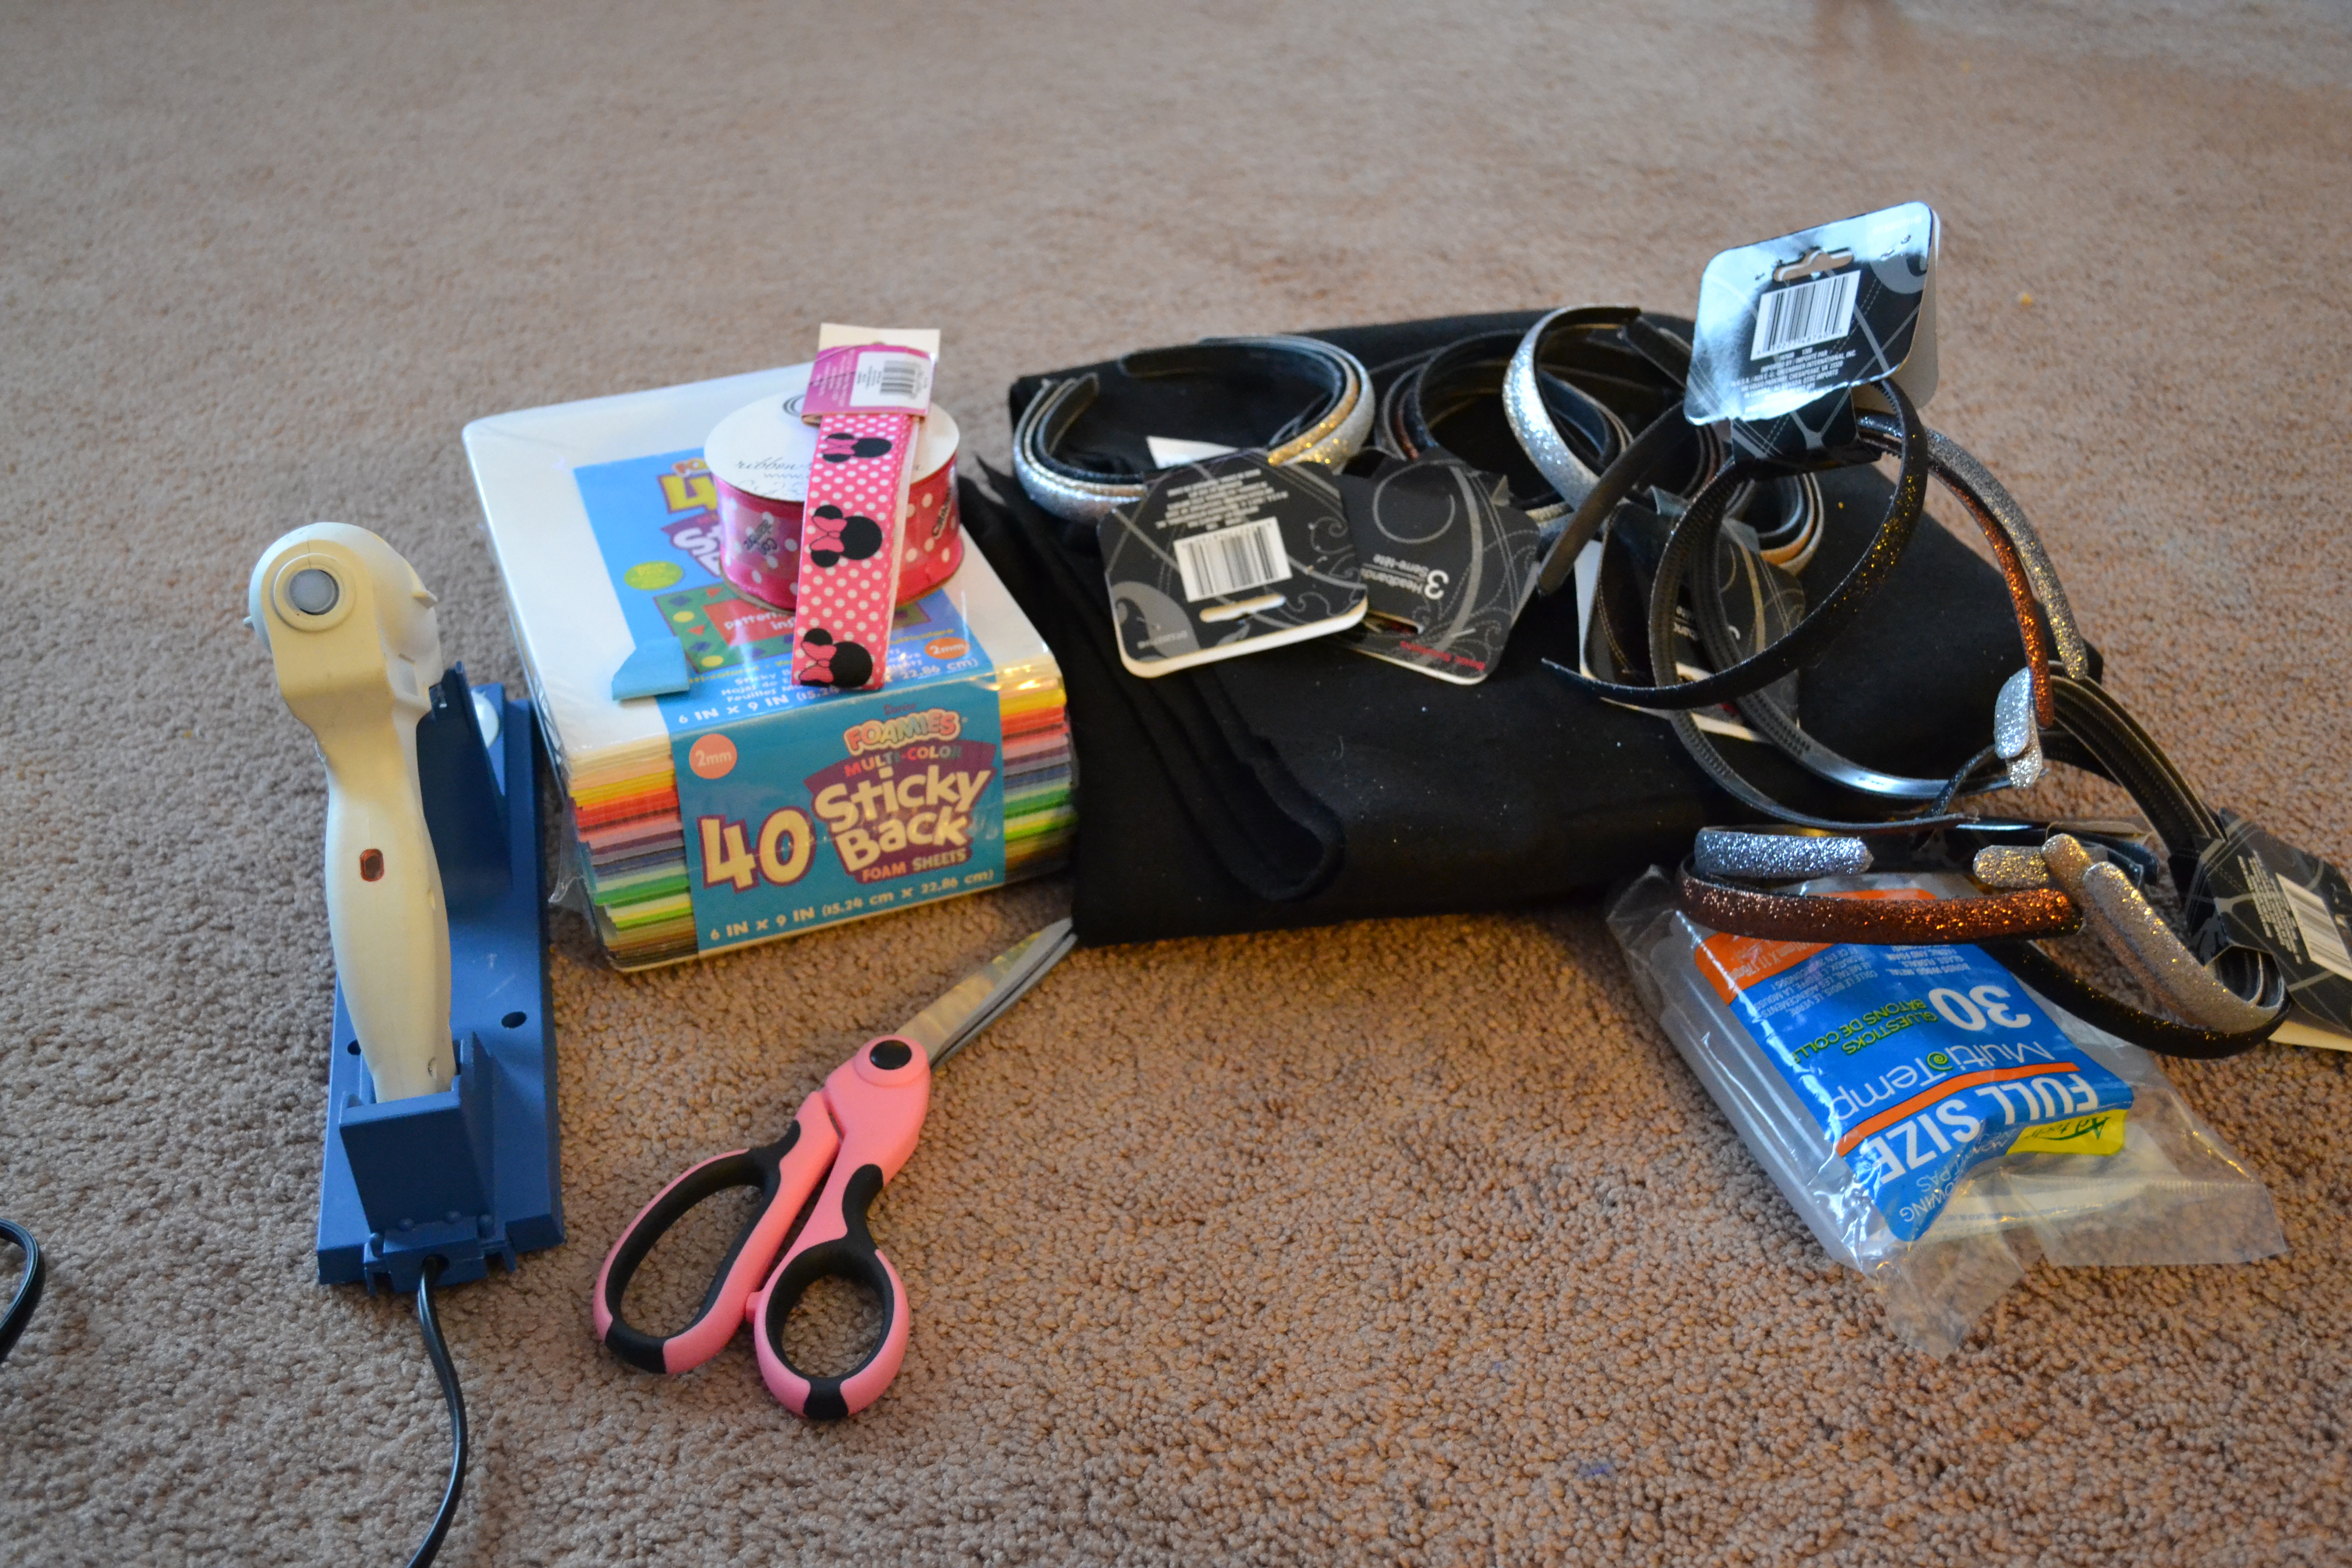
Last week, I finally sat down to begin working on these Minnie and Mickey Mouse ears for my daughter’s 2nd birthday party in April. Below, I describe how I got to work on creating them. I started out with everything you see in this picture. The 8 packs of headbands had 3 in each pack and were $1 each at Dollar Tree. I found the sticky back foam, ribbon, and glue sticks at Joann, and the felt at Walmart (made from post-consumer recycled plastic bottles). There was only a yard and a half in stock, so I got all of it. *note: Anytime you want to shop at Joann, Michaels, Hobby Lobby, etc. bring coupons!!!!! Joann has an app, emails you coupons, and will mail them to your home. Michaels emails and texts coupons to you, and every time you shop at Hobby Lobby, you can either print a 40% off coupon and bring it in, or pull it up on your smart phone. It’s too easy to save additional $$ on your purchases at these stores. Take advantage!
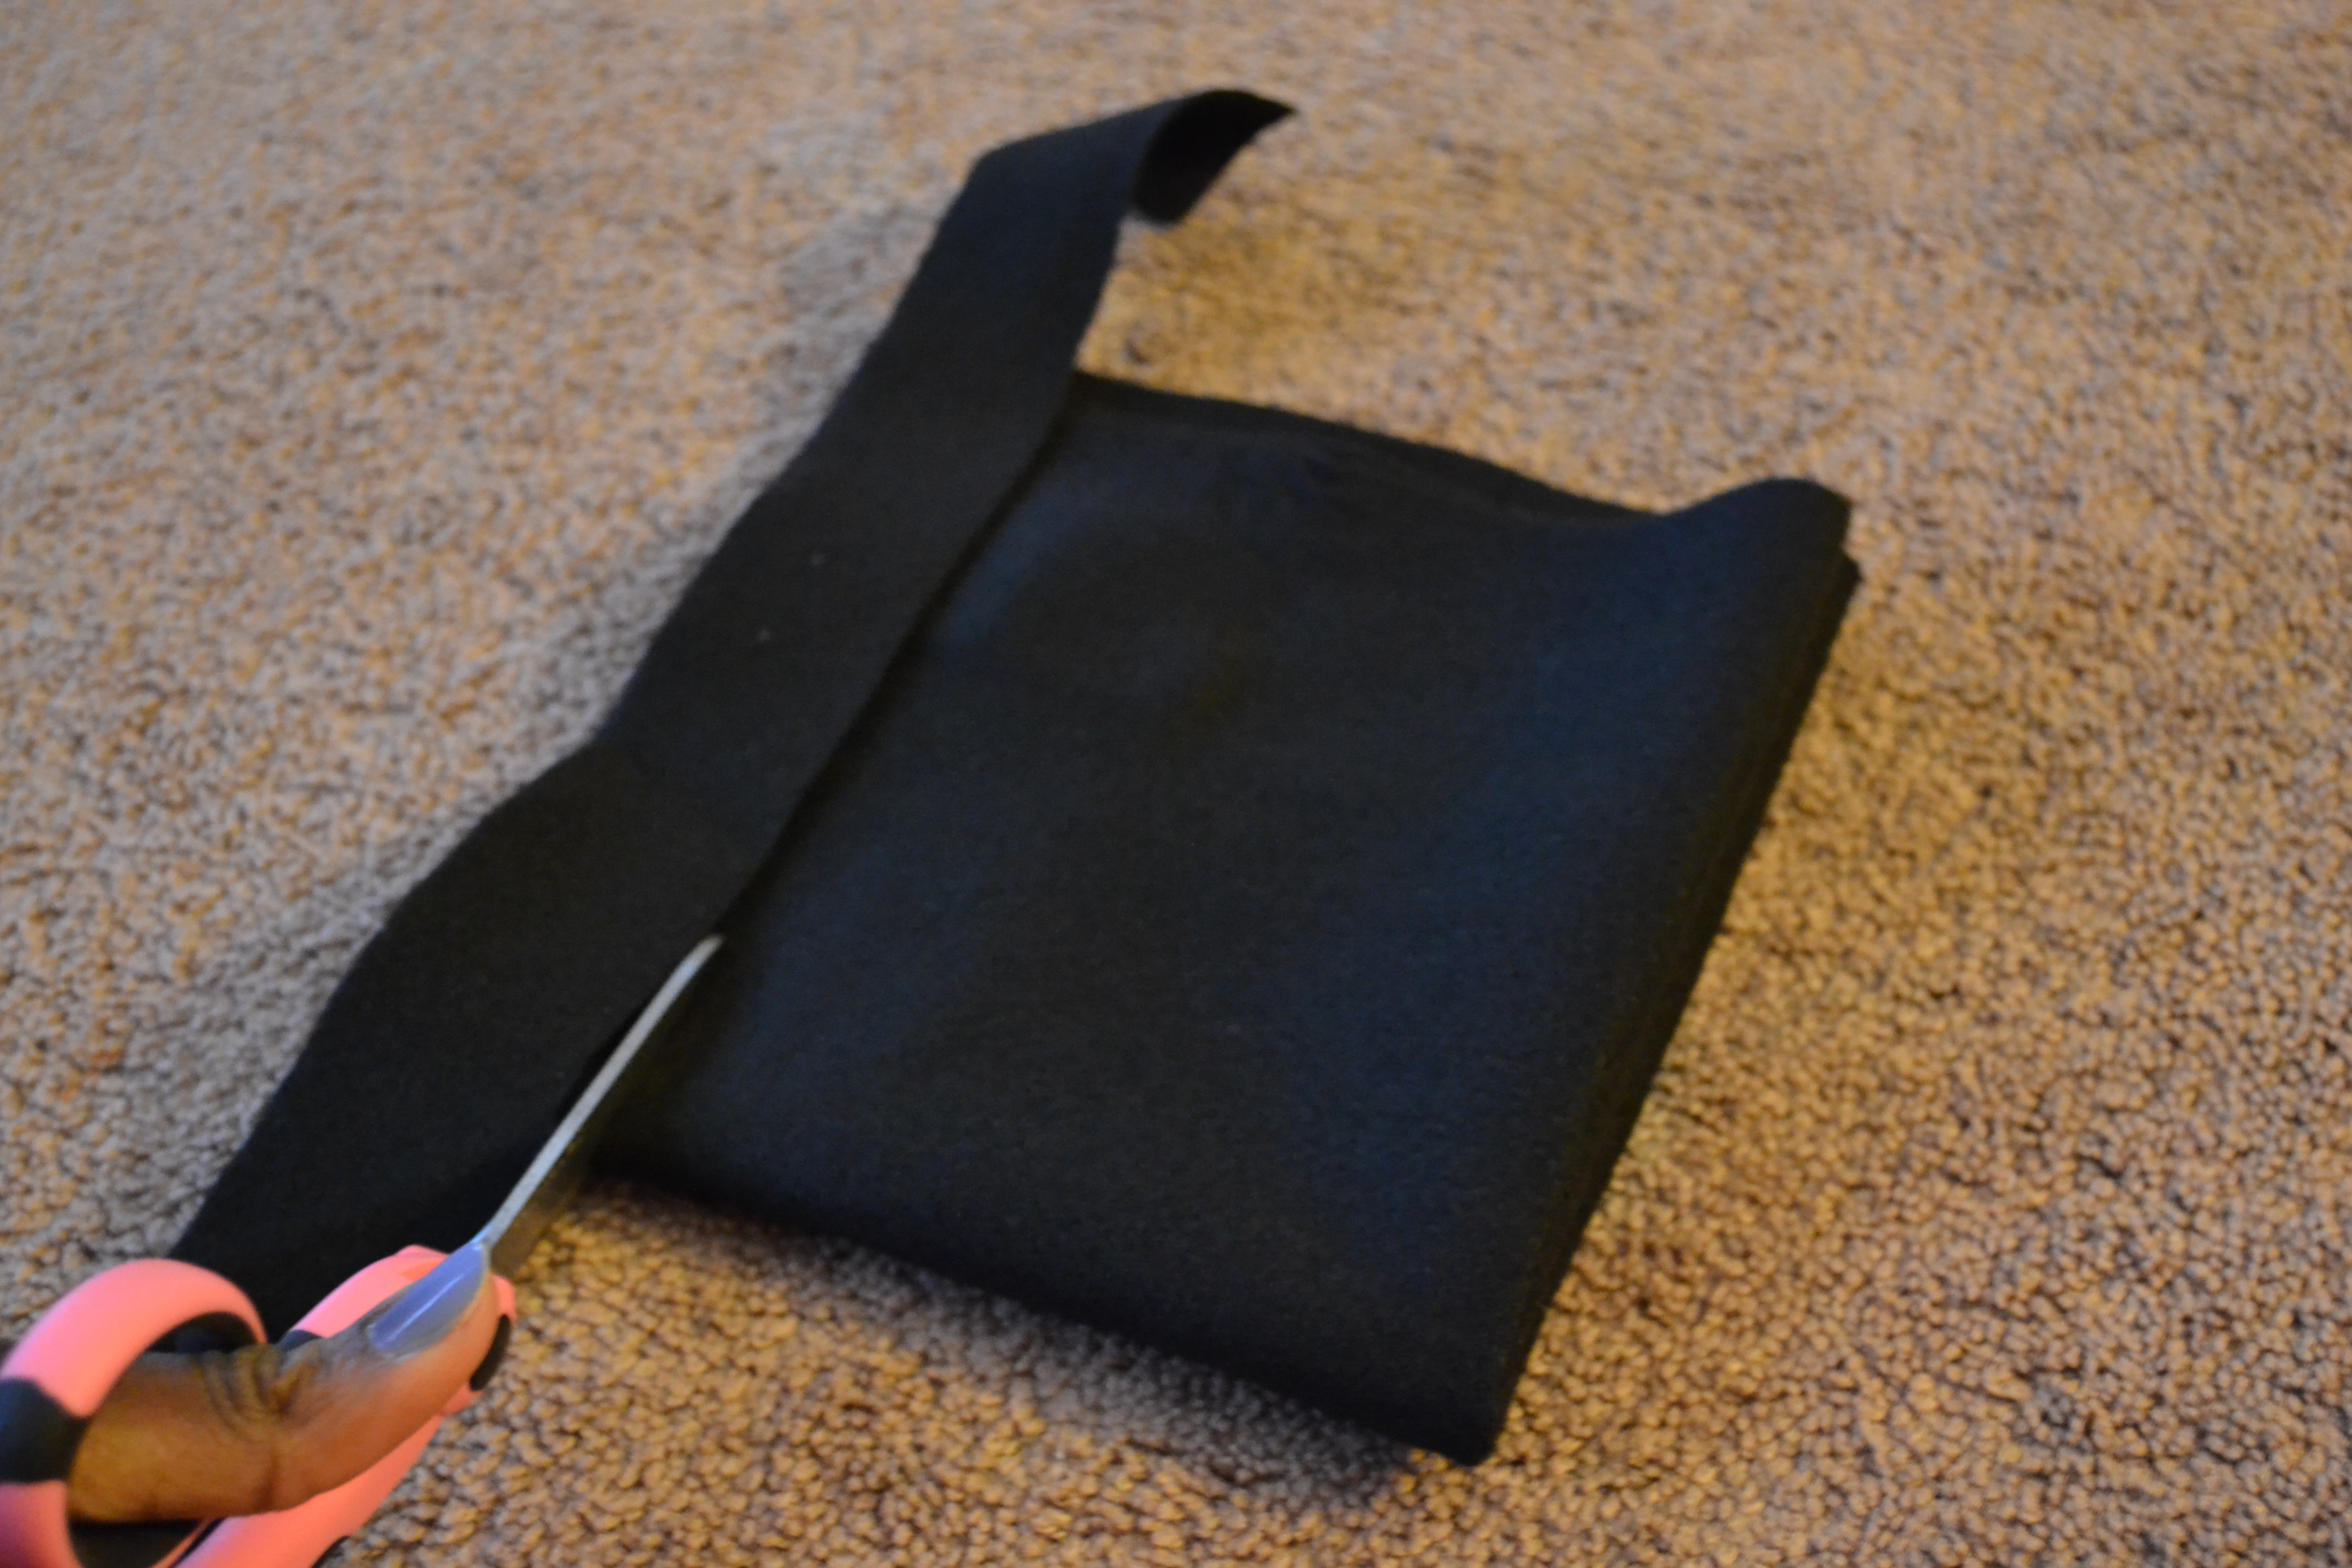
  I referenced The Surburban Mom’s tutorial for making the ears, but you will see some differences, as I will point out later. I found a template for the ears on the site, which helped take some of the guesswork away. To start, I measured the headband by loosely wrapping it in the felt to determine what size the pieces of felt needed to be. Then, I went ahead and cut all the strips of felt I needed.


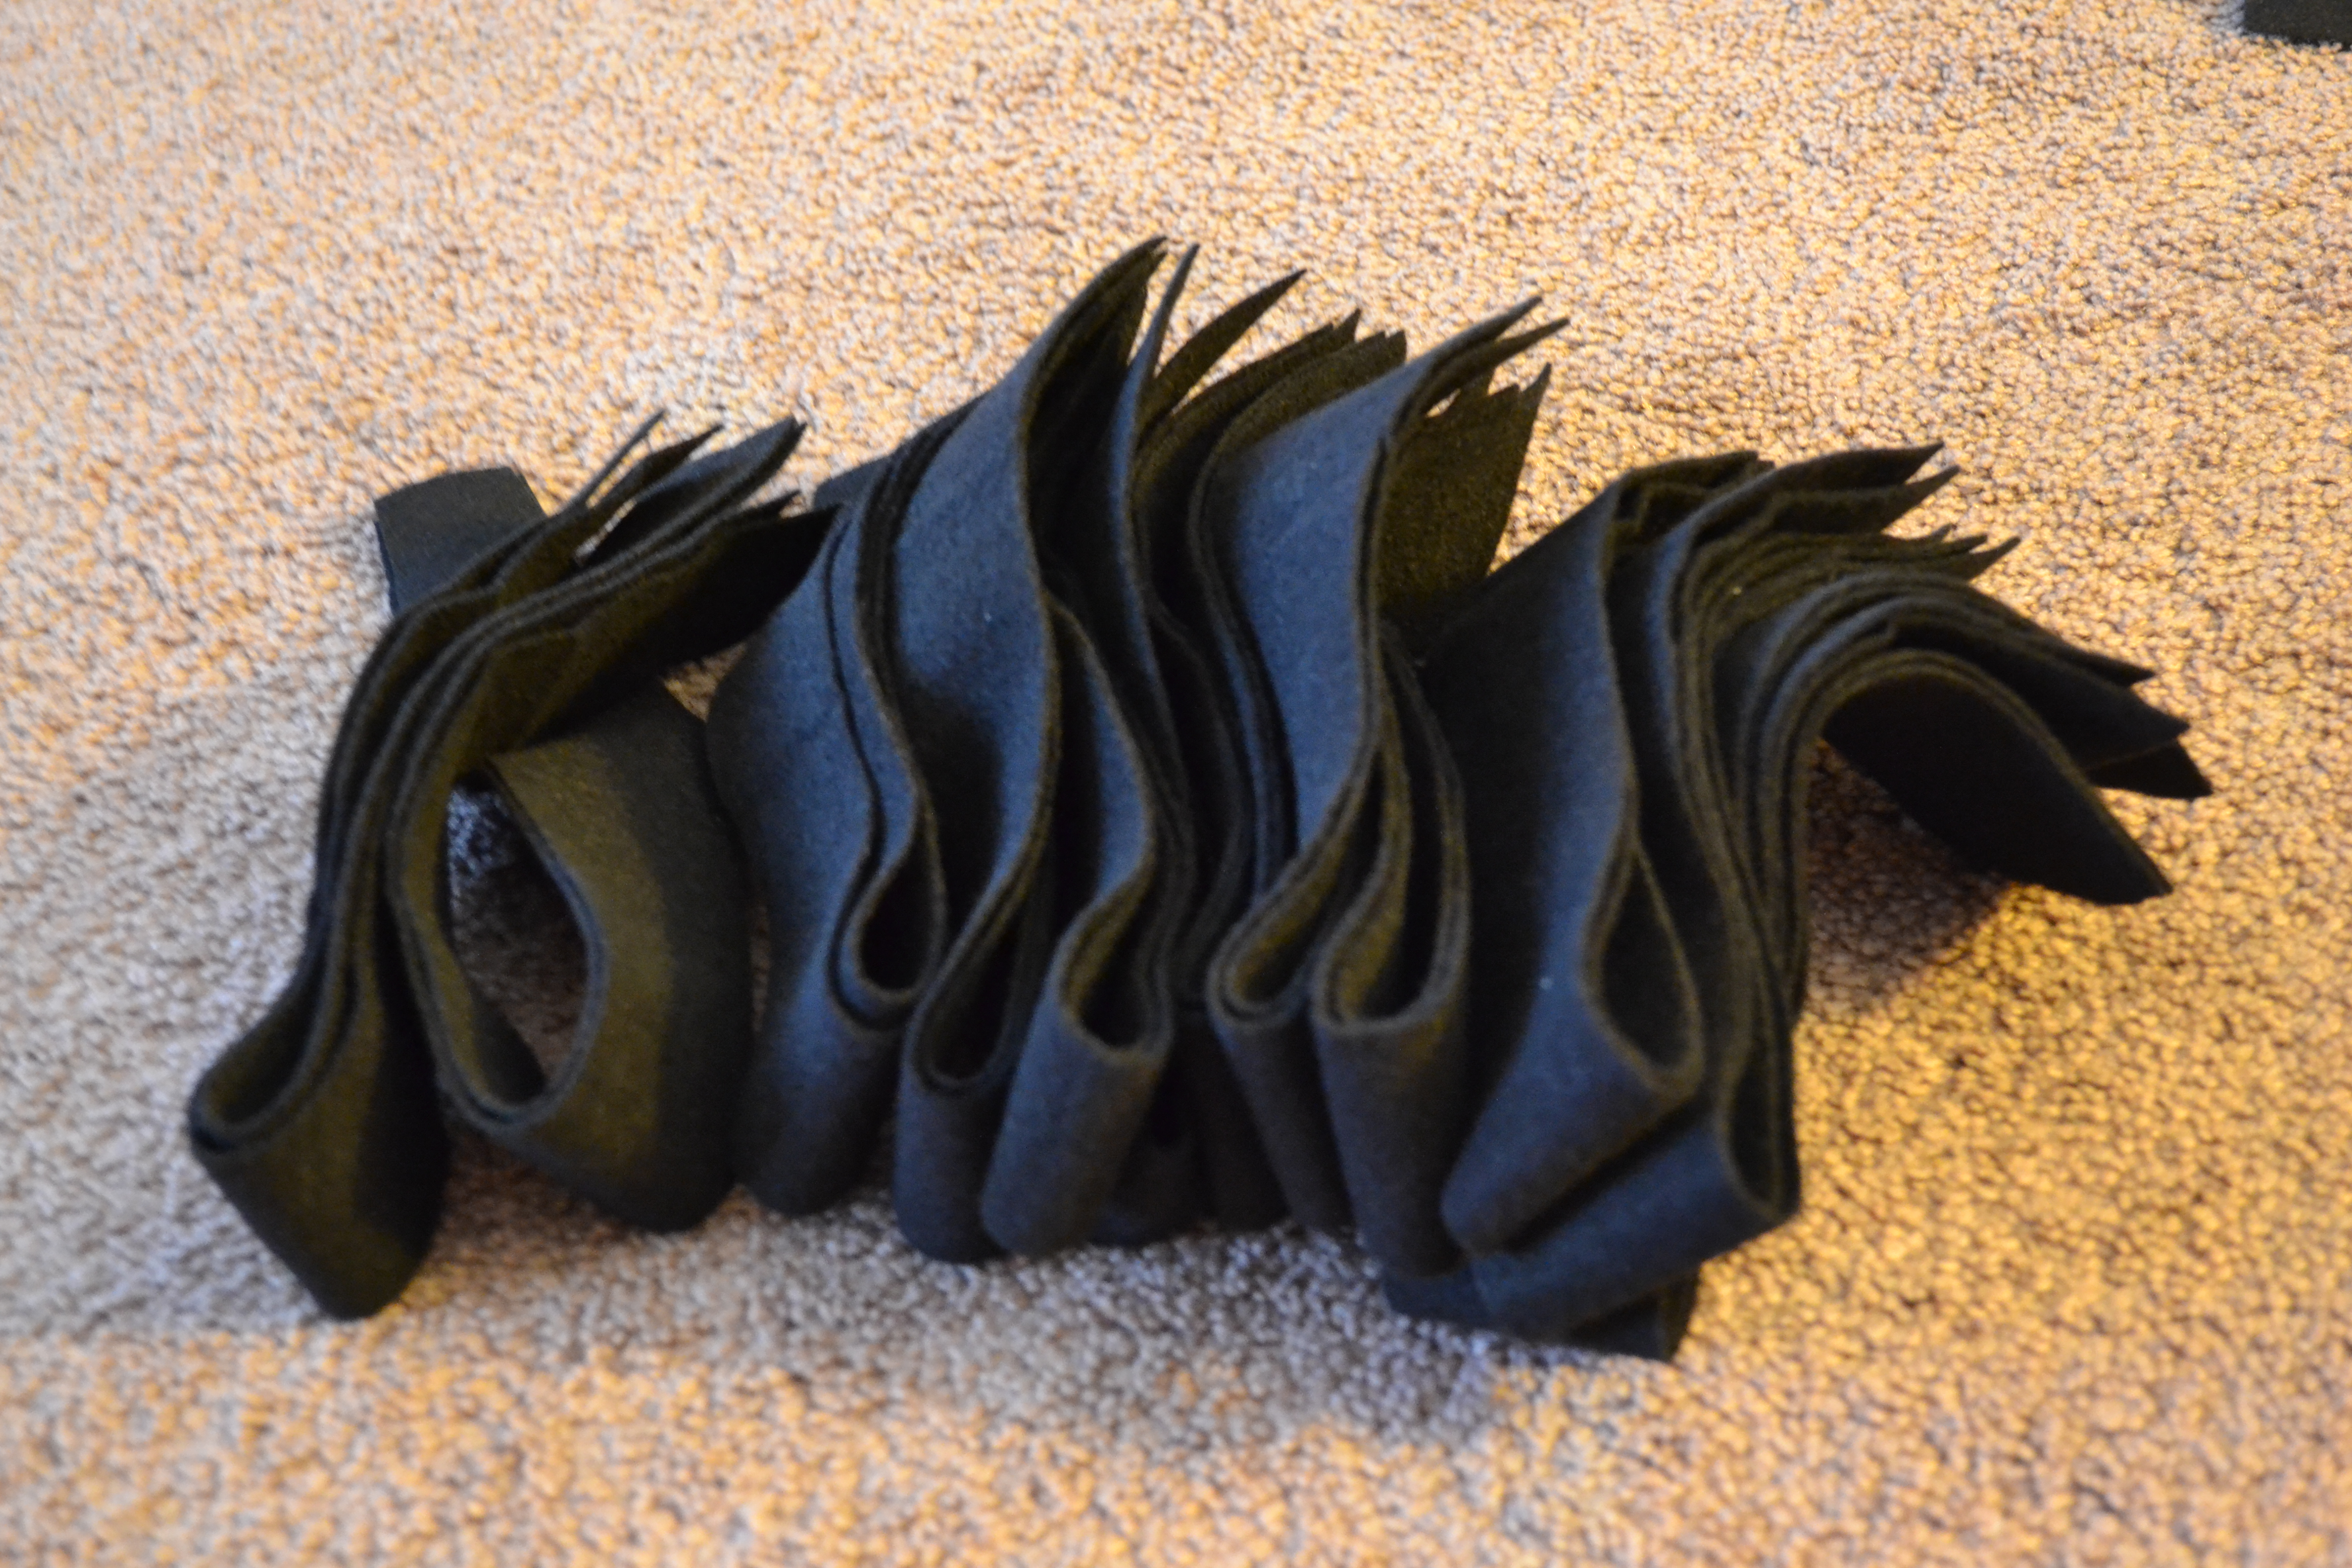
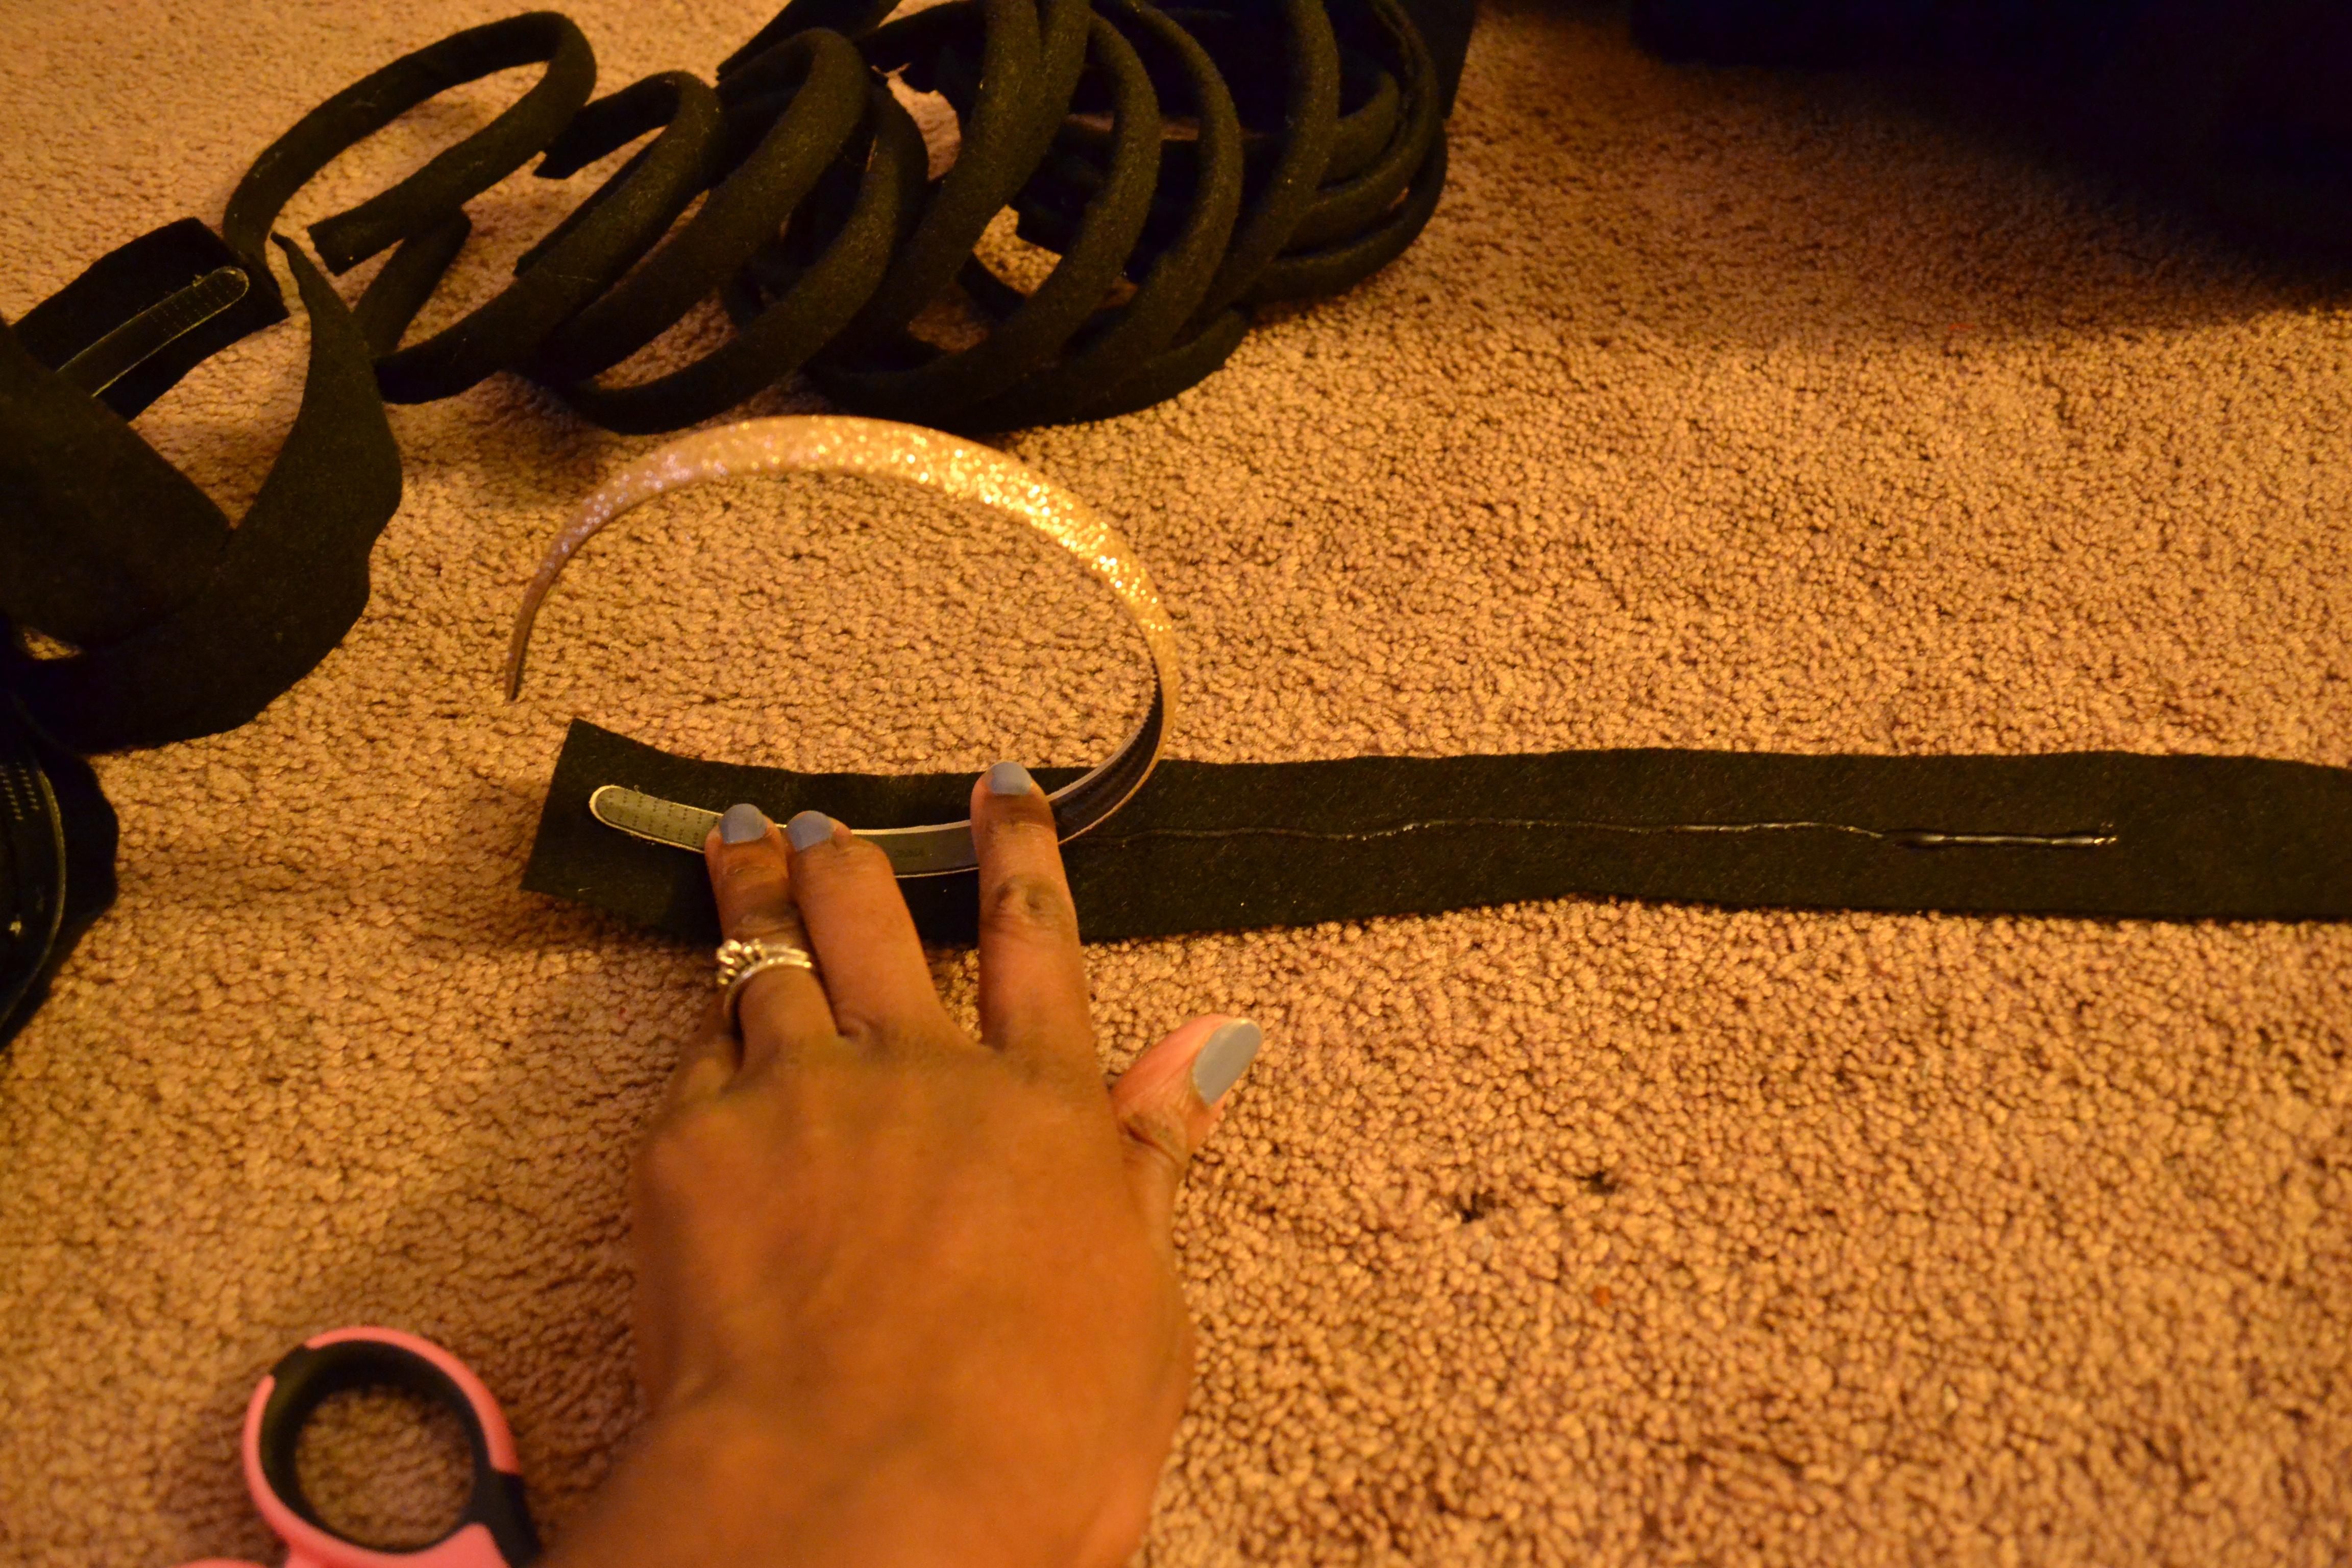
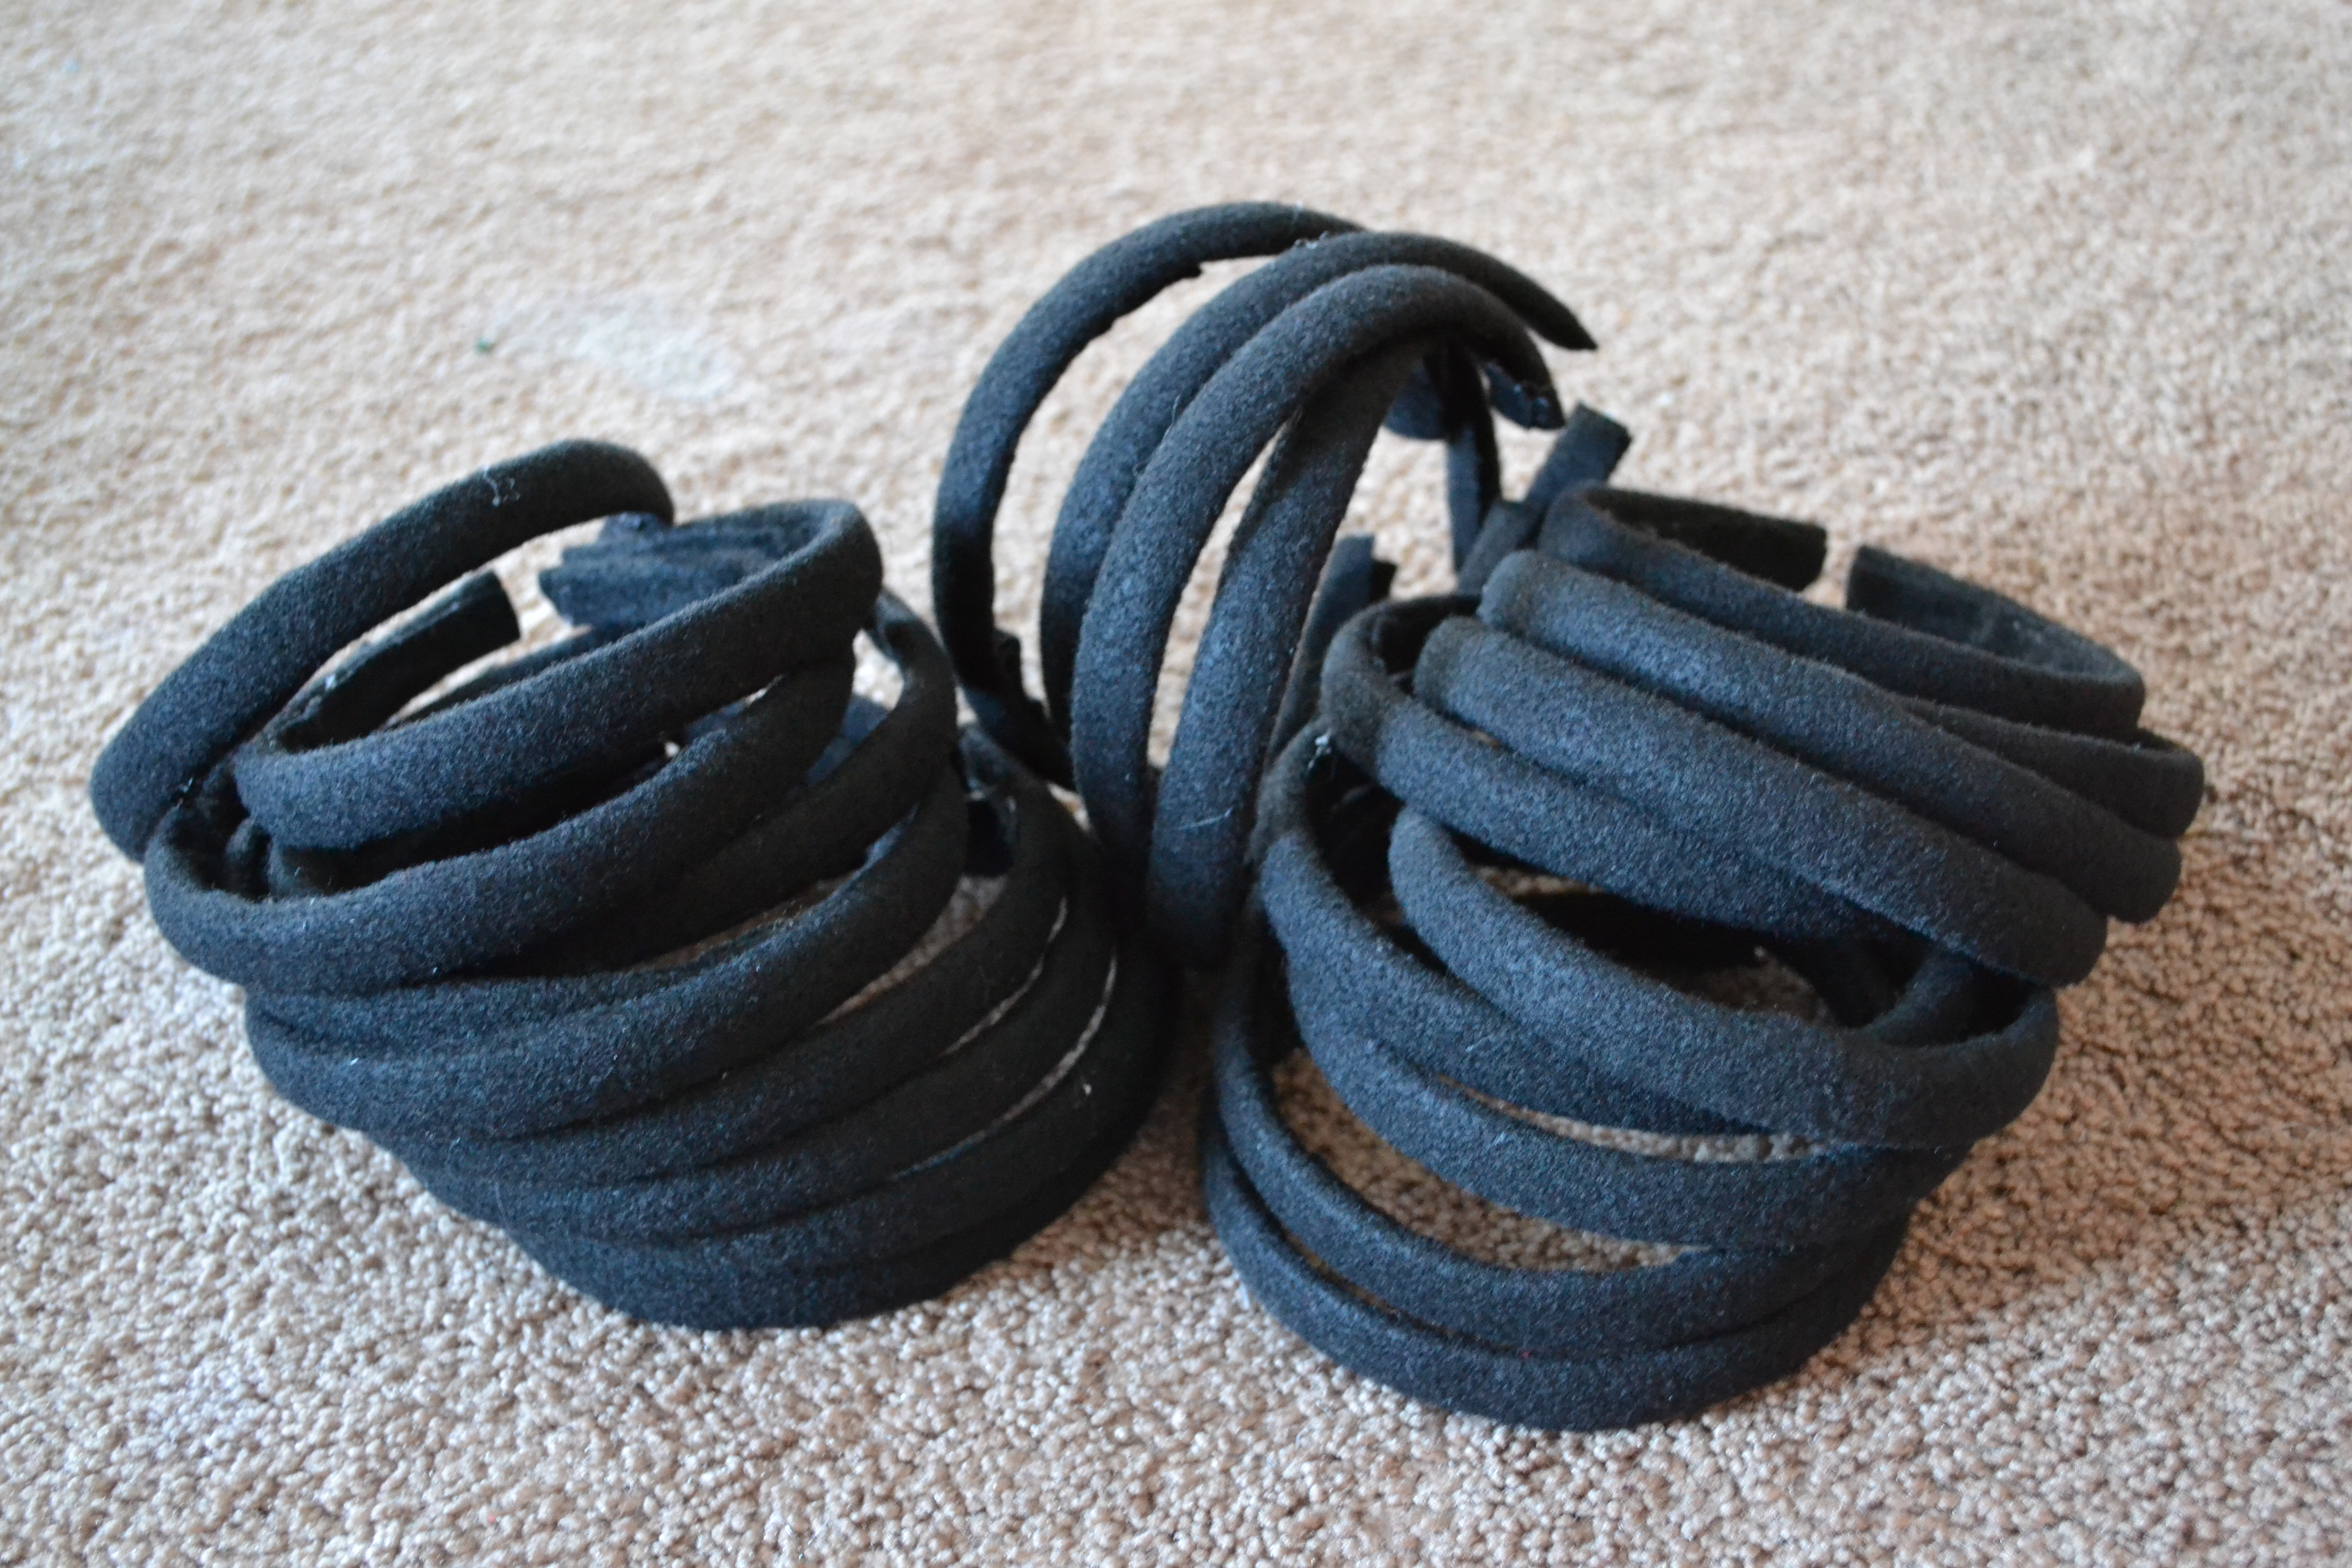
To cover the headbands, I took a strip of felt and placed a little bit of hot glue at the end. I rolled the headband along the strip, adding more hot glue as I went.


Then, I folded one side of the felt across the inside of the headband and glued in place. As expected, the glue was very hot, and “ouch!” was uttered plenty of times. After securing the first side, I overlapped the remaining side and glued in place. The first few I did had more visible glue than I really cared for, but the more I made, the better they looked. Once the felt was secured, I trimmed the excess off of the ends, squeezed just a drop on the inside of the ends, and pinched them together. I repeated until I had this nice stack of felt-covered headbands:

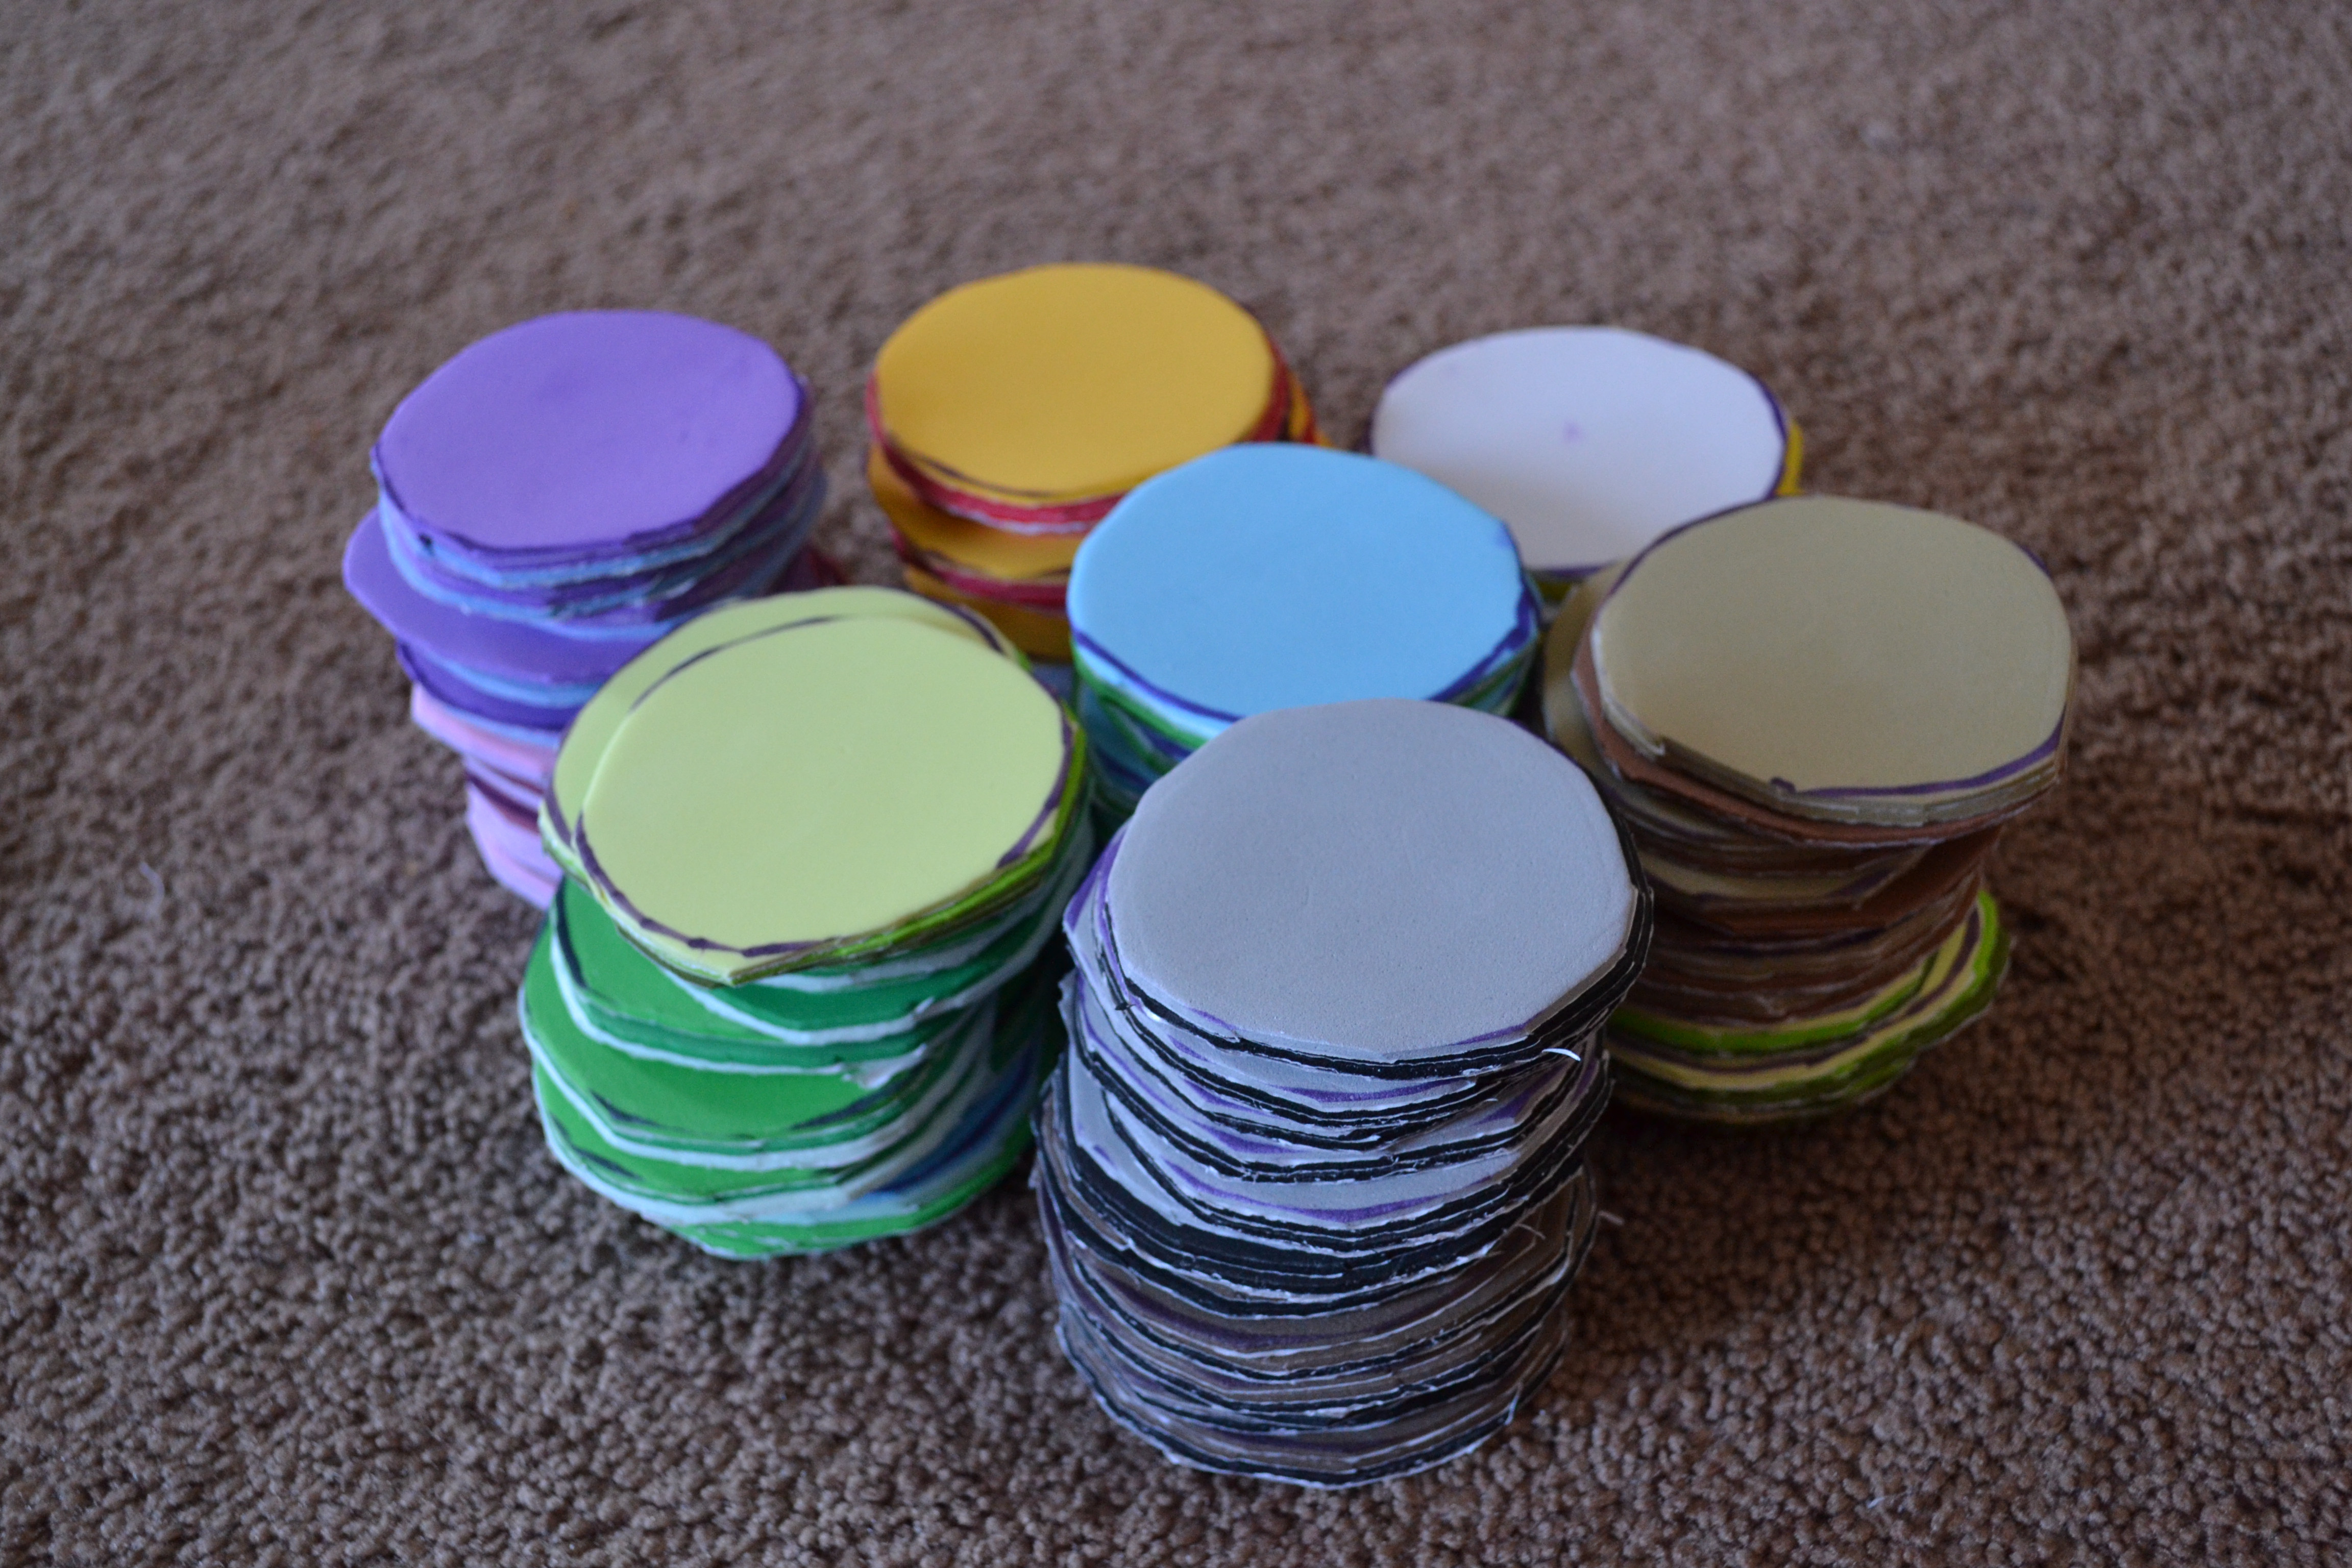
It was then time to cut the foam for the ears. I used the template referenced above to get the right size. I was able to fit 6 circles on each piece of foam.


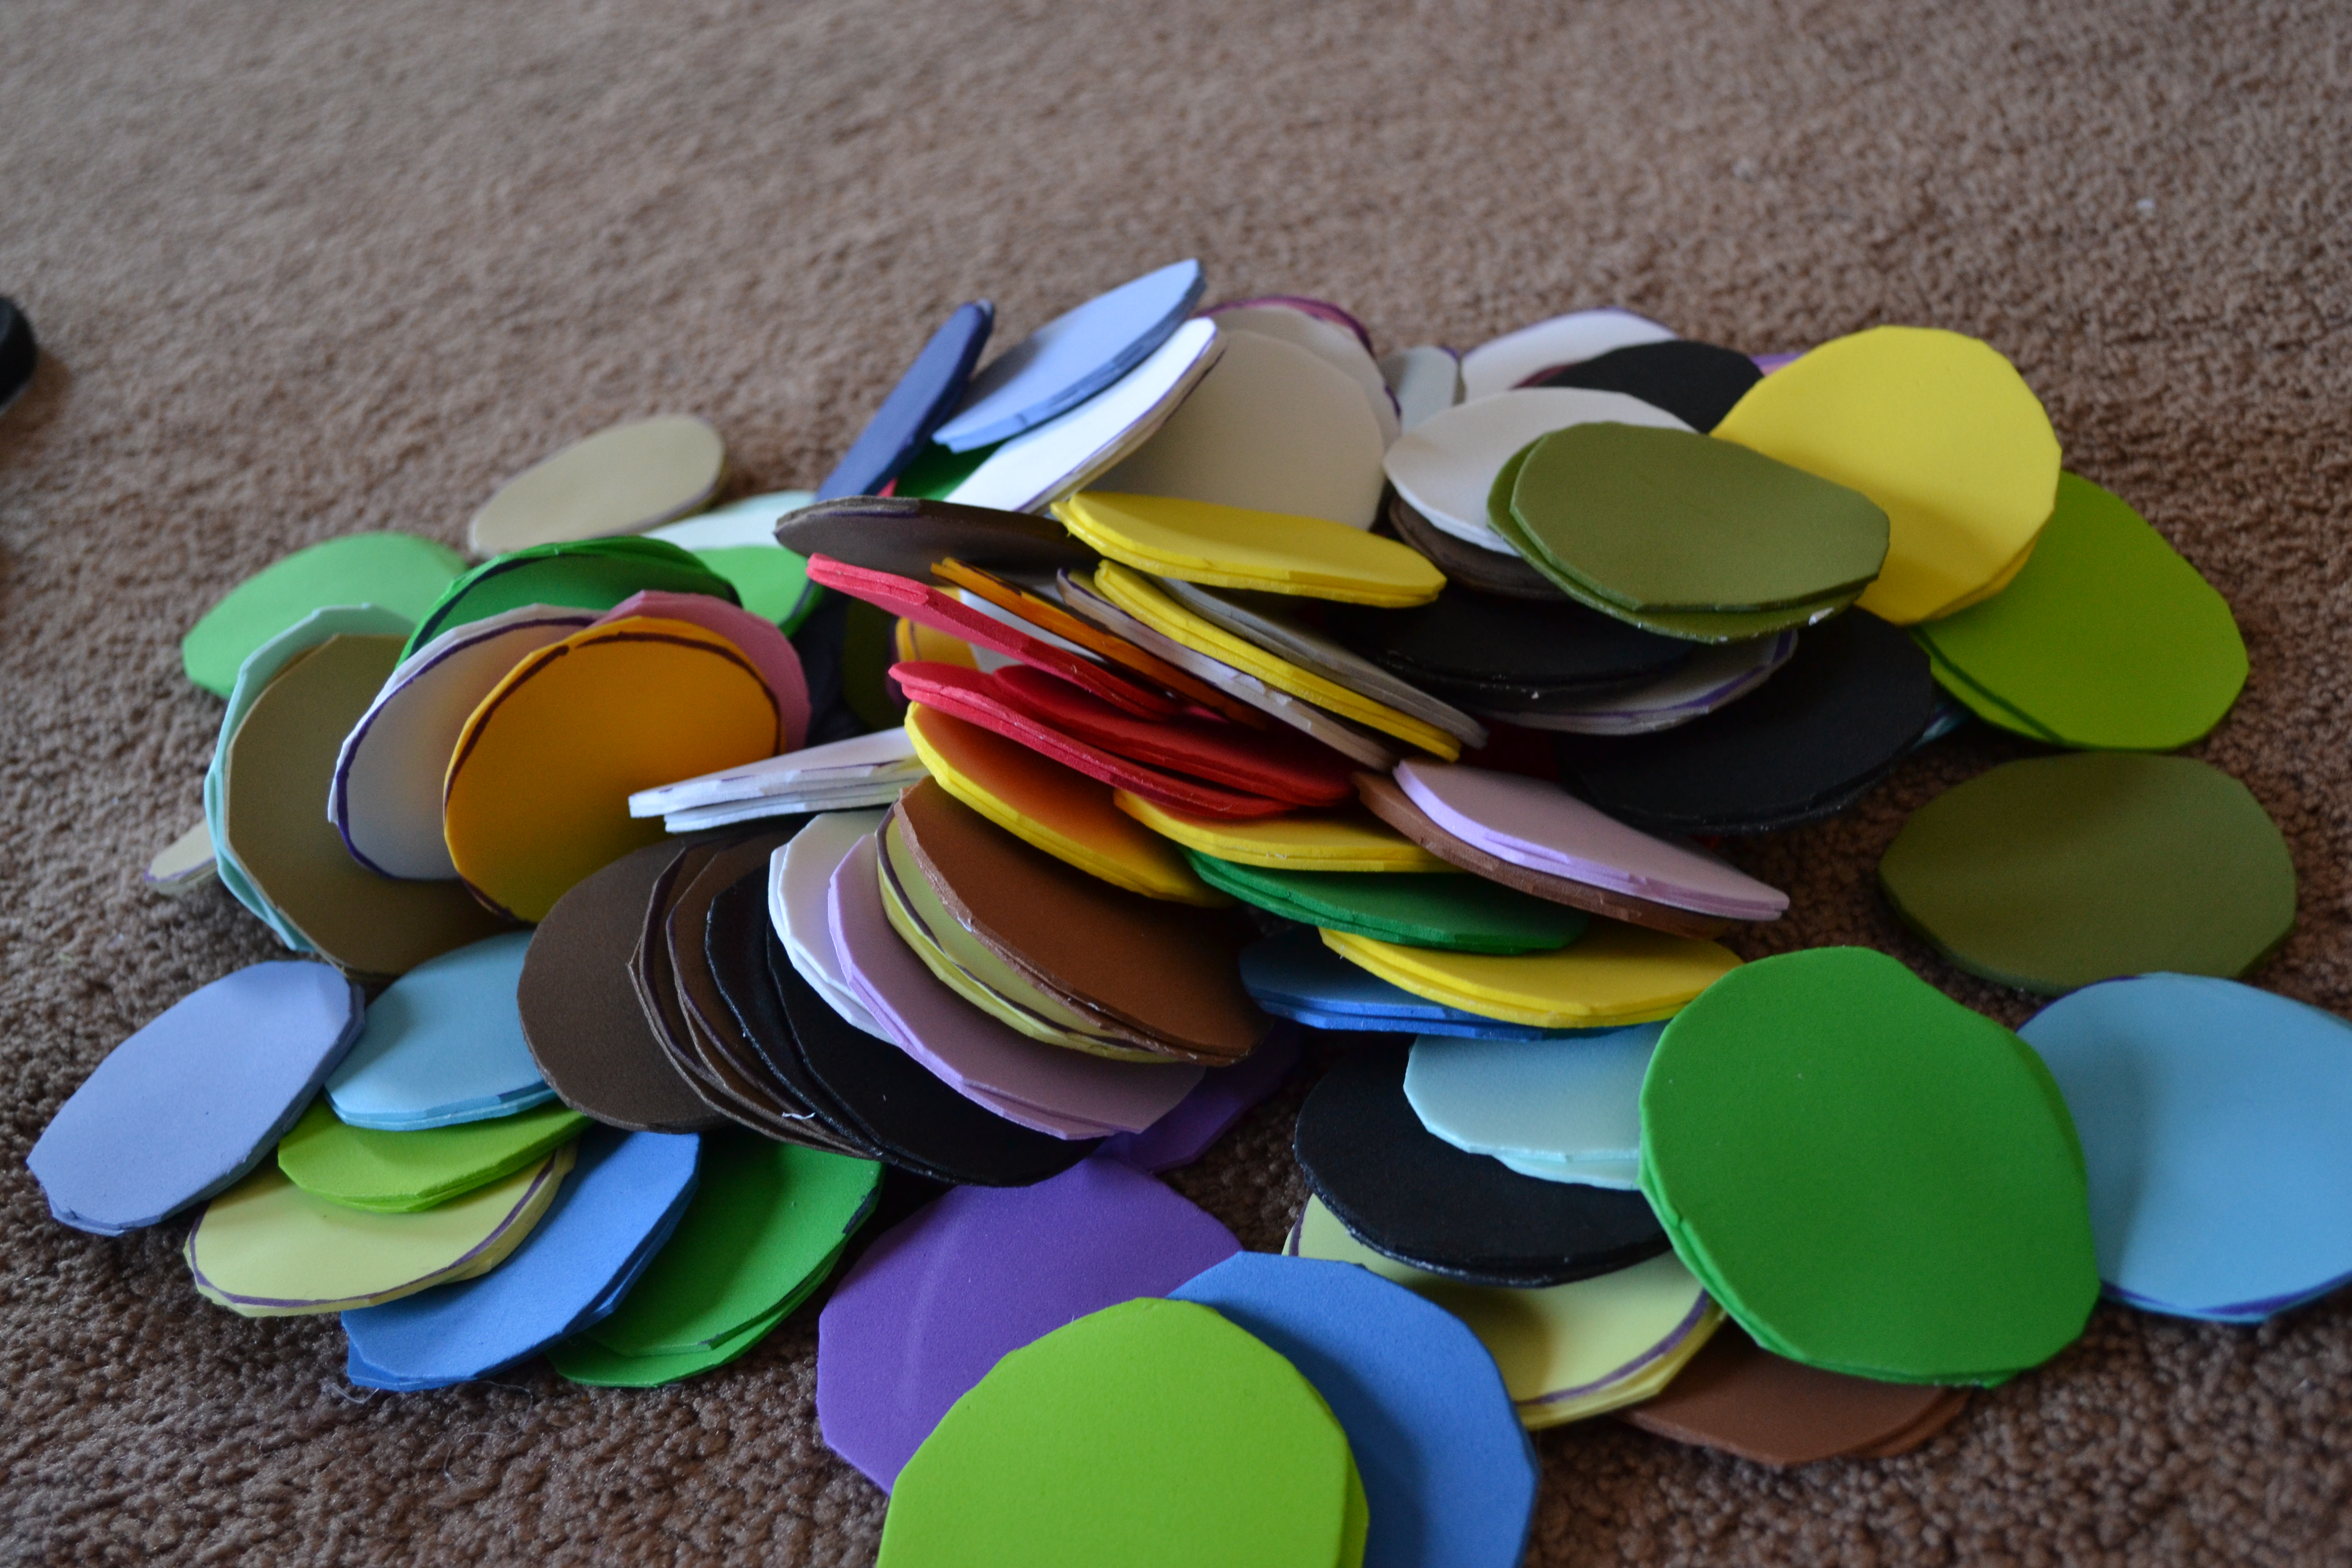
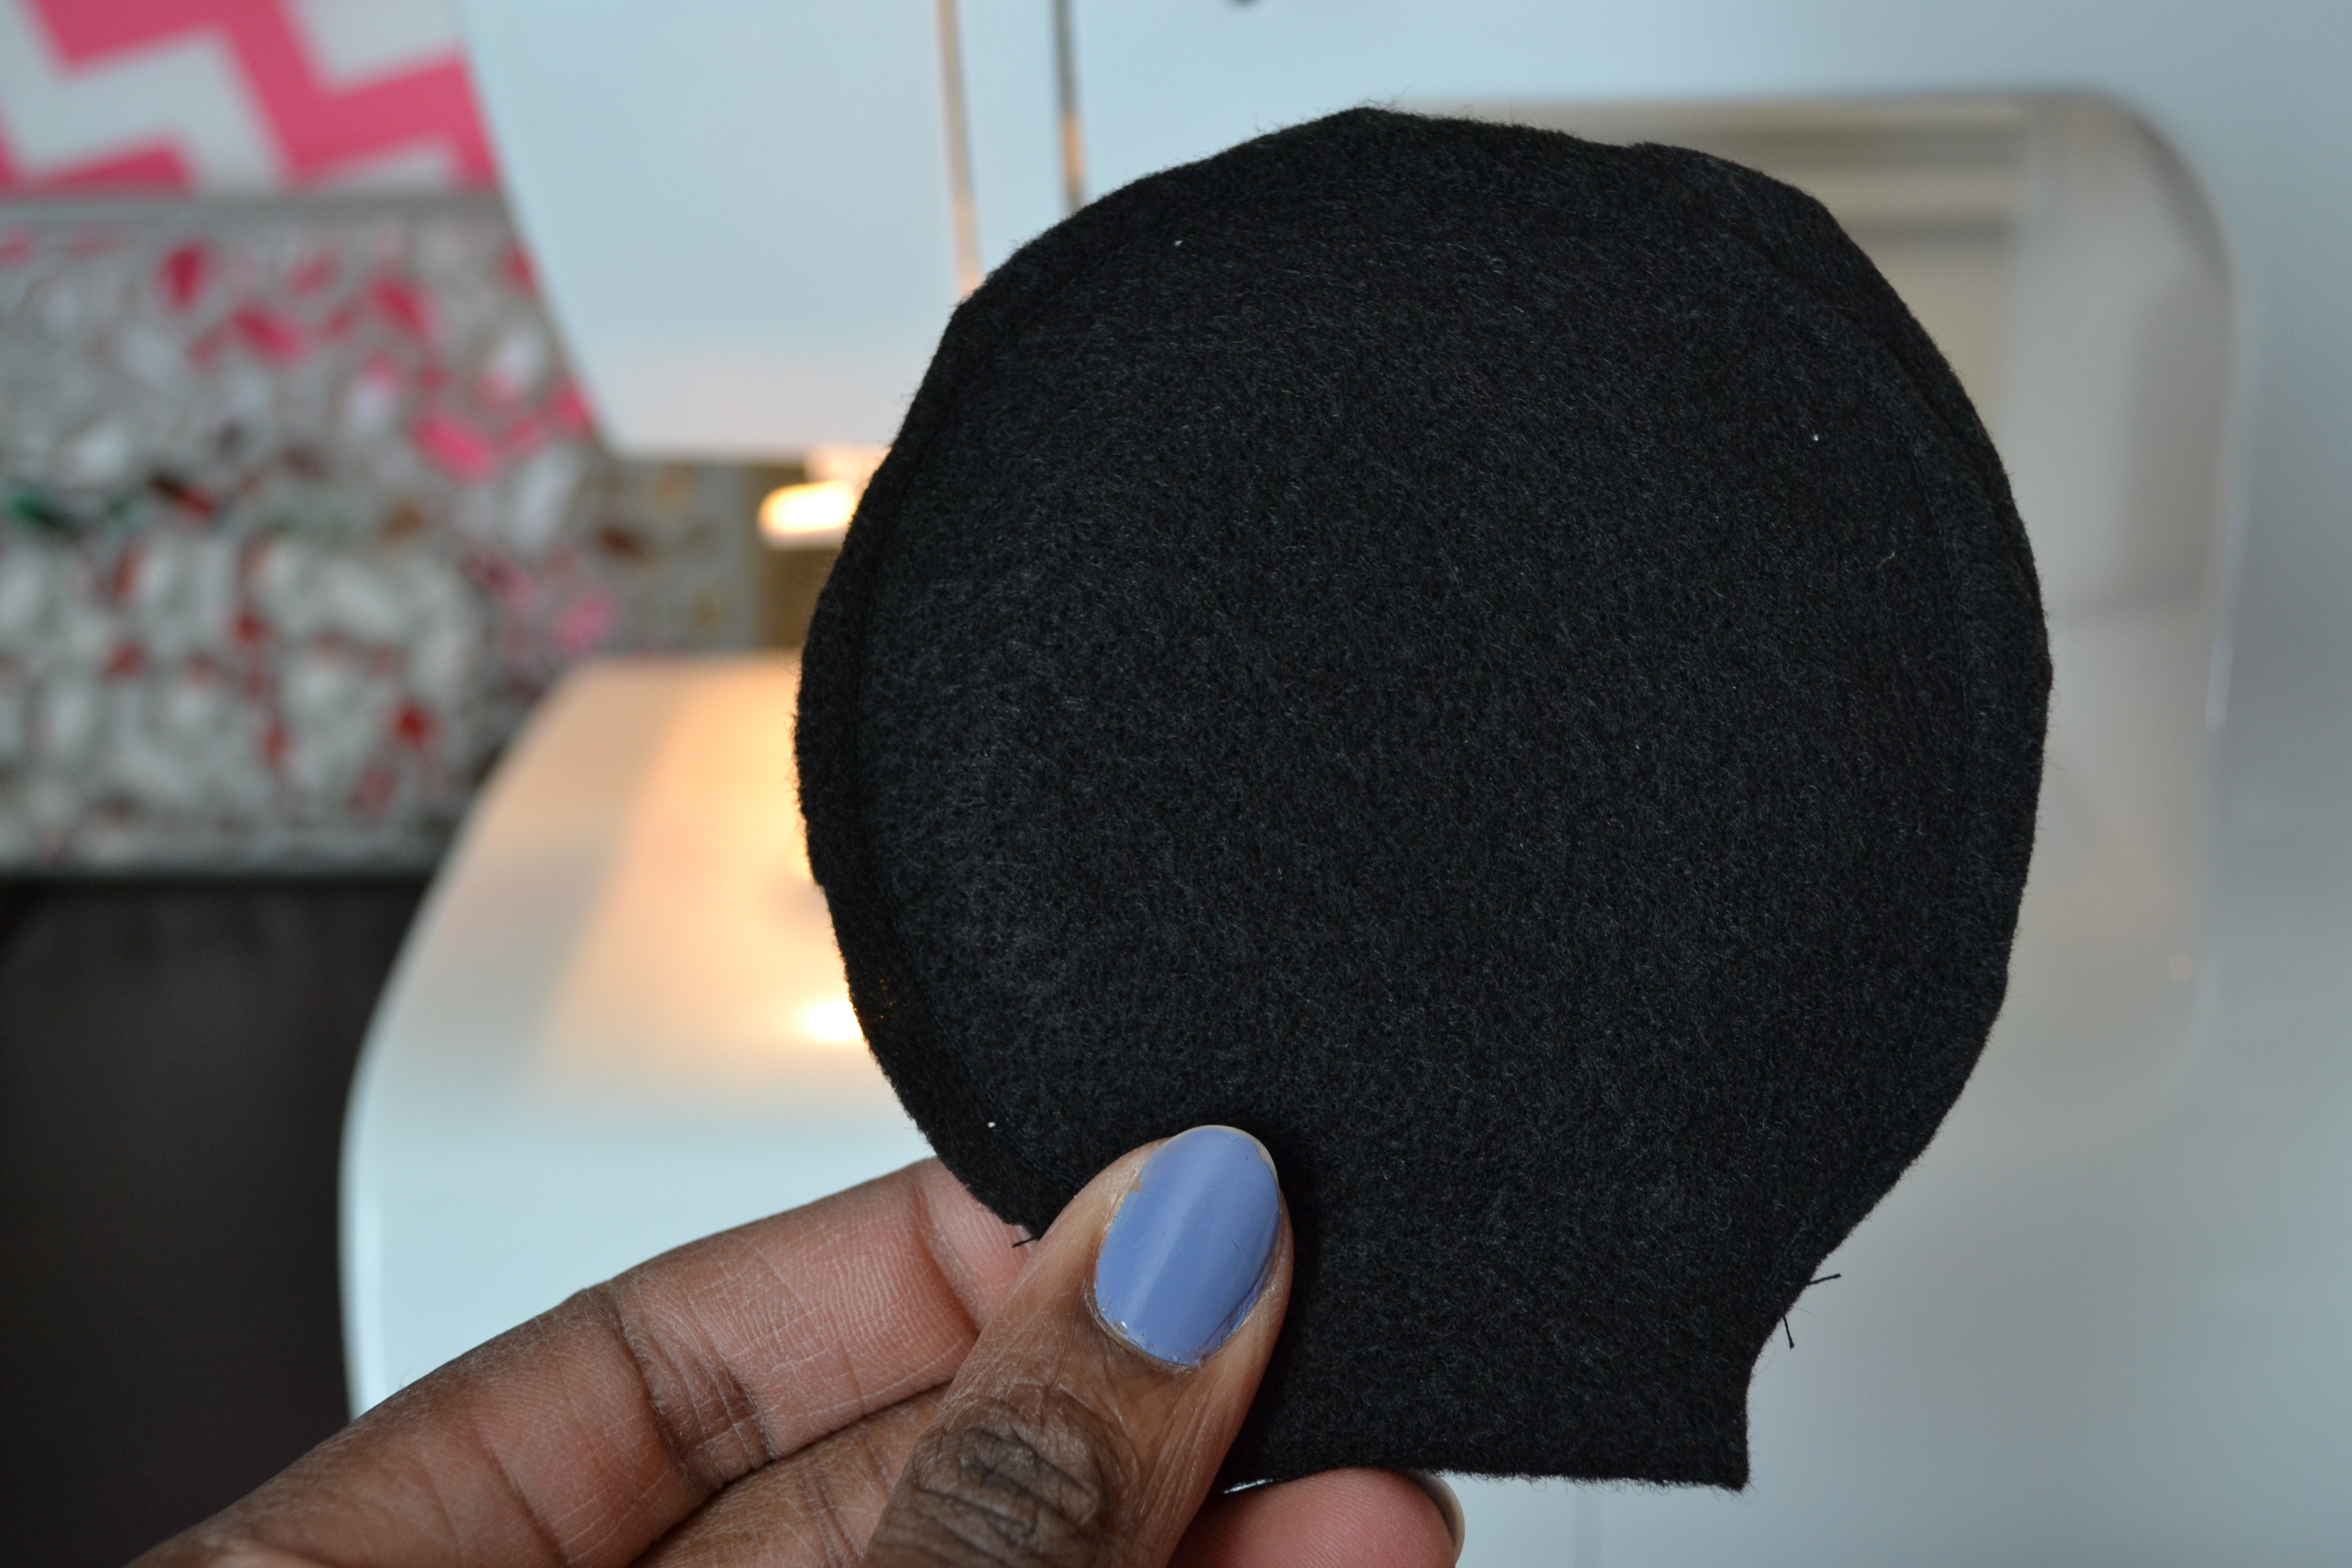
Since I bought sticky back foam, I peeled the paper off of the backs and stuck the two circles together. Note: you only need to take the paper off of one of the circles at this point to stick them together. You’ll remove the other piece of paper when you place them on the felt. Now that the circles were cut, there was one last thing to cut in bulk: the felt covering for the ears. Also found on the previously mentioned website, I used a template to trace the shape (use fabric chalk) onto the felt and cut. And cut. And cut. (In case you haven’t noticed, there’s a lot of cutting that goes into this project!)


This is where you will want to remove the remaining piece of paper from your stuck-together foam circles and place them on one side of the cutout felt. The tutorial I found called for more hot glue, but I was all glued out at this point and figured it couldn’t hurt to try and sew it. I’m so glad I did! I spared my fingers from further pain, and I think they look much cleaner than they would if I were to glue them.


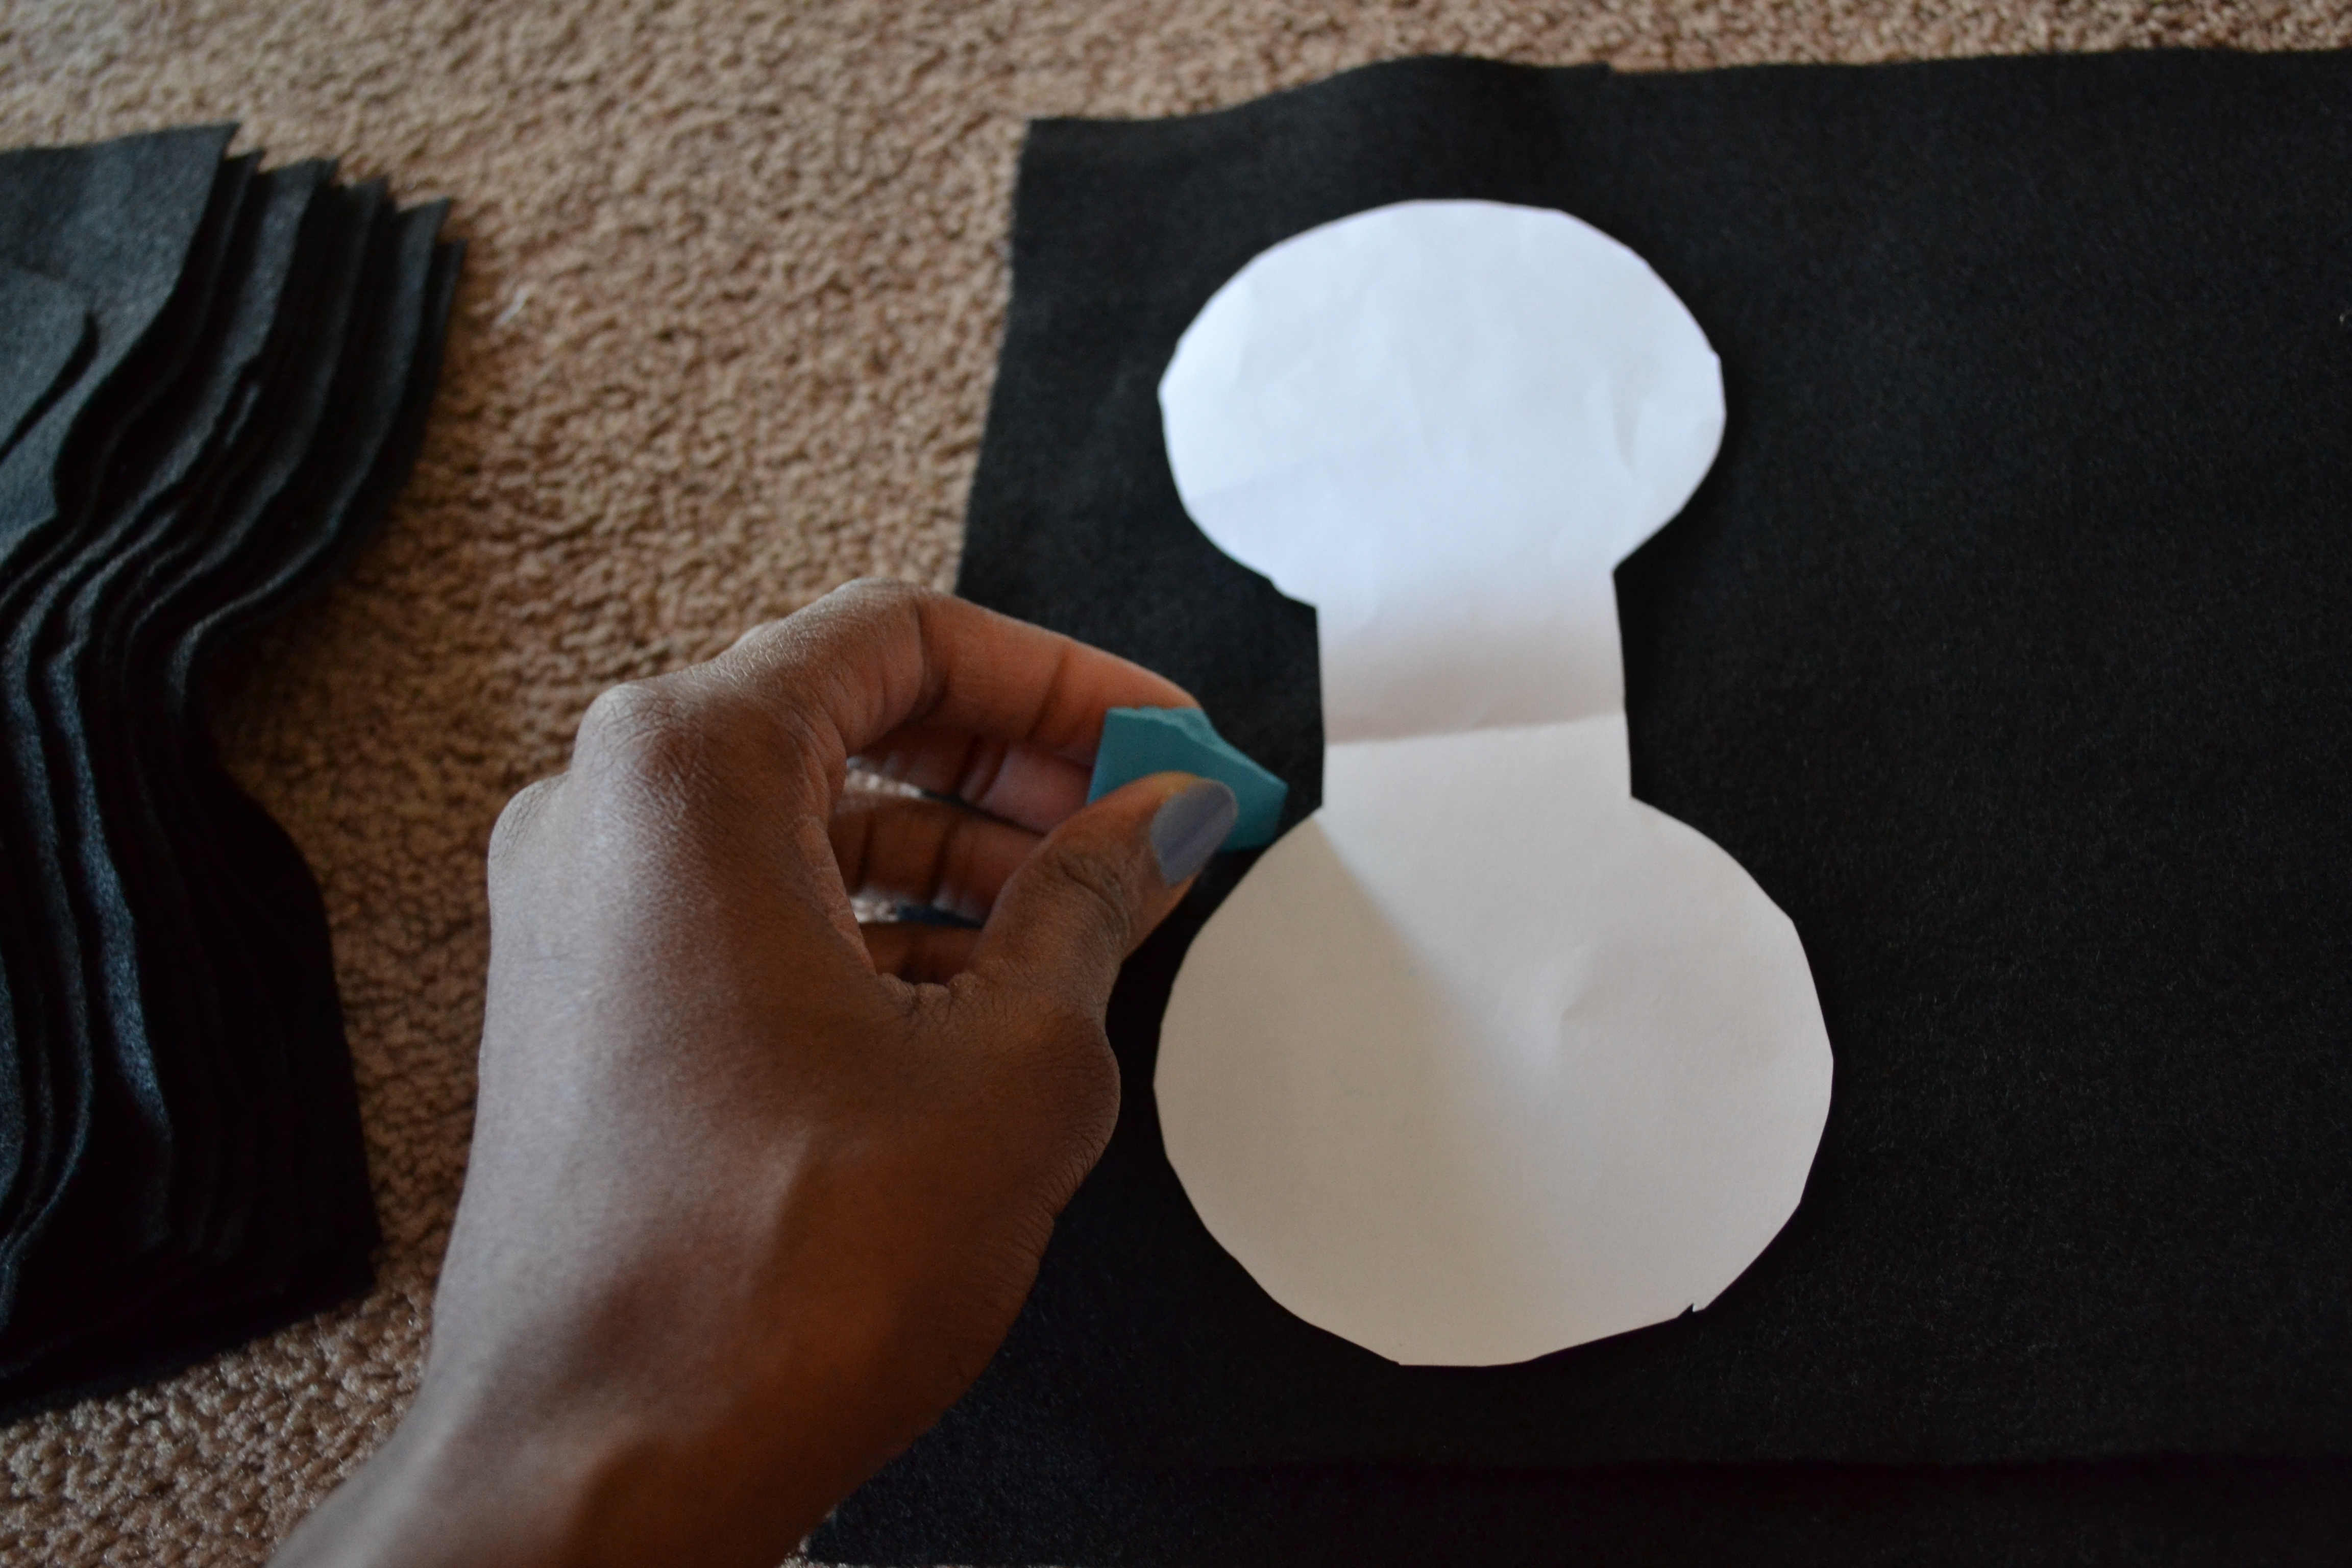
Whether you glue or sew, make sure you leave enough room at the fold to slide the ear onto the headband.


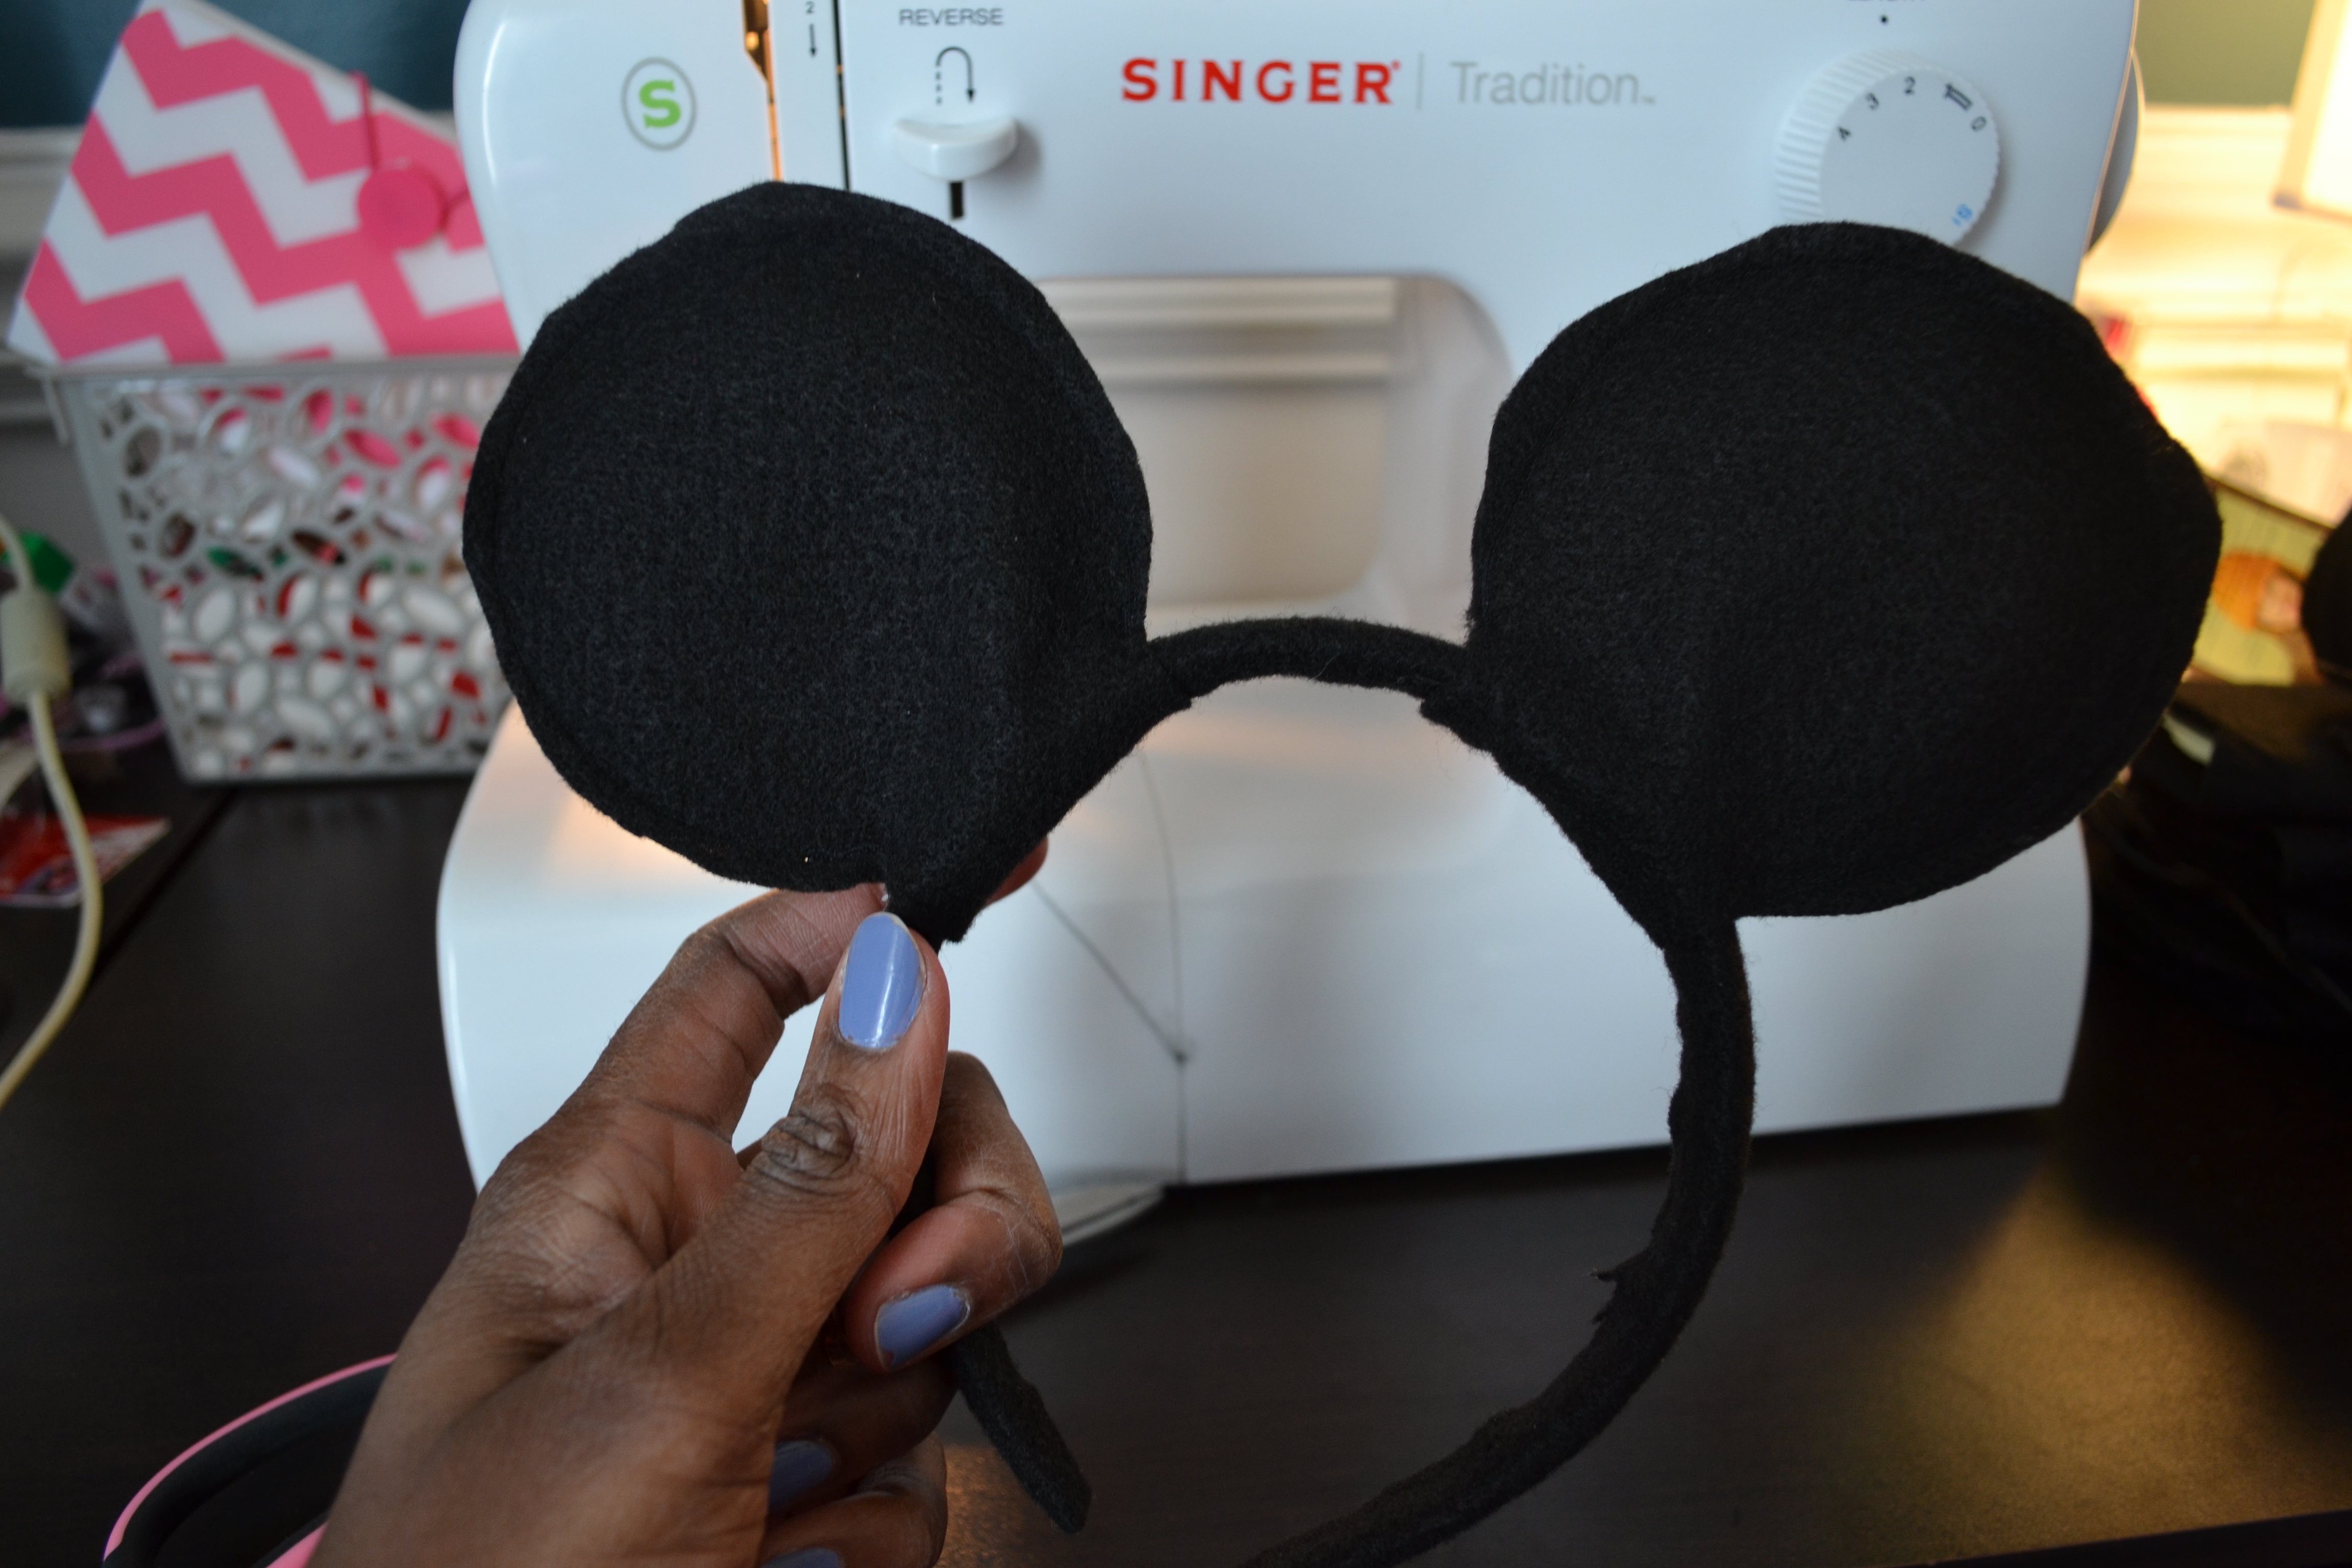
Slide the finished ears onto the headband, and you’re done! Since I sewed the ears, they fit snugly on the headband. I didn’t feel the need to further secure the ear to the headband, but you can secure it with more glue if the fit is too loose for your liking. If you are making Mickey Mouse ears, you can stop here. For Minnie Mouse ears, you’re almost finished.

For the Minnie bow, I cut a few inches of this wired ribbon (use whatever color you need). I overlapped the ends and pinched in the middle. I cut a small piece to wrap around the middle and tied off. Hot glue it to the middle of the headband, and you have your Minnie Mouse headband!

I decided to hold off on making the rest of the bows until we get closer to the party. Once we get RSVP’s I’ll be able to add the rest of the bows to make sure we have enough Minnies and Mickeys running around!
Next blog: 3rd Friday of February. Topic: Minnie Mouse centerpieces. Be sure to check out the other posts, including the post where I share how I planned and budgeted the whole party before I spent a dime! Thanks for reading!