Hello all, it is has been some time since I posted a DIY project. Instead of going into detail about ice storms and toddler and grown-up sized sinus infections, I’m going to dive right into the project for this post! 🙂
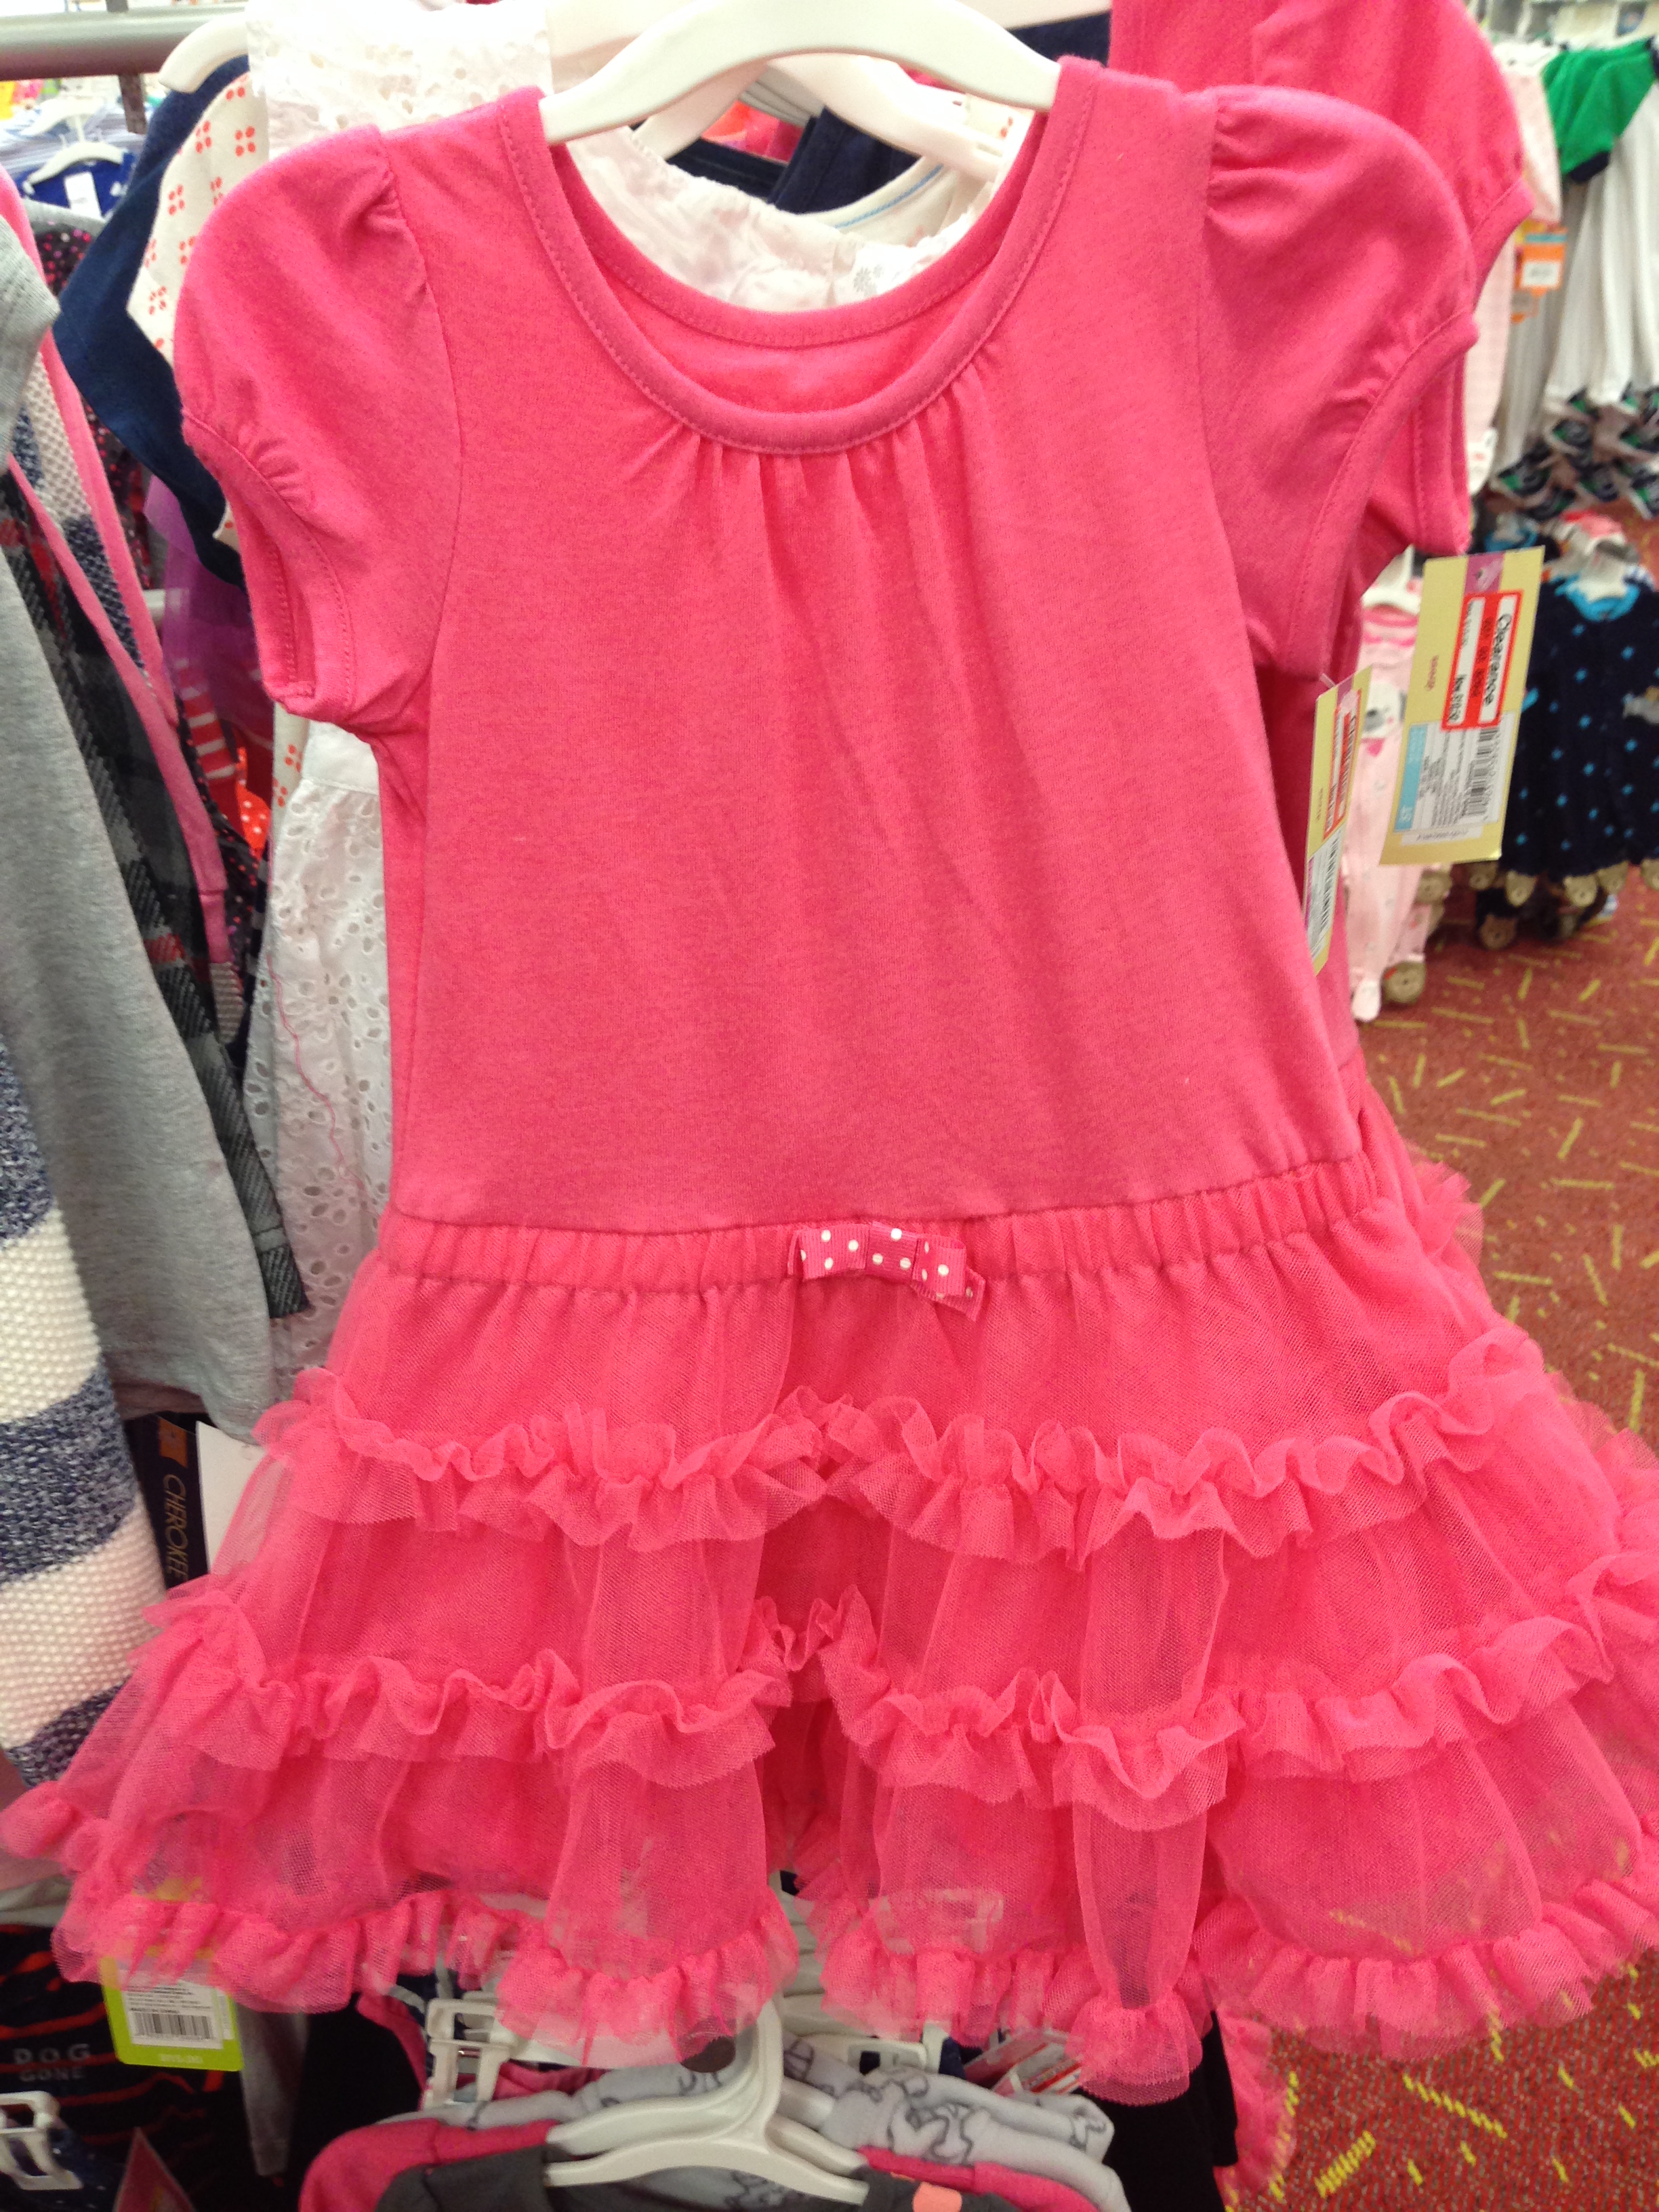
Baby girl’s party is just a few weeks away, so I decided to get her dressed up for pictures for invites, thank you cards, gifts, etc. I knew I wanted her in a Minnie Mouse outfit, but I wasn’t sure what. I came across this adorable pink tutu dress at Target on clearance! It was perfectly pink, and already came with a bow!
The rest of this post is going to walk you through the steps for creating an applique’.
When I get ready to embroider anything, I always like to use these stickers to mark where I want the center of my design to be sewn.


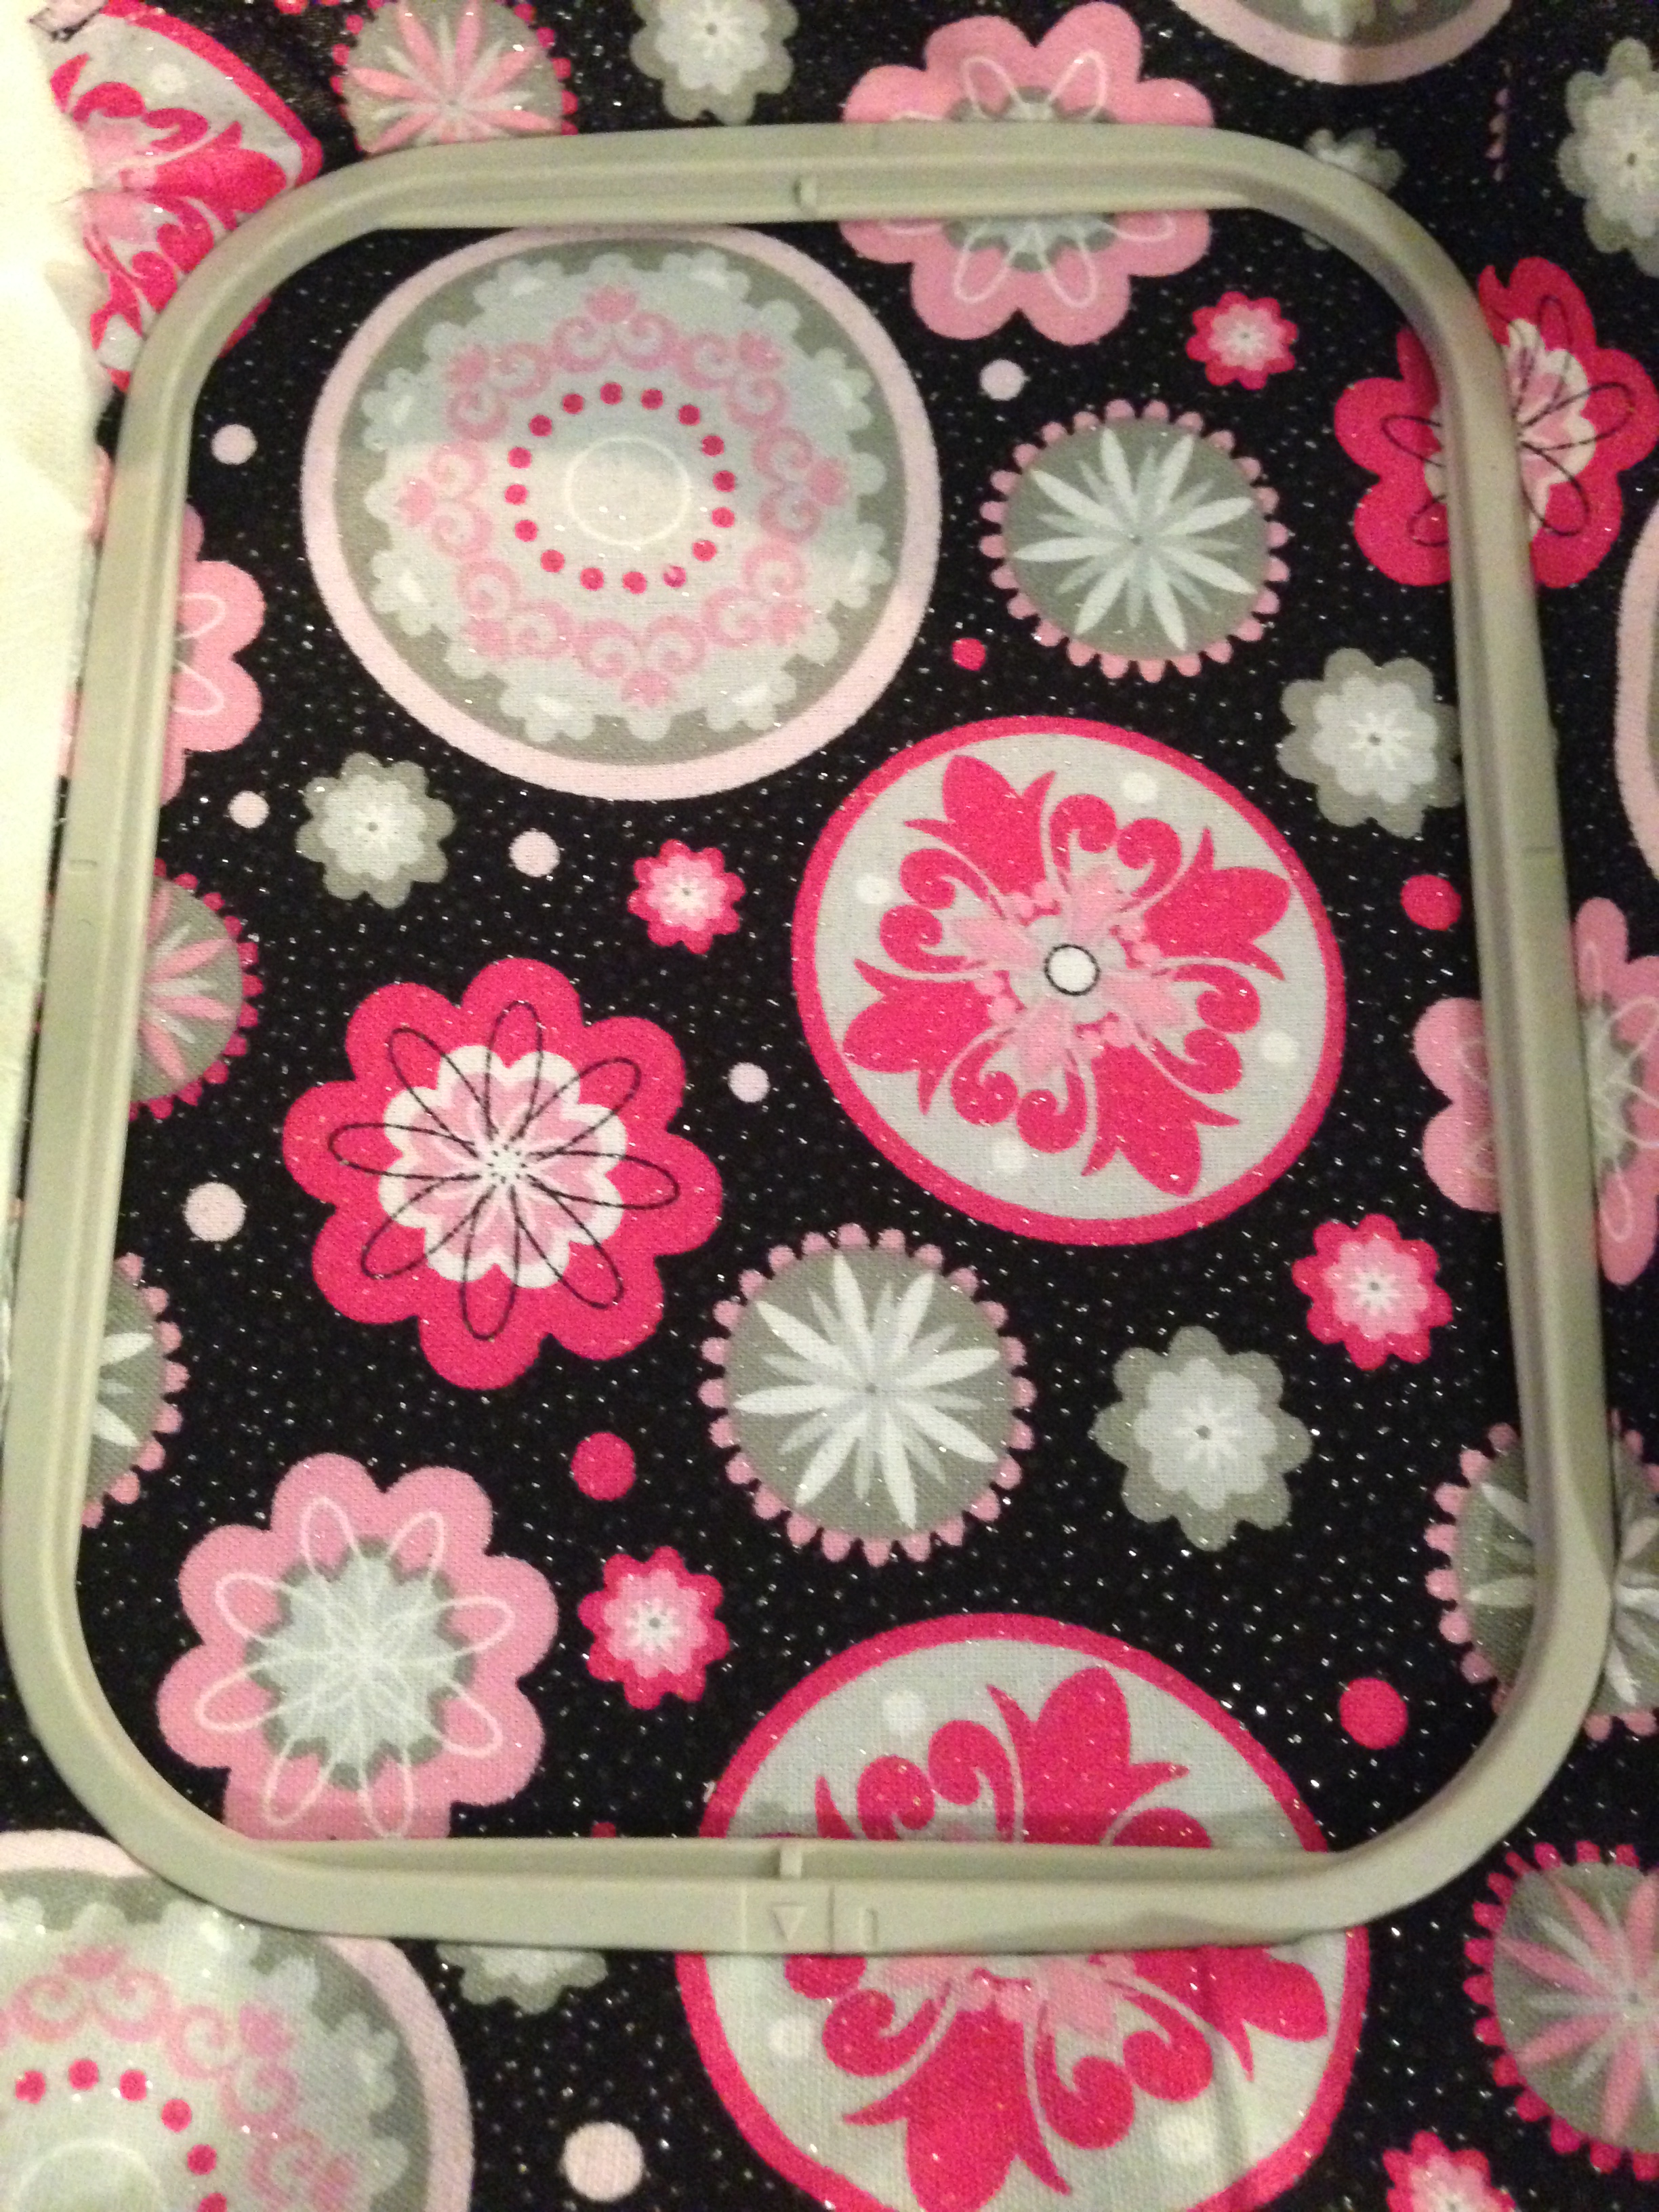
Once the sticker was in place, I use spray adhesive found at Hobby Lobby to attach the tear-away stabilizer and hoop it. My embroidery machine is the Brother SE-400.

I selected the Minnie Mouse design I uploaded to my machine and stitched out the design. You can see the bow being stitched below:

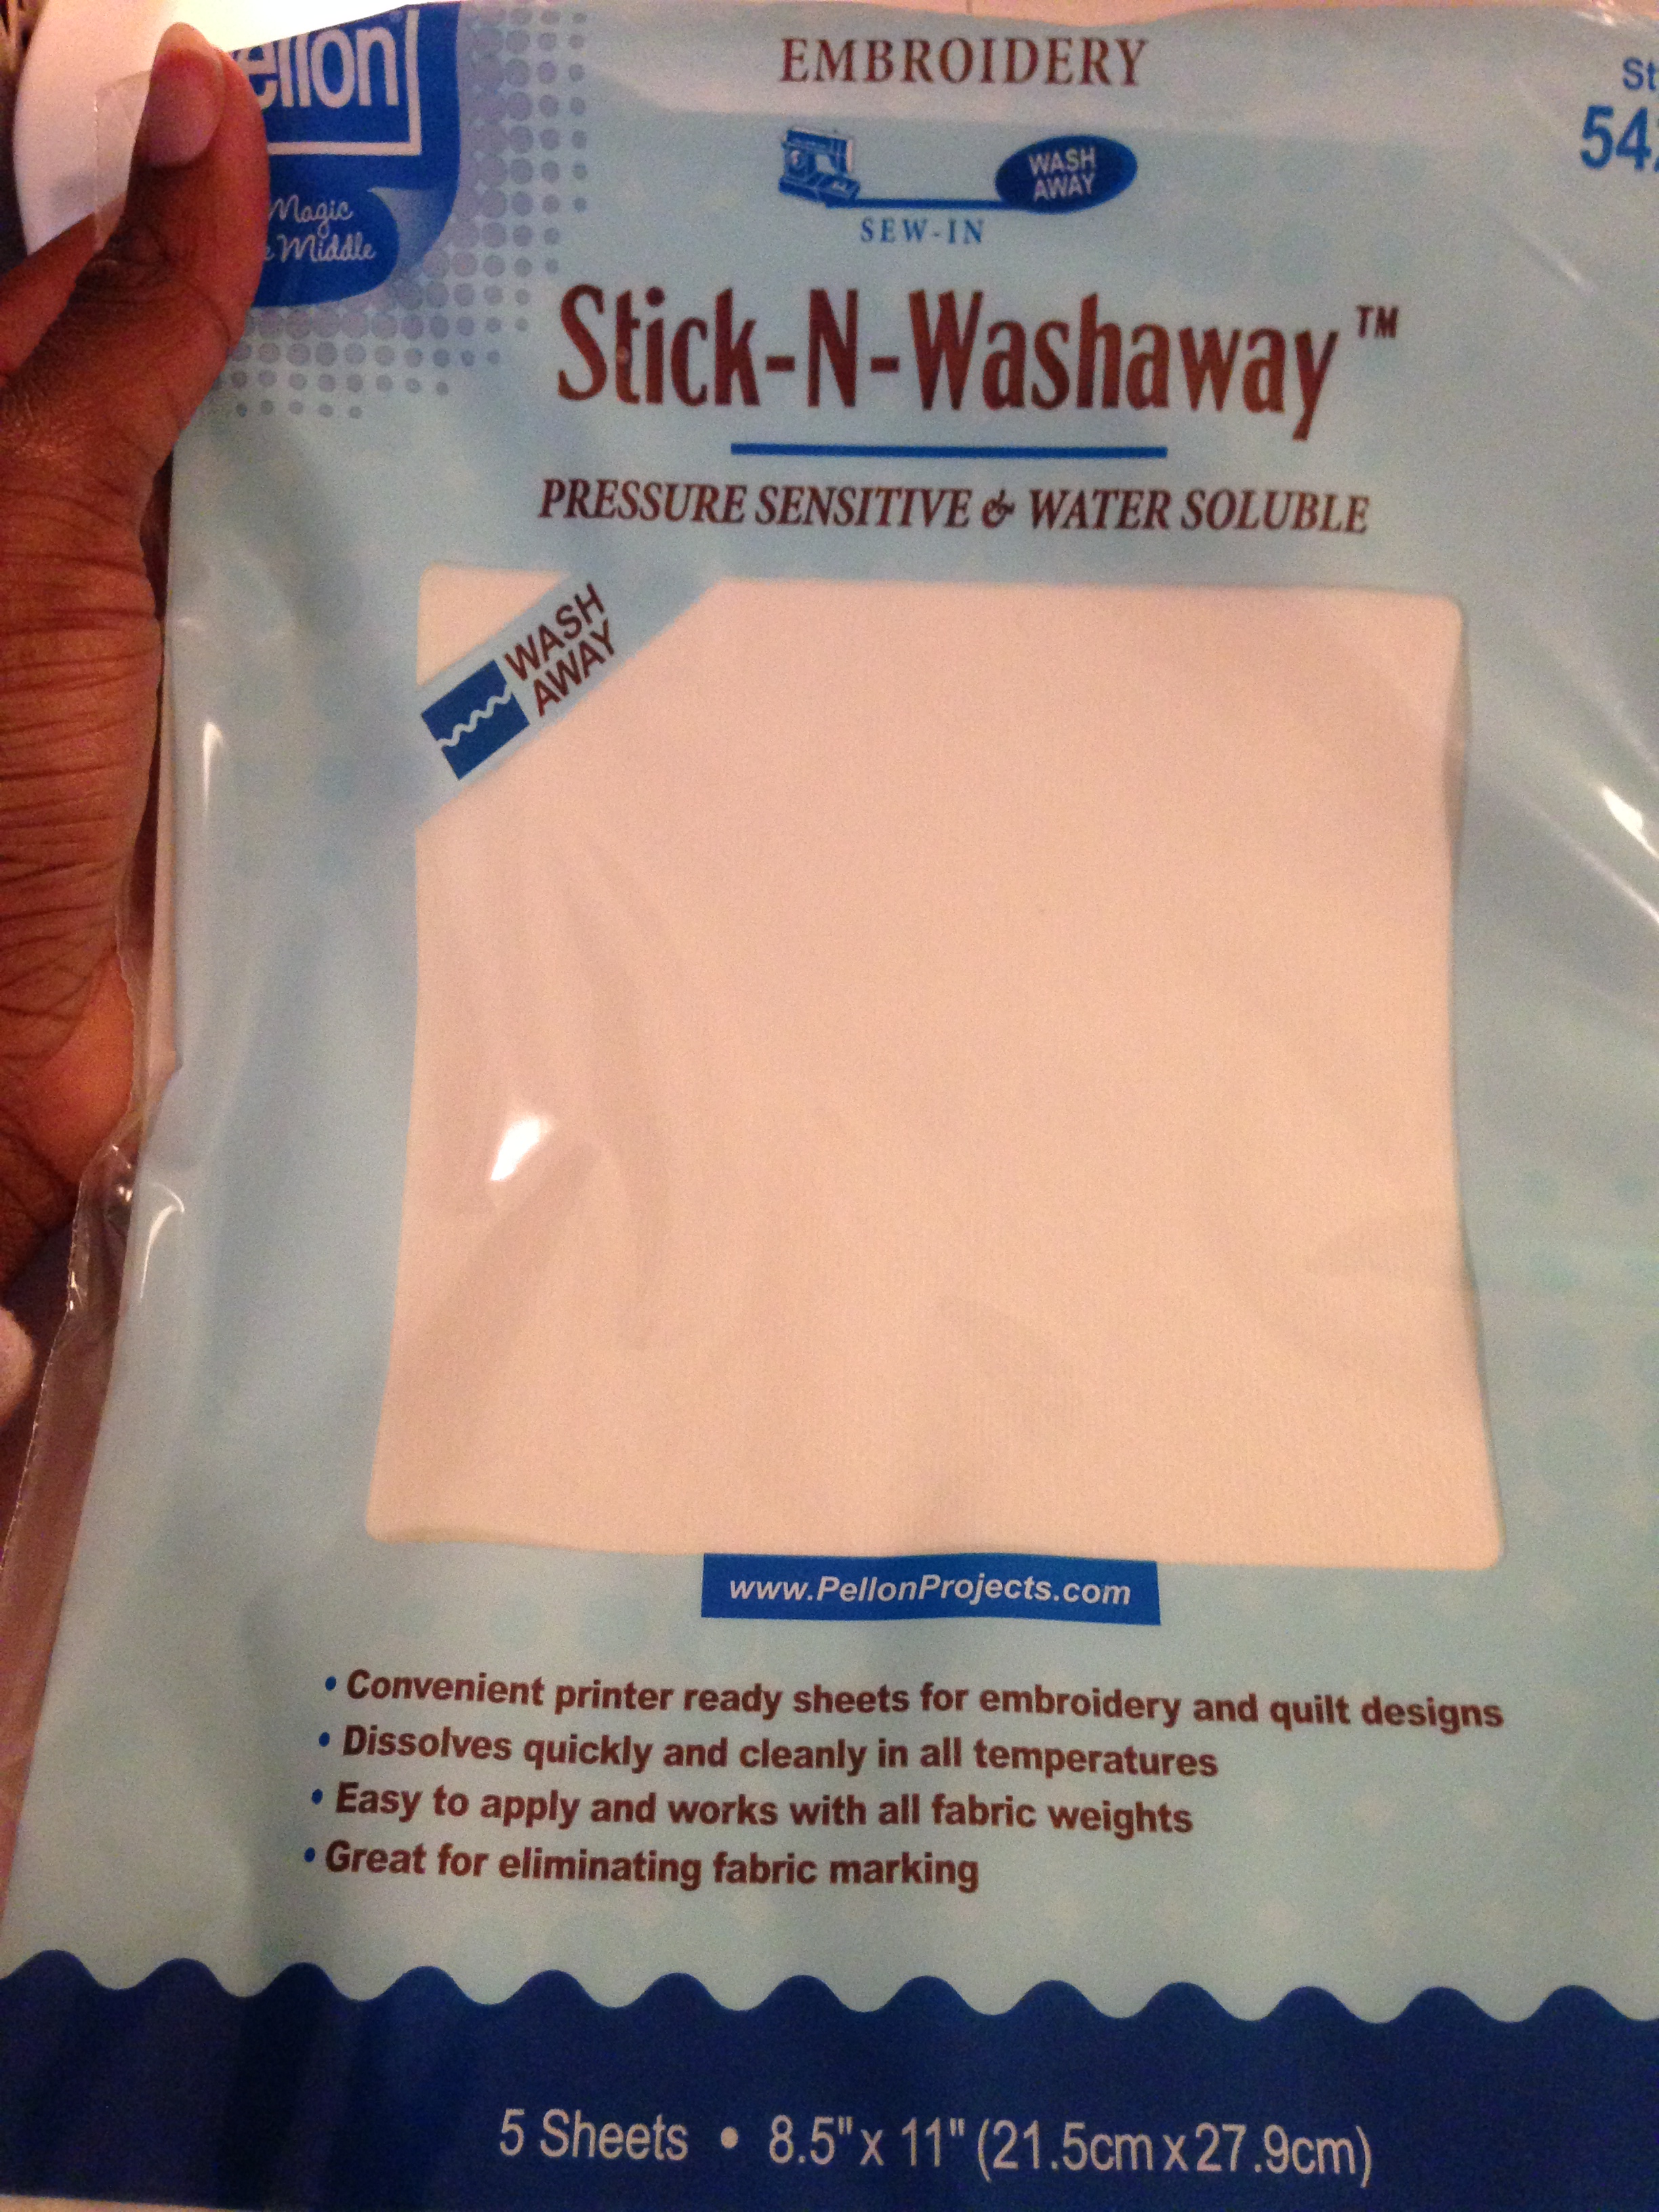
Once the design is stitched on the dress, I prepared the applique’ fabric to be stitched. I used this Stick-N-Washaway stabilizer because I thought it would make it easier to place, but I think I will be sticking with the tearaway stabilizer and spray adhesive.
I used this fabric for the Minnie Mouse head:
And this fabric for the bow:

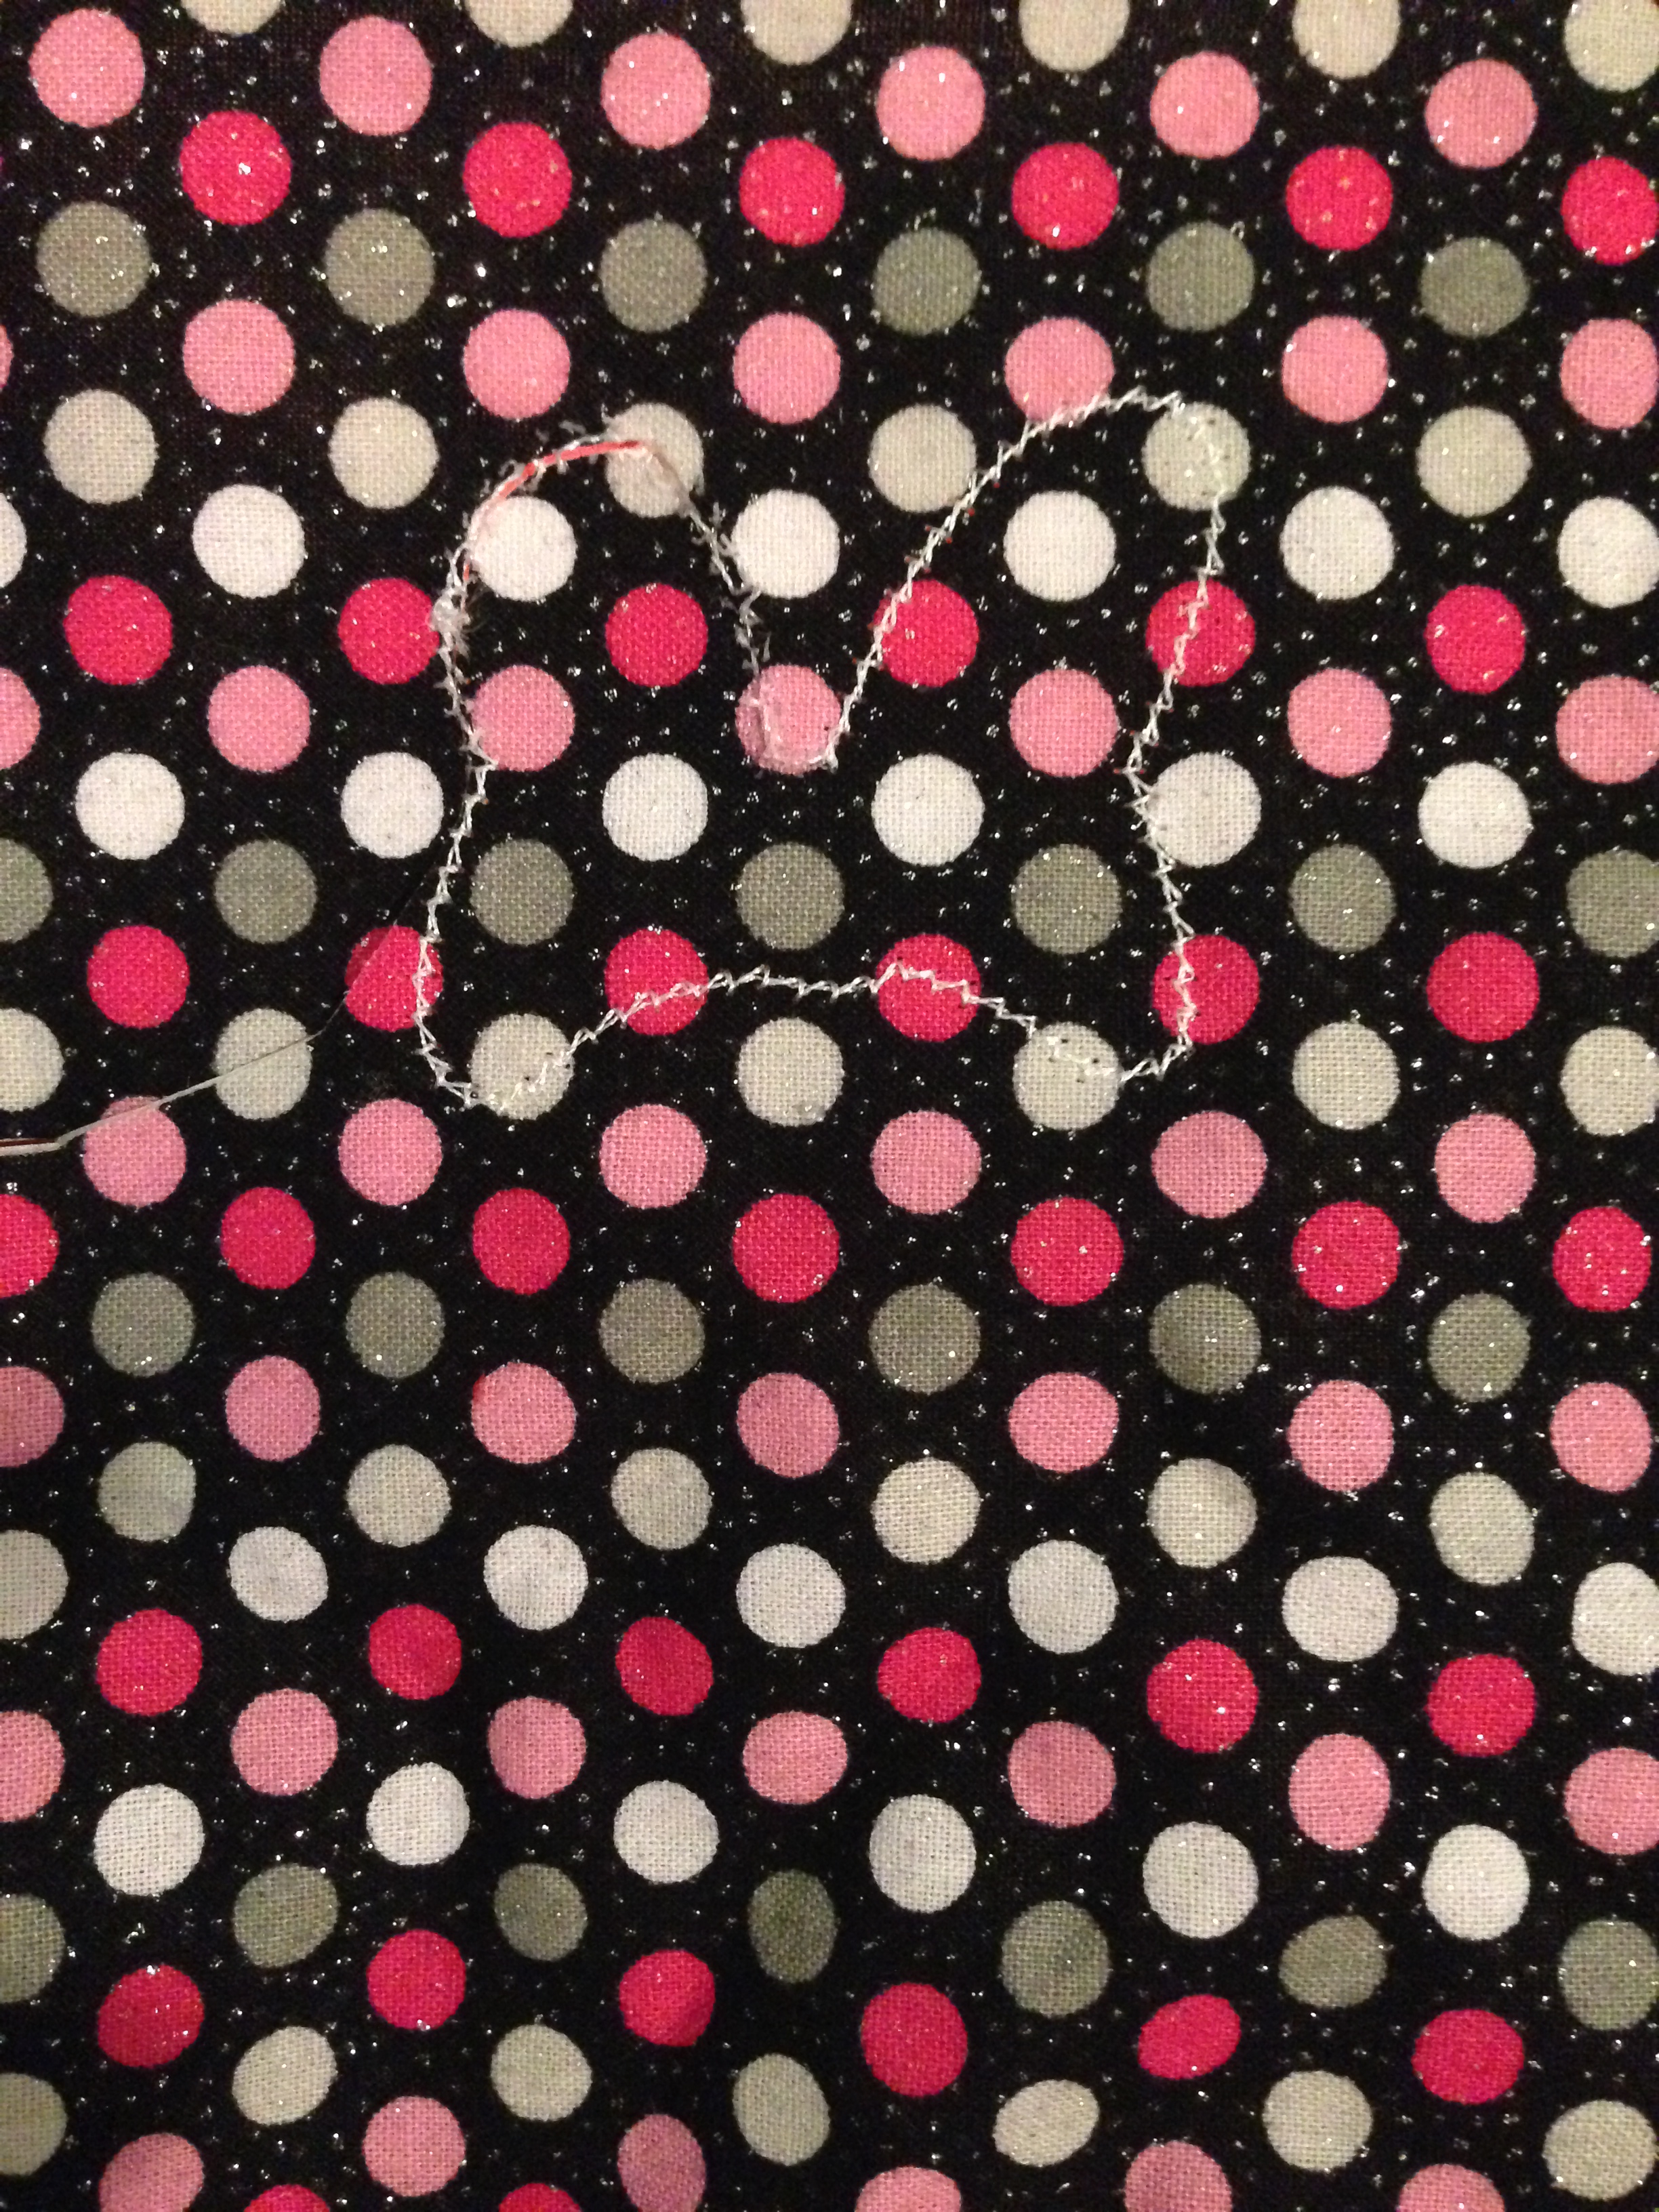
Once the design is stitched out, I cut it out and used the adhesive to place it over the already-stitched outline on the dress.
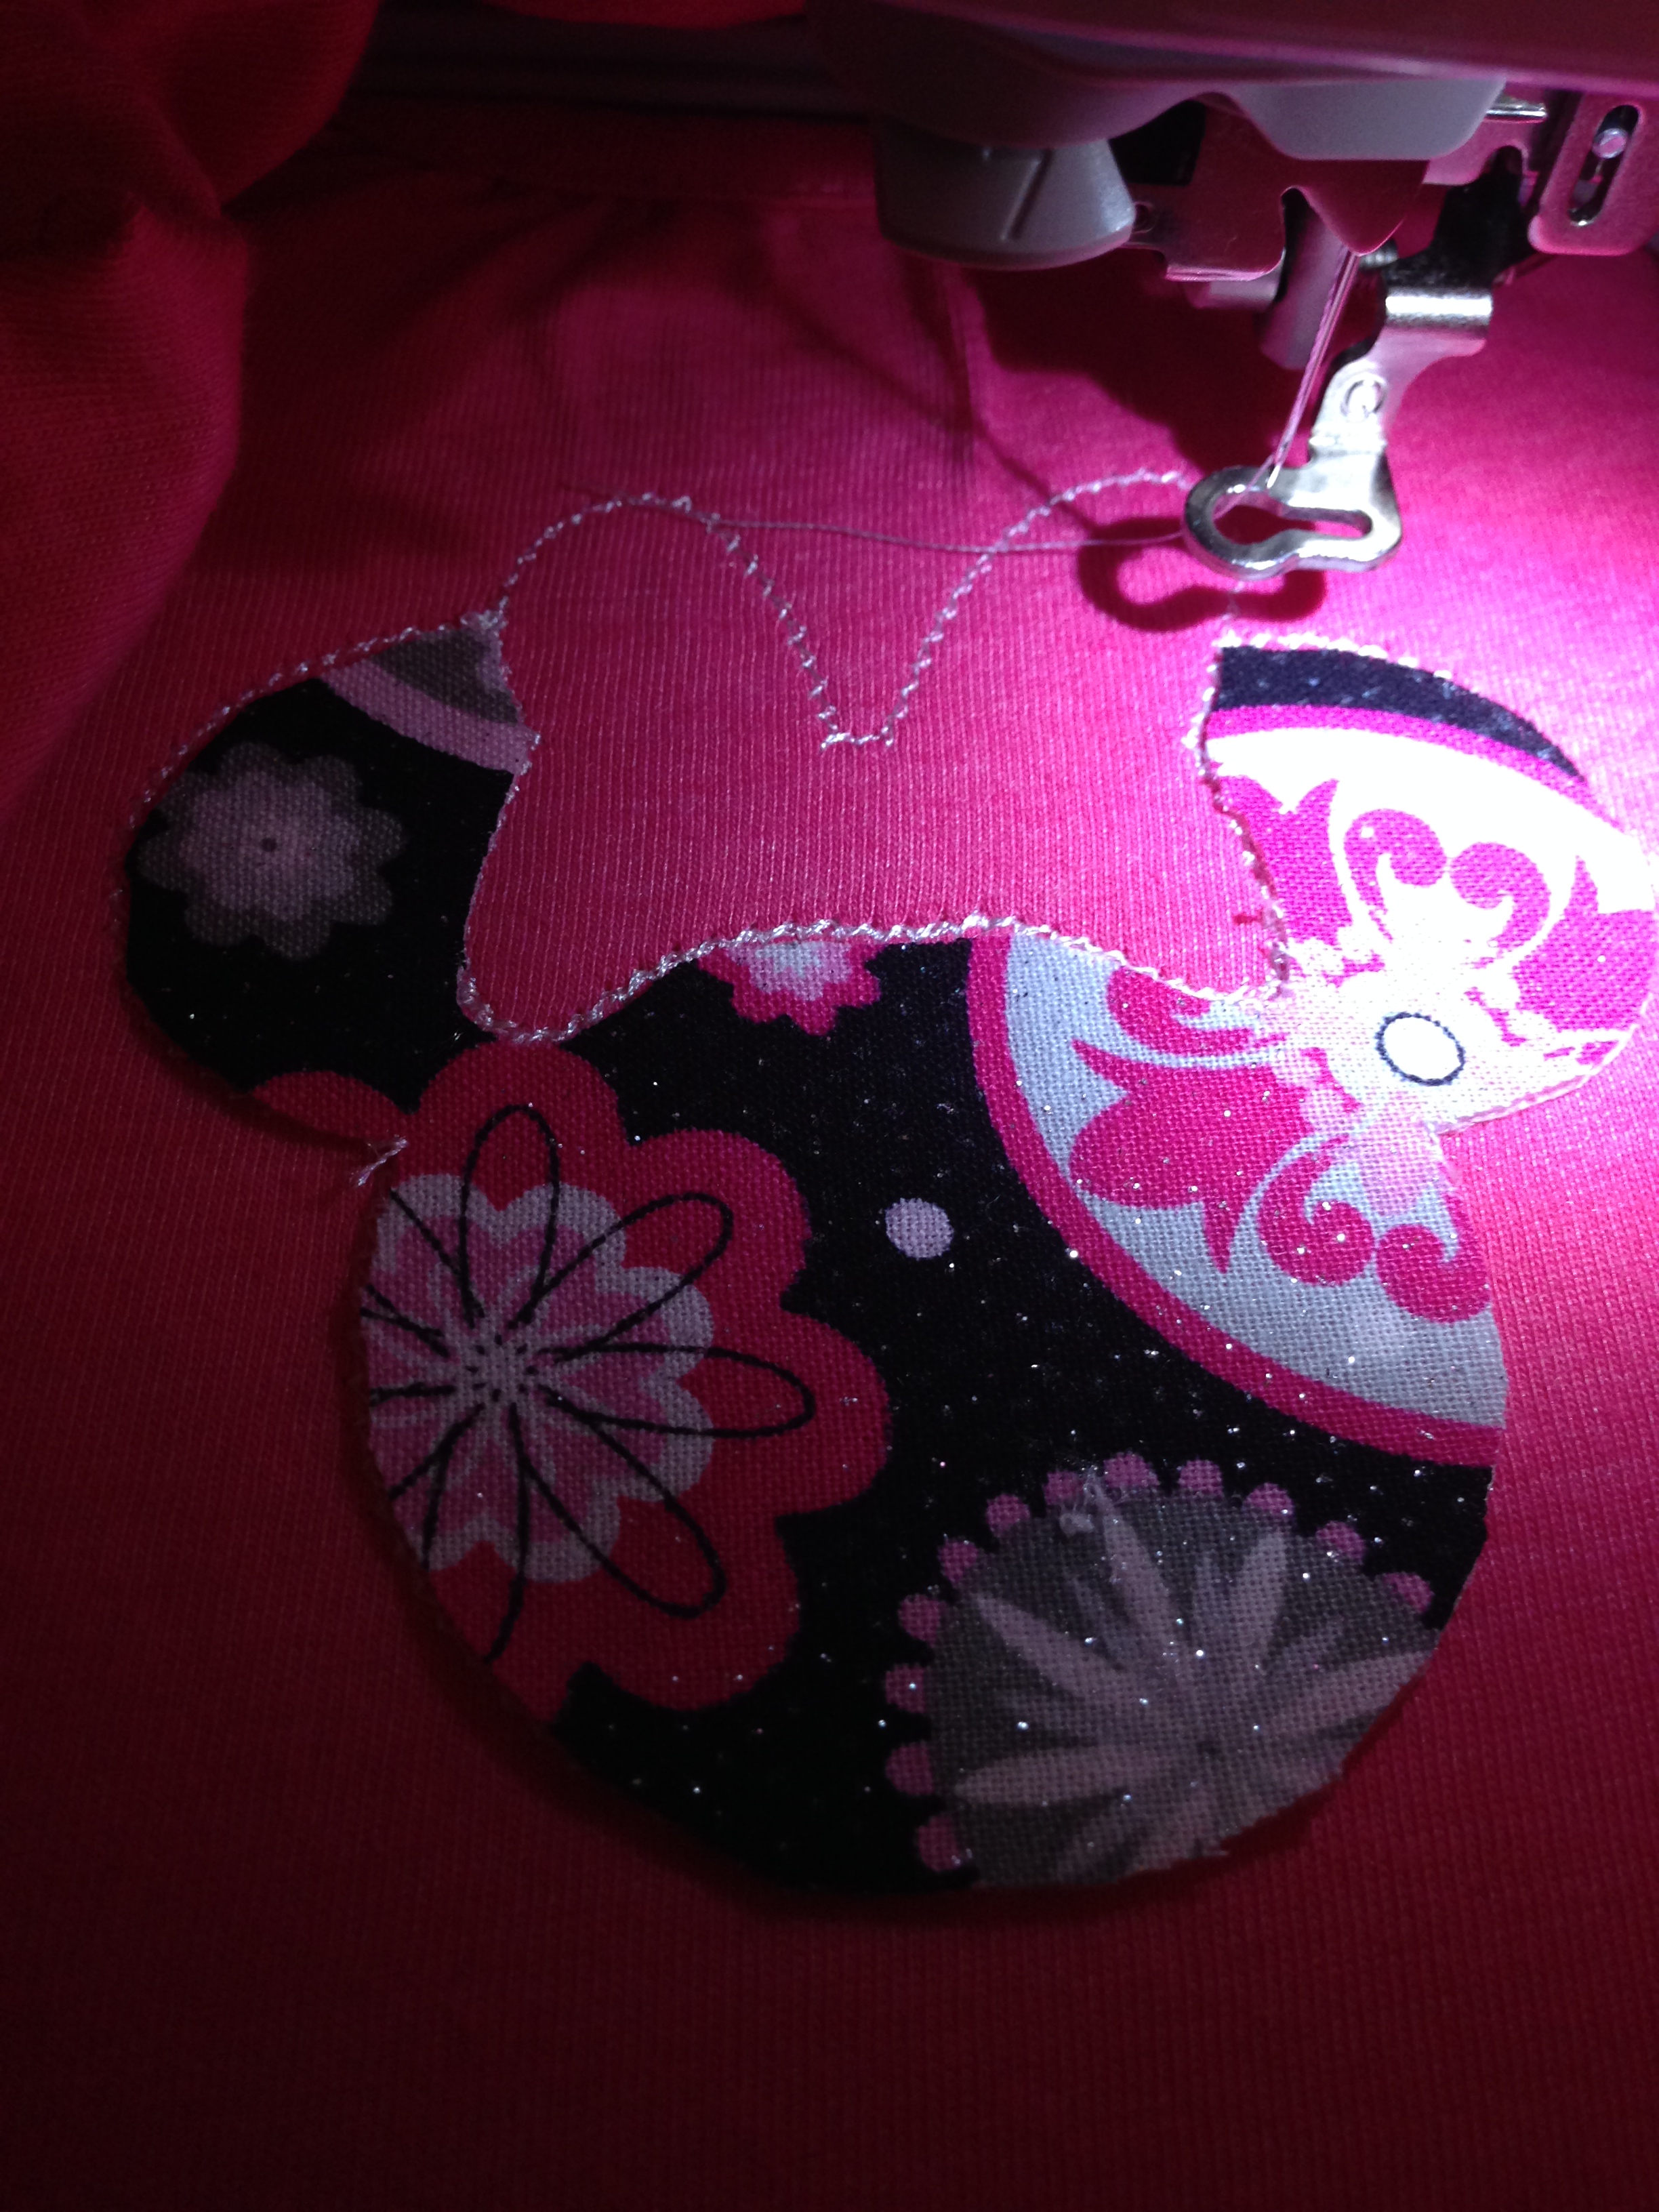
The machine then sews around the parameters of the design to secure it, and it’s finished!

We took baby girl outside to take pictures, and her new dress was one of her outfits. Adorable!

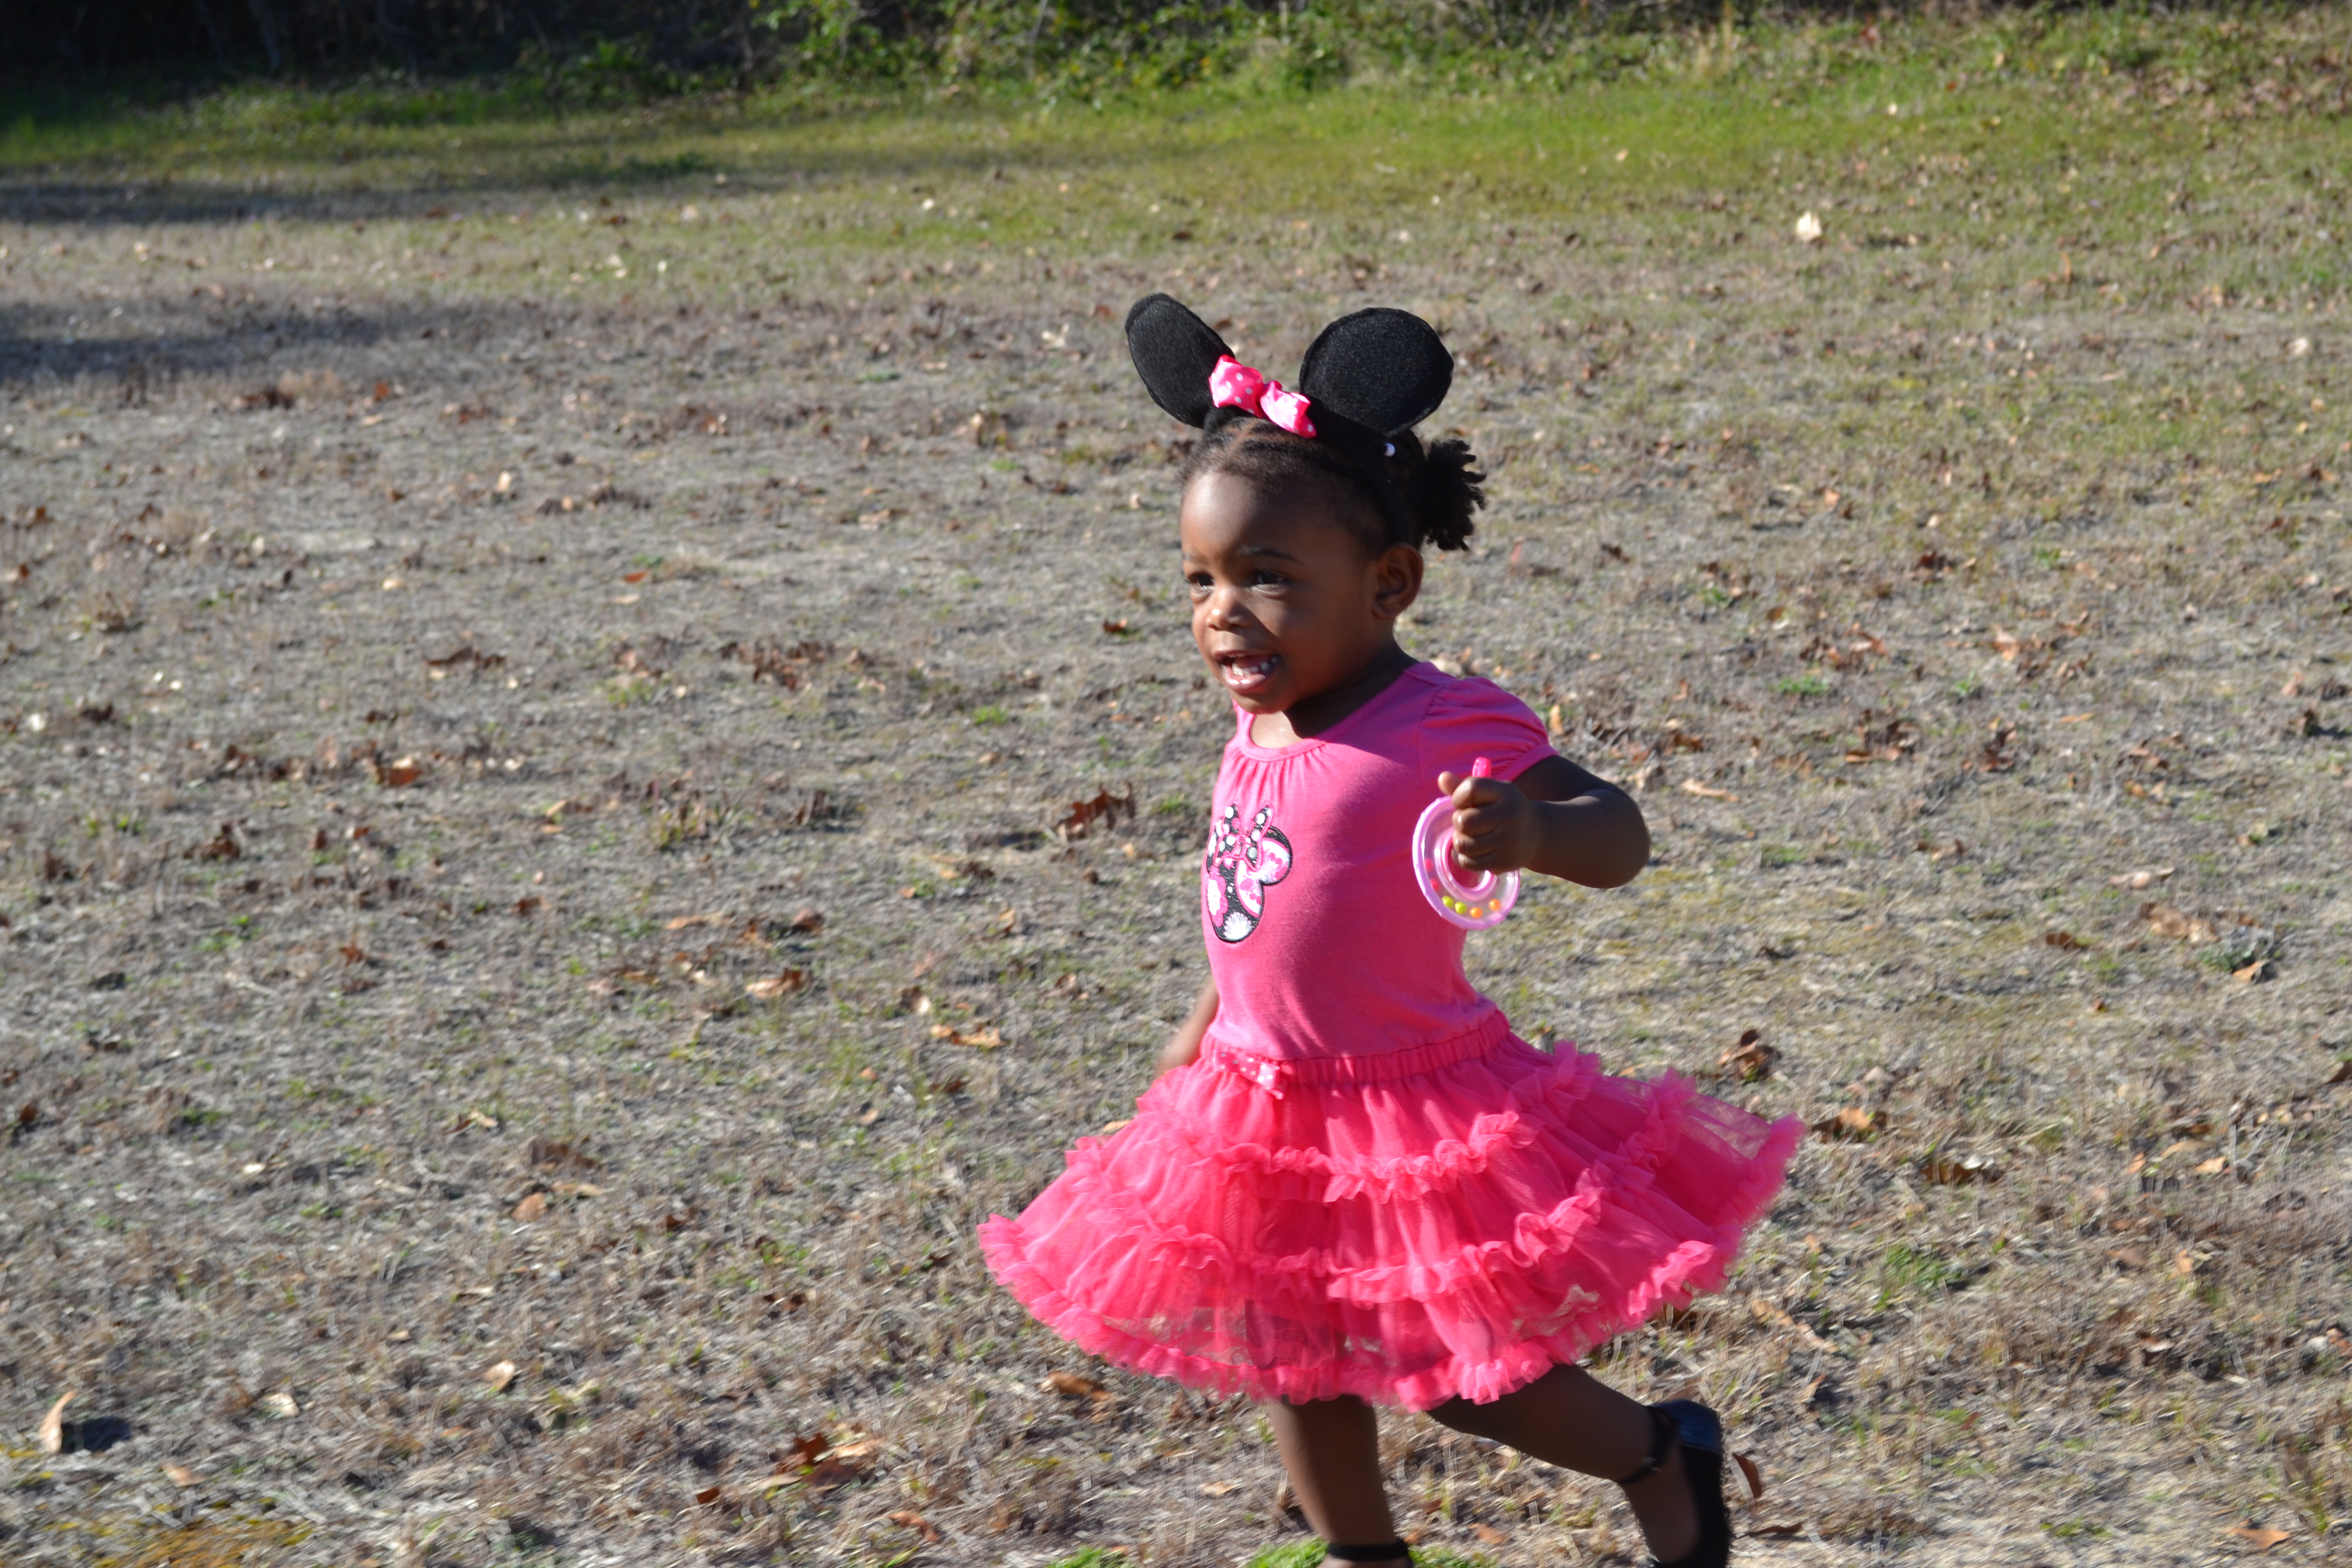
Did I mention she’s turning 2? She loves the outdoors and would not stay still!!!
Thanks for reading! More posts are coming soon.
