This is a post outlining a DIY that took me a little over a month from start to finish. Yes, it’s old, but it’s one of my favorite rooms in the house. This summer, I decided that I was a little tired of the way our office looked. It is really a dining room, but we use it for a work area. It had an old, small chandelier, off-white paint on top, brown paint on the bottom, and painted squares on each side.

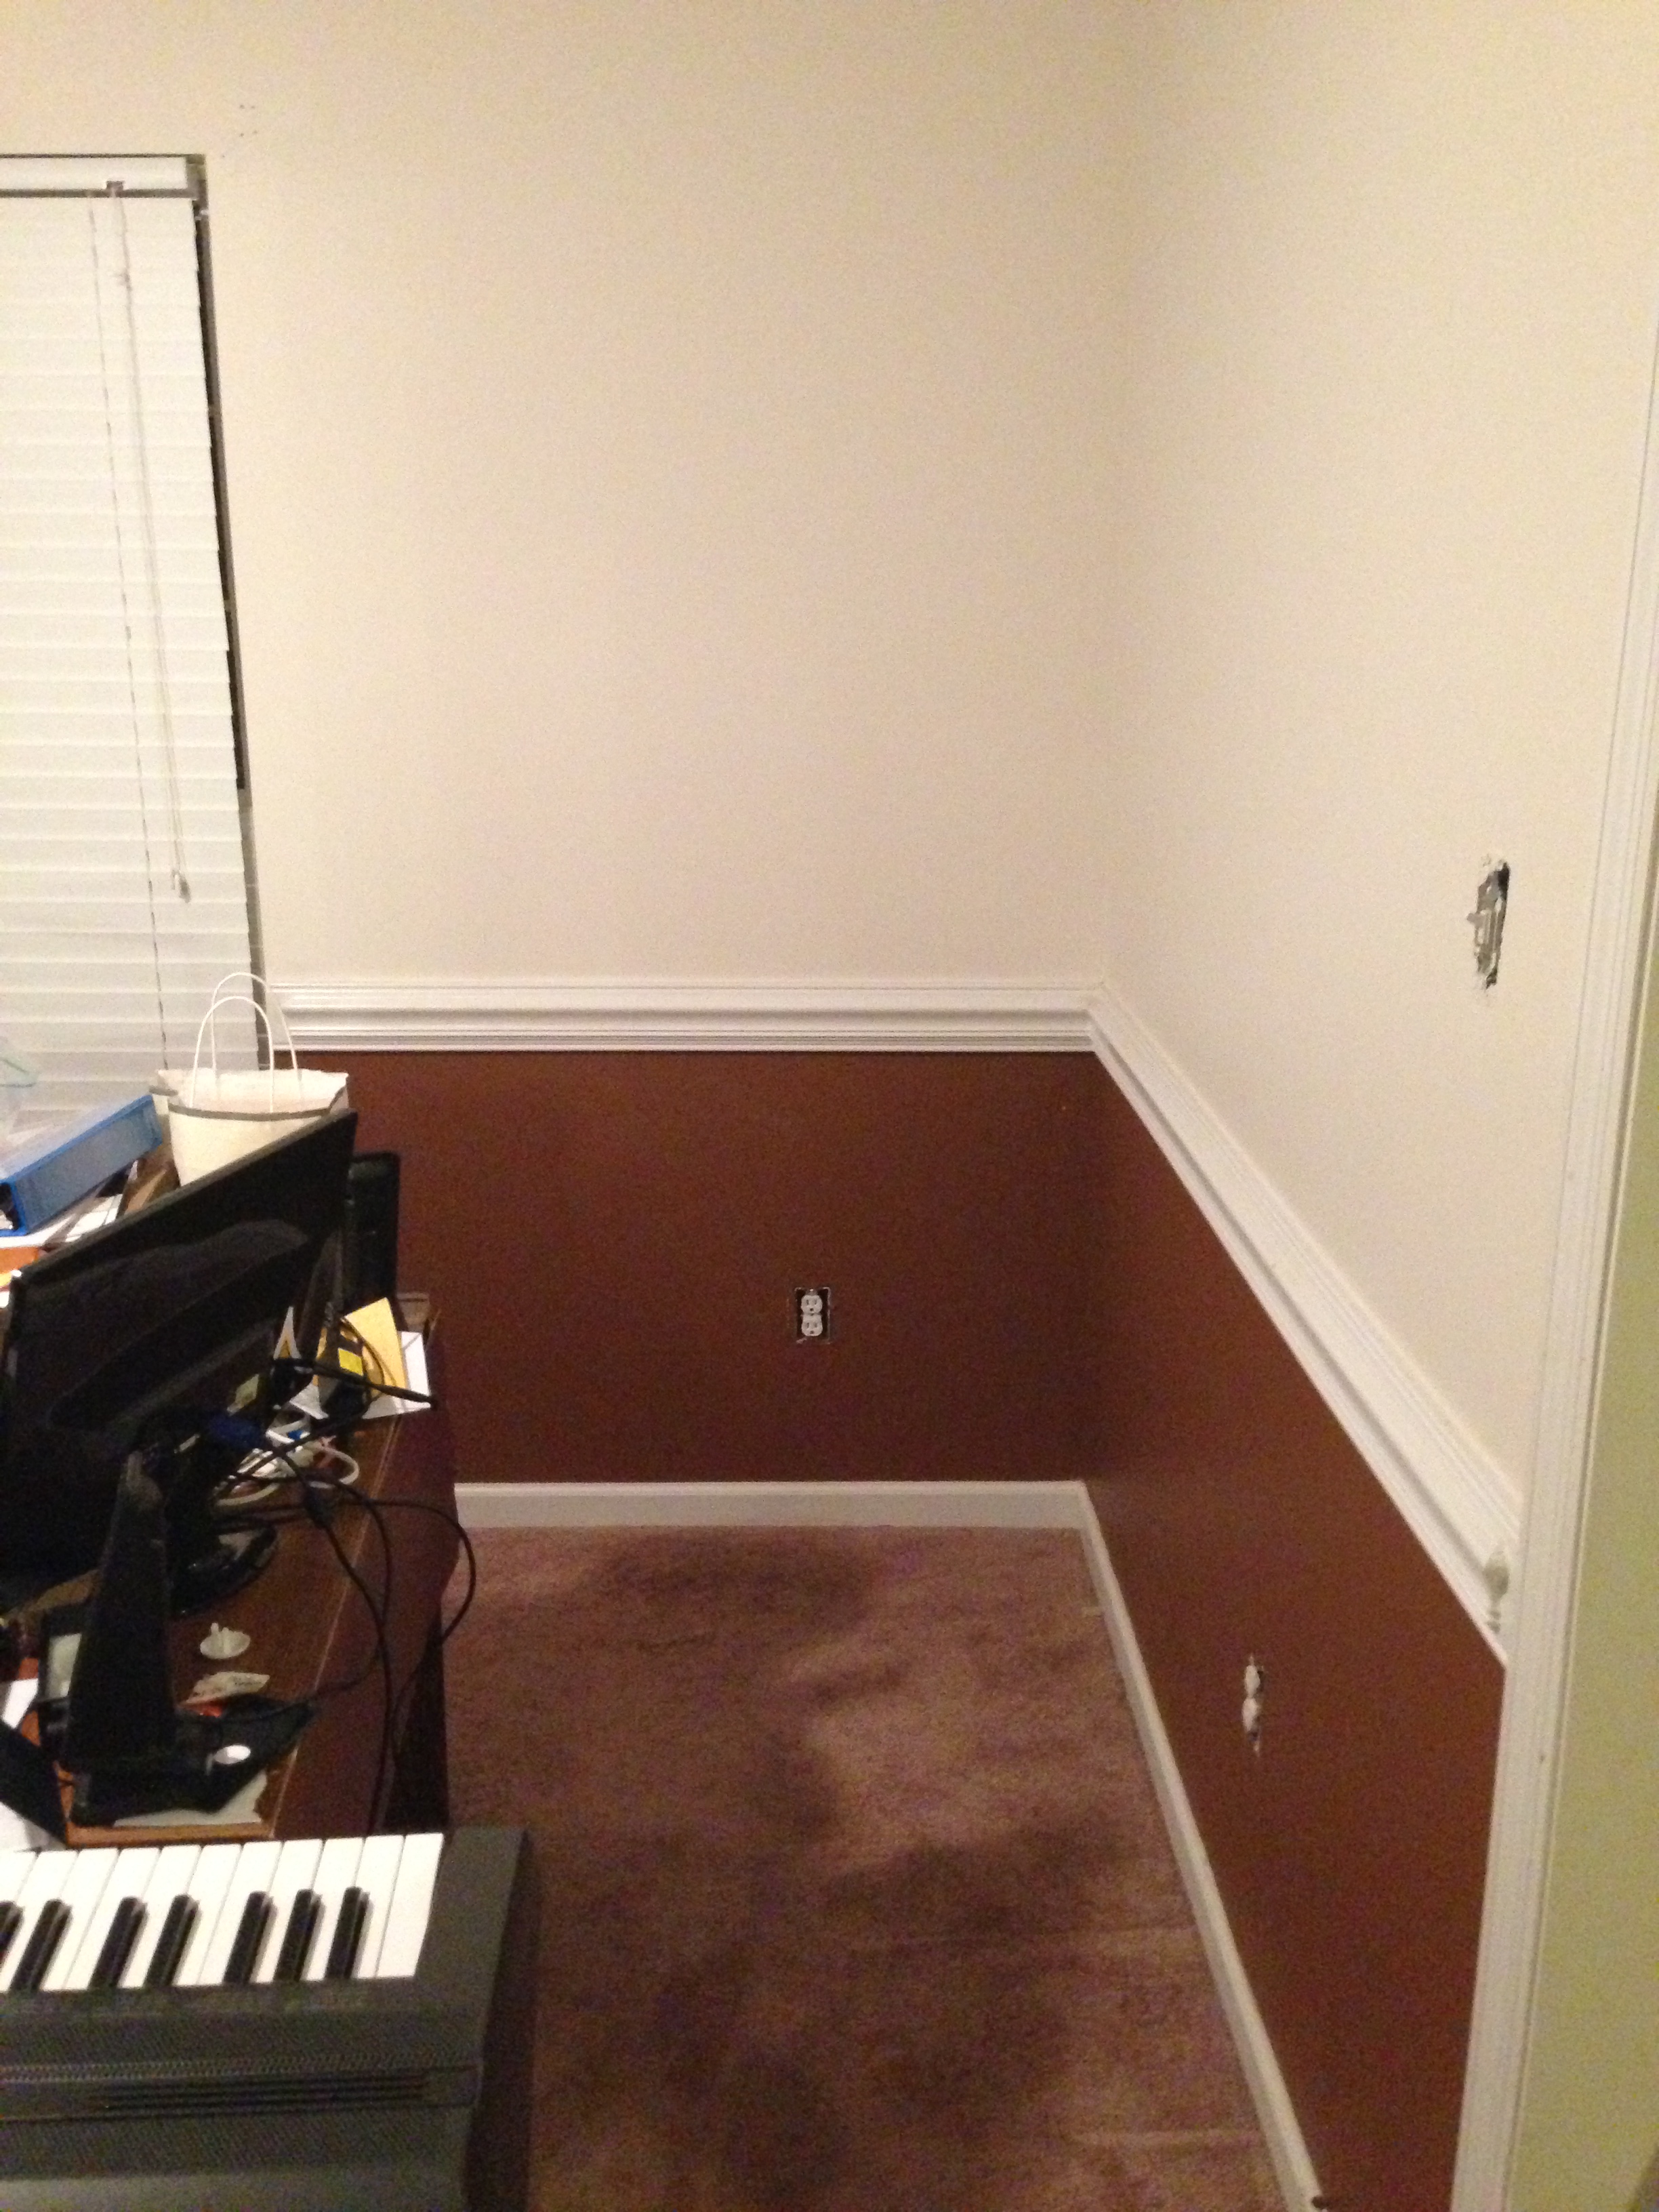
It wasn’t ugly, but it wasn’t reflective of our style, either. We have a brown palette throughout our house, but I wanted something that was different, but wouldn’t clash with the rest of the house either. I ended up selecting white for the bottom, and this color in Olympic One for the top:

I’m in love! I love this blue, and the squares are gone!! This paint has built-in primer, and covers any color in 1-2 coats. It is on the walls of every redone room in my house.
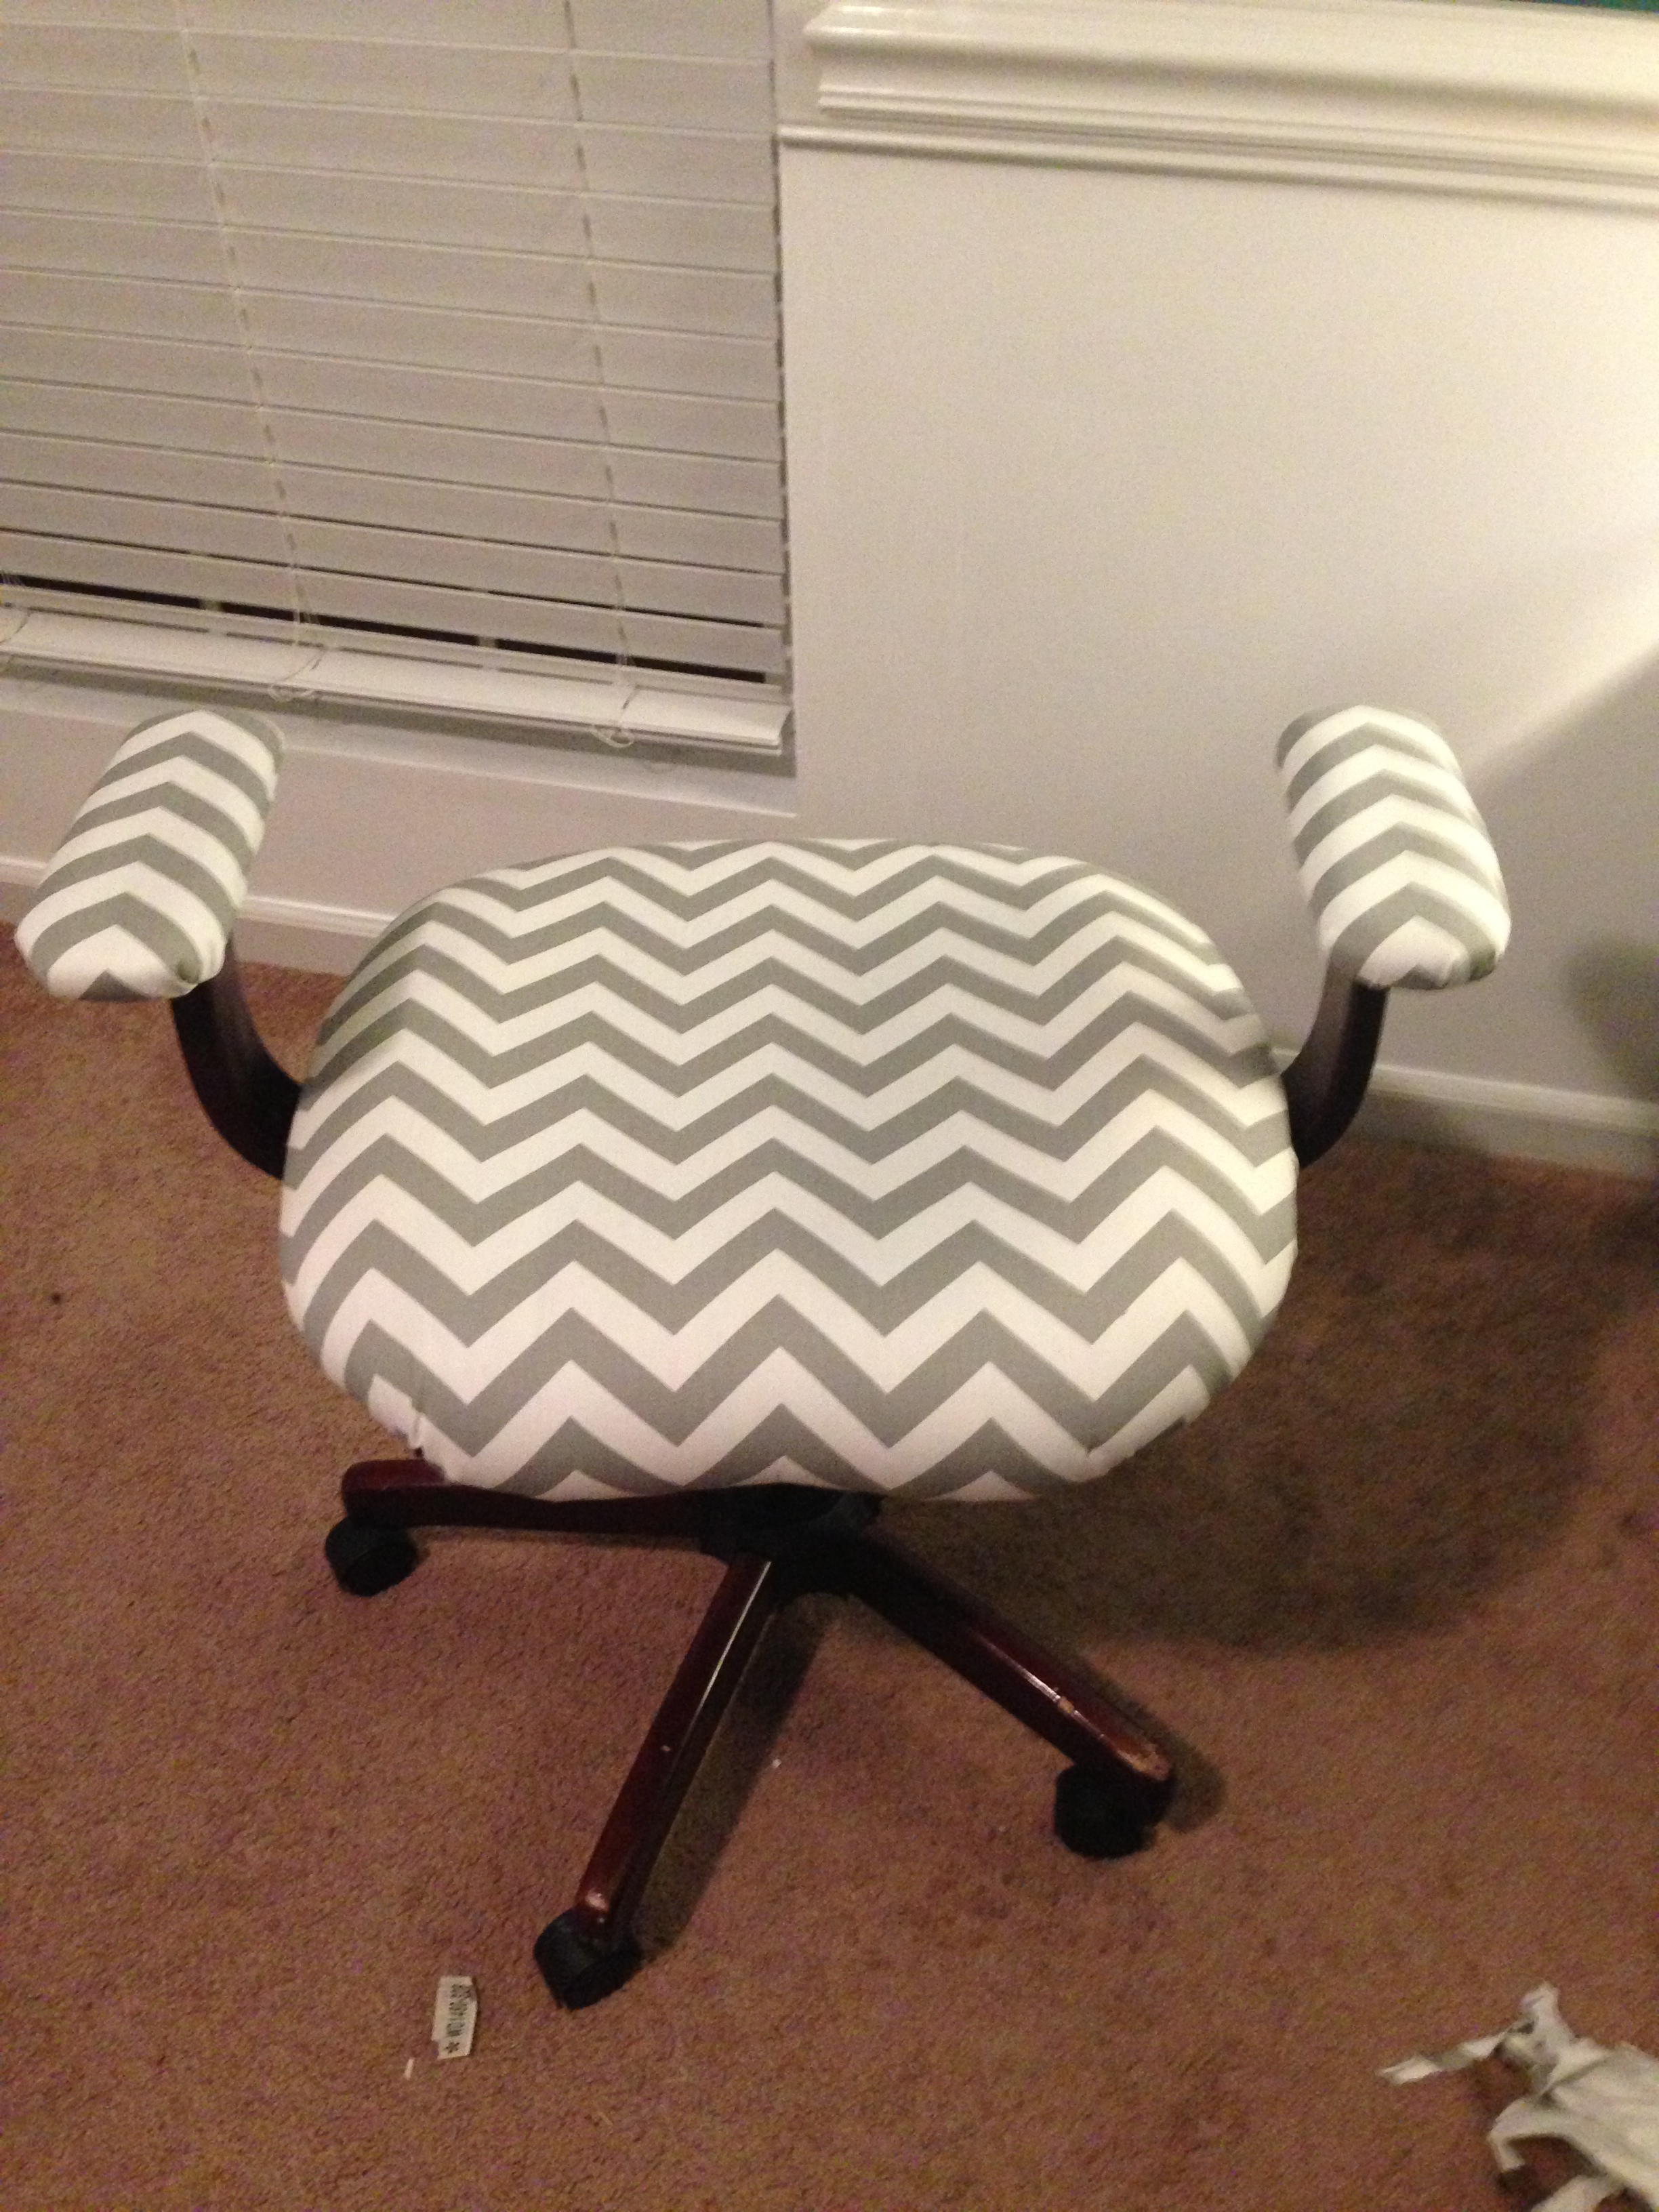
Now that the walls were finished, I decided to reupholster this chair:

I bought this back when Hubby and I were still dating (we’ve been married 4 1/2 years, and were engaged 9 months, so this chair is pretty old-ish). I was doing this on a budget, which did not have room for a new chair. So, I decided I wanted a gray and white chevron to compliment the new colors on the wall. I first ordered chevron fabric in cotton jersey (not sure what I was thinking), but it was definitely not the right fabric for upholstery. I decided on this fabric from Carousel Designs:

It’s beautiful, sturdy, and perfect for covering a chair! I got to work taking the chair apart. It’s funny how much you learn about how an object is assembled when you disassemble it. After I had taken it apart, I measured and cut the pieces and used my new handy dandy staple gun to secure the fabric. Then, it was time to put the chair back together!


I didn’t let Hubby sit on it for a day. I wanted it to stay perfect forever! I eventually gave in. **Insert two out of town trips somewhere in here**
When I got back in town and unpacked, it was time to move on to the curtains. I used more fabric than I anticipated for the chair, so I made curtains by splitting the width of the fabric (about 60″) in half and going from there. Once those were up, I spent about a week or so looking at wall decals on Etsy for a phrase that applied to both Hubby and I. I settled on “Dreams don’t work unless you do”. We both thought it was perfect! Once I got that on the wall, we were good to go! Oh, and somewhere in there, I found matching frames for our degrees, and we got a very simple desk from Ikea. Hubby is a programmer, so the drawers and shelves that make the ordinary person happy do not impress him. He wanted lots of space and room, and I found him the perfect Ikea desk for a great price!
Here are the final pictures:


Other finishing touches I didn’t mention: Hubby installed a new ceiling fan, and I found him a dry erase board for writing down his work projects. I also found a cute desk lamp at Target.
Thanks for checking out my post! Hopefully you got a little inspiration from this room that was so fun to put together! More DIY goodness coming your way soon!
