It’s a bird…it’s a plane…it’s a…superhero wreath?
Okay, yes it’s the middle of summer, but I’m preparing for a mission trip that’s coming in a few weeks. That means it’s time to comb the internet (namely Pinterest) and find organization/decoration inspiration for my classroom. I’m using a superhero theme and have found tons of ideas. What better way to kick off my decorating than to make a wreath? It’s the first thing visitors to my room will see.
First, a pic of my JoAnn haul. I found supplies for my wreath and then some for under $20.

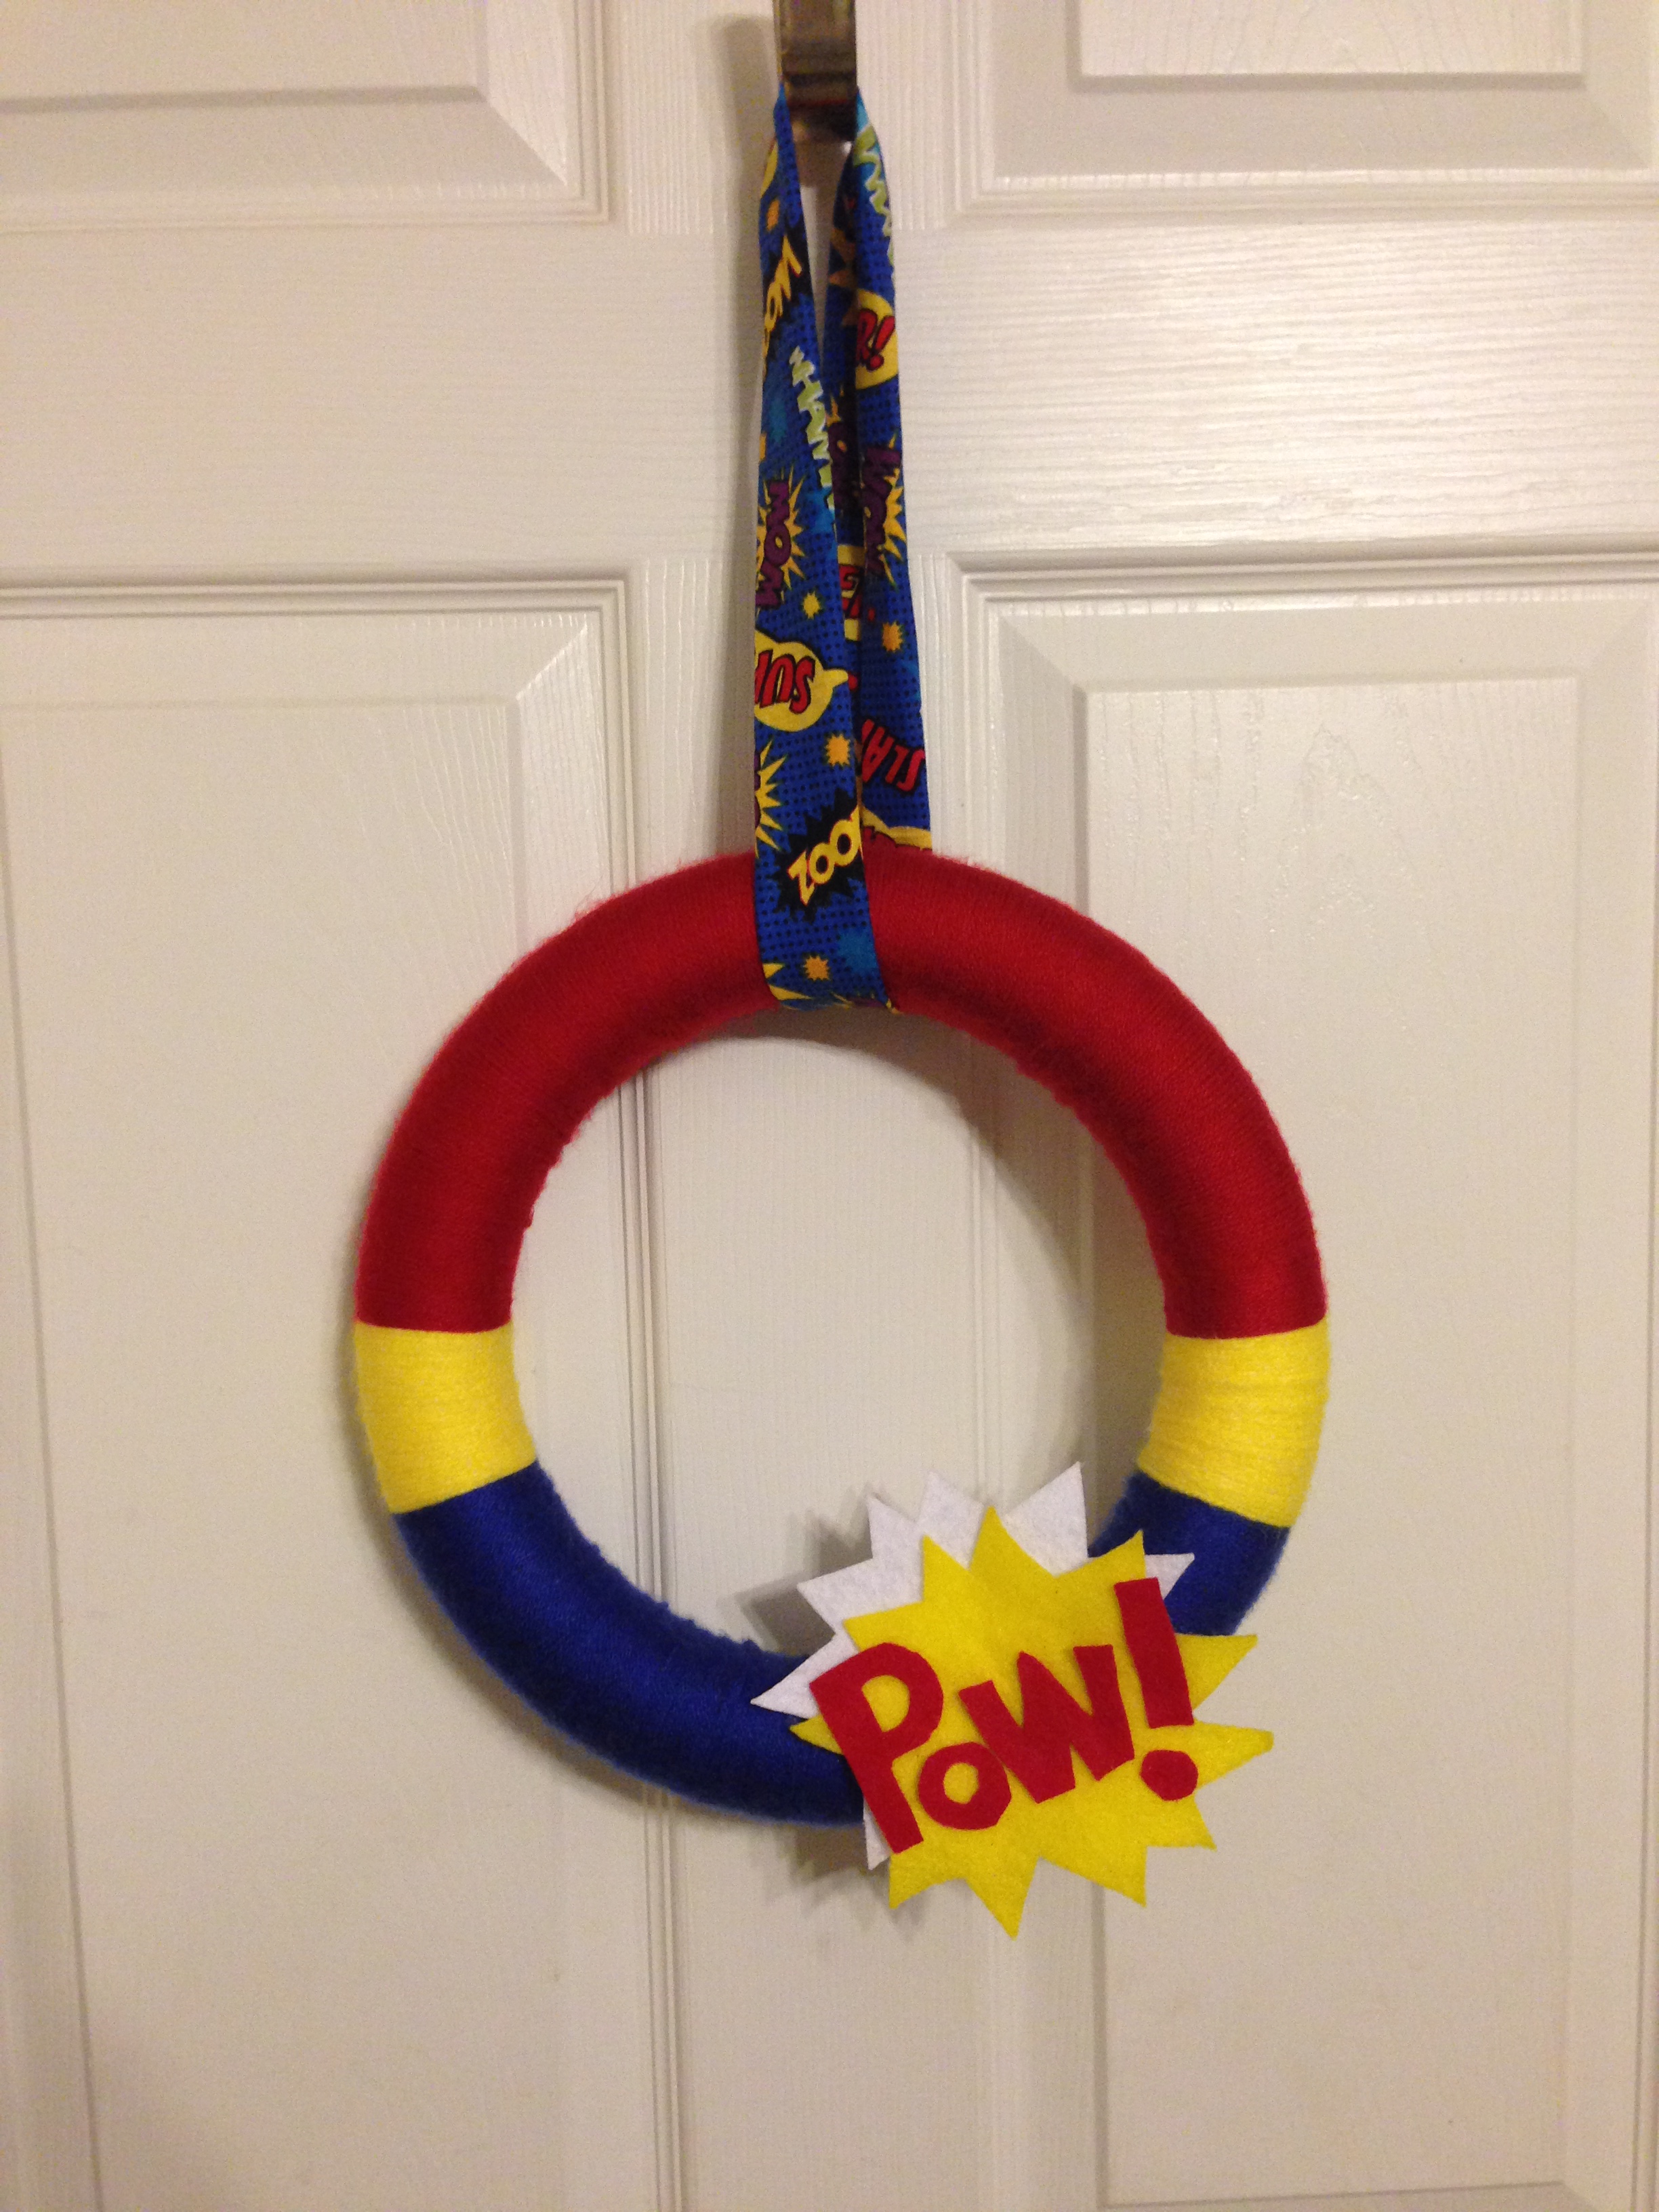
Now, on to the actual DIY portion. First, I took the foam wreath form and marked the sides where I wanted the top color to (approximately) begin and end:

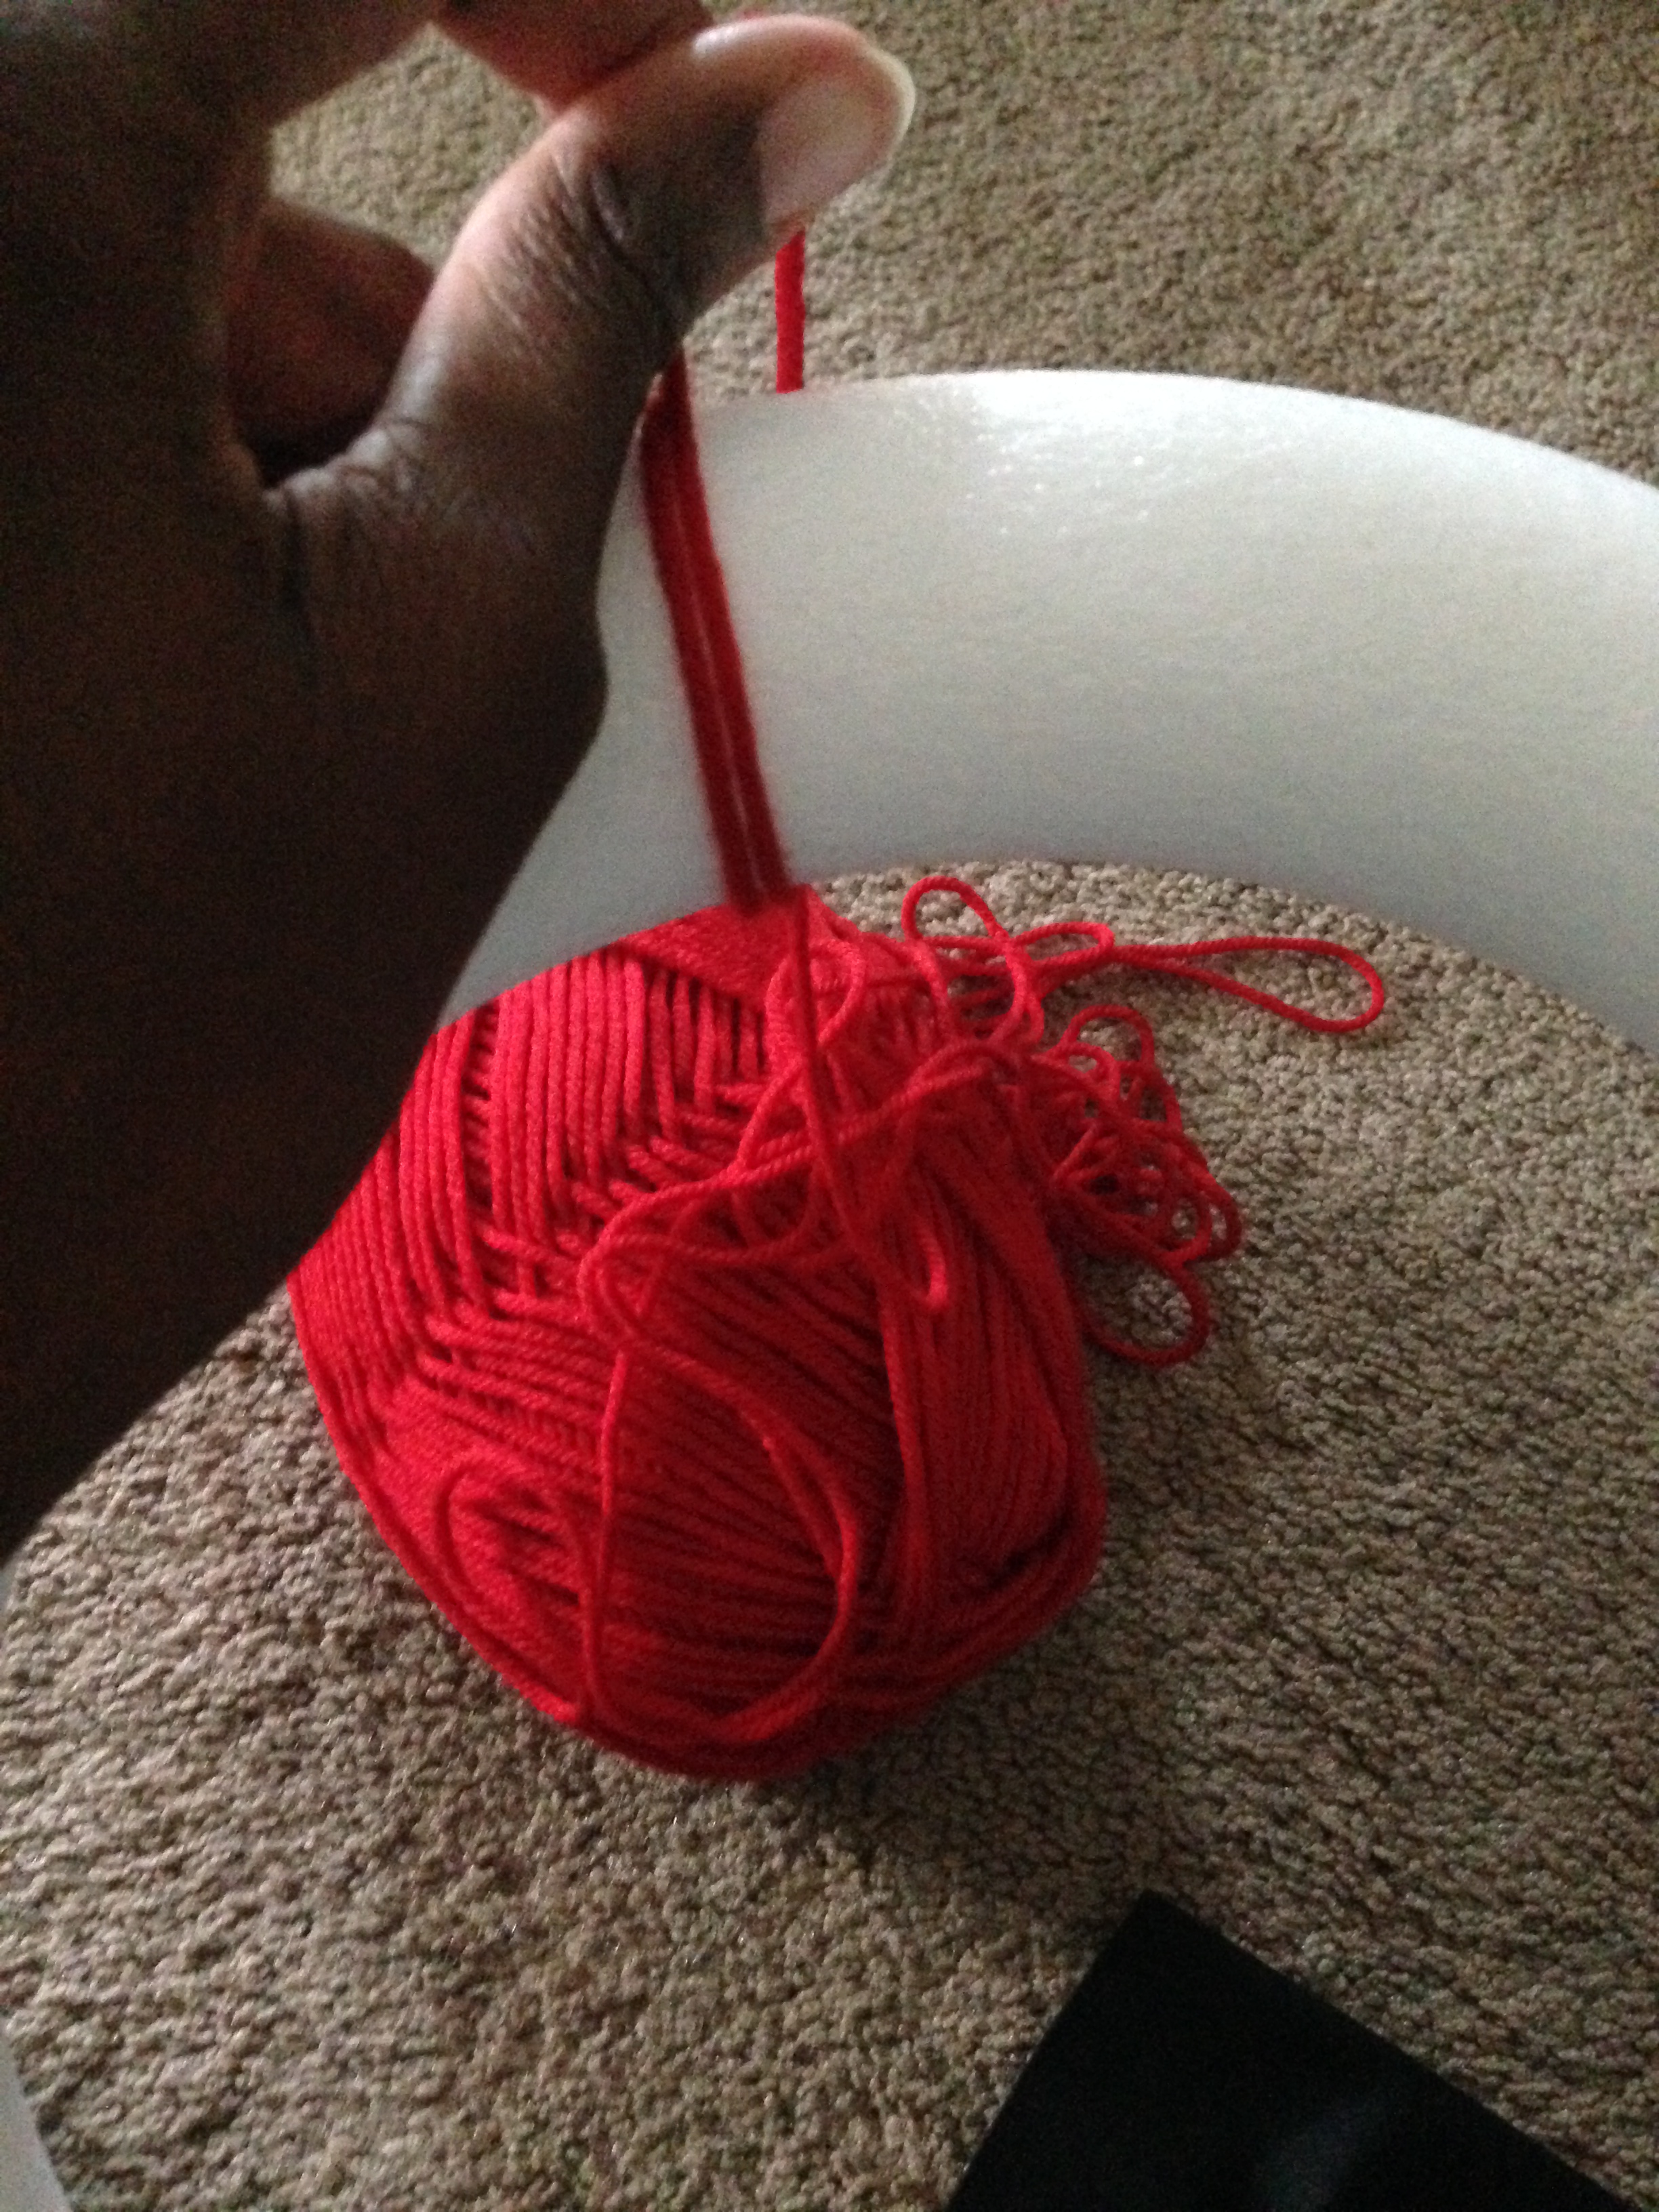
Next, I took the red and secured the end with a dot of hot glue.

Then, I wrapped, wrapped, and wrapped some more. It is important to make sure the layers don’t overlap so it’s as smooth as possible. I wasn’t aiming for perfection, but still wanted it to be neat.

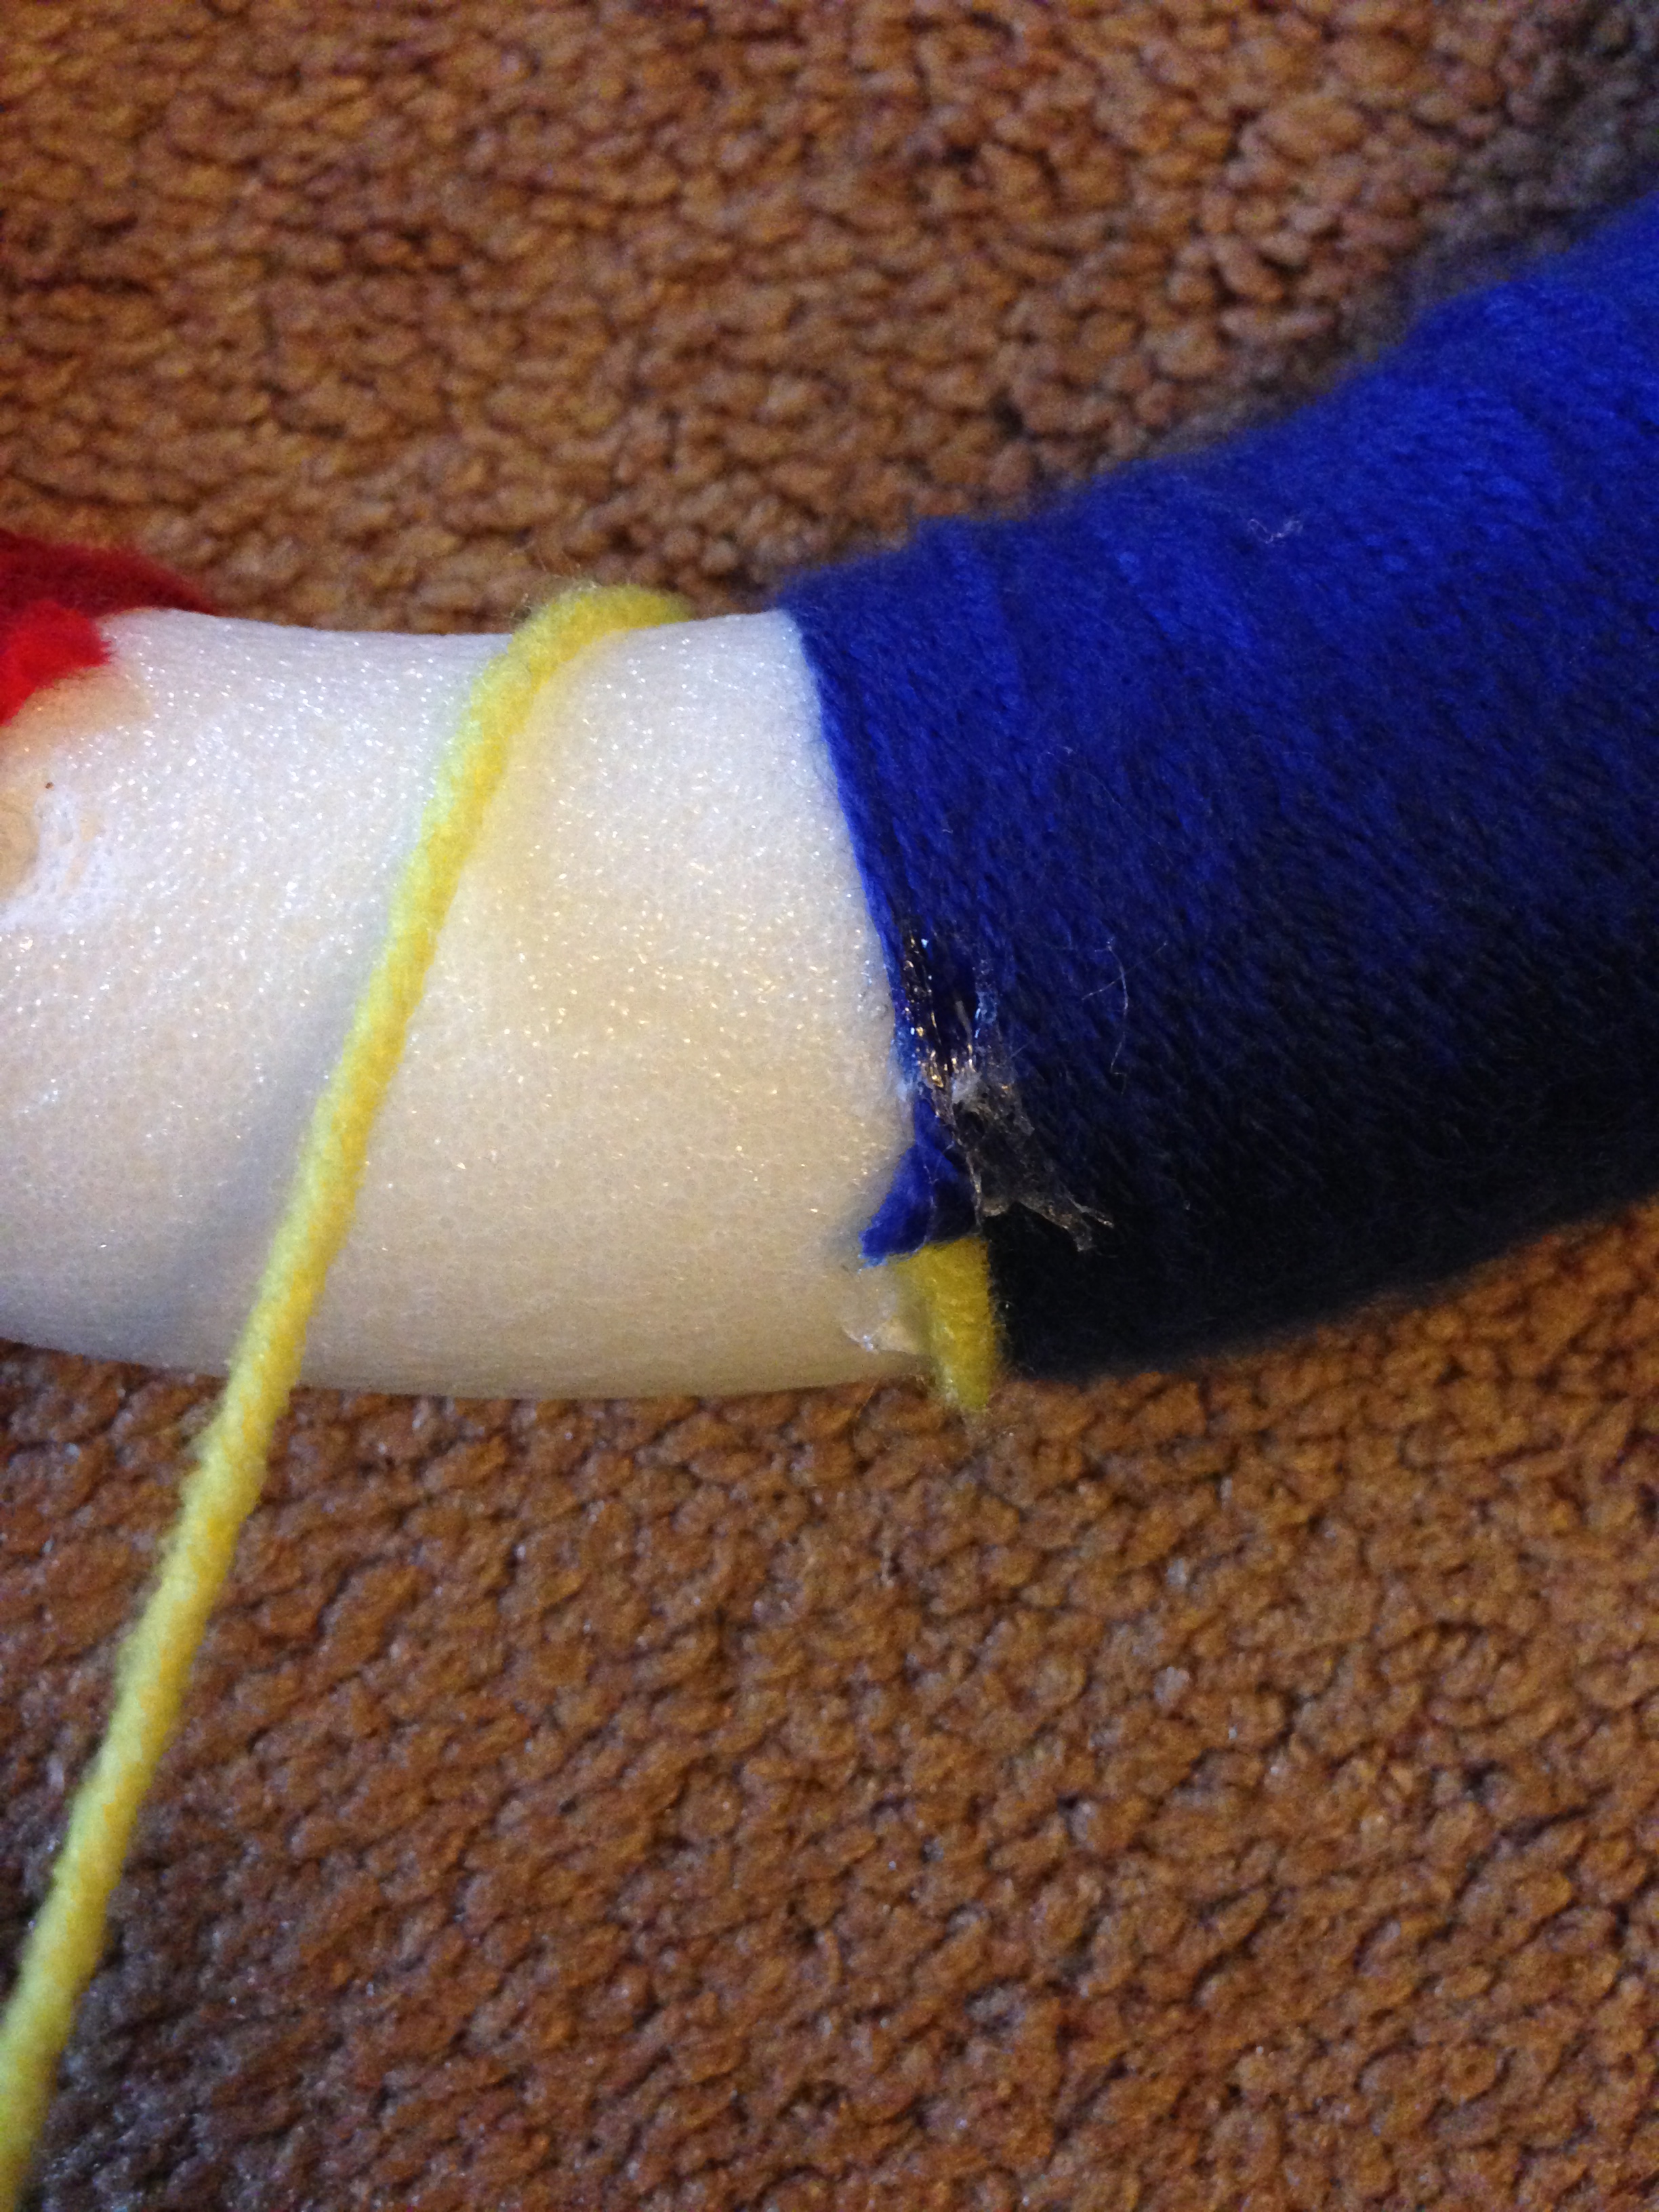
When the red was done, I added a small section of yellow. I secured the end again with glue right where the section of red ended, making sure the glue is on the backside of the wreath.


Once I was satisfied with the amount of yellow, I moved on to the blue:


And finished with the last section of yellow.
On to the “Pow!” graphic. I used sheets of felt for this.

I cut the yellow and white together so I could get the material closer to the size I wanted. I was aiming for an oval, but it came out egg-shaped. (You win some, you lose some.)
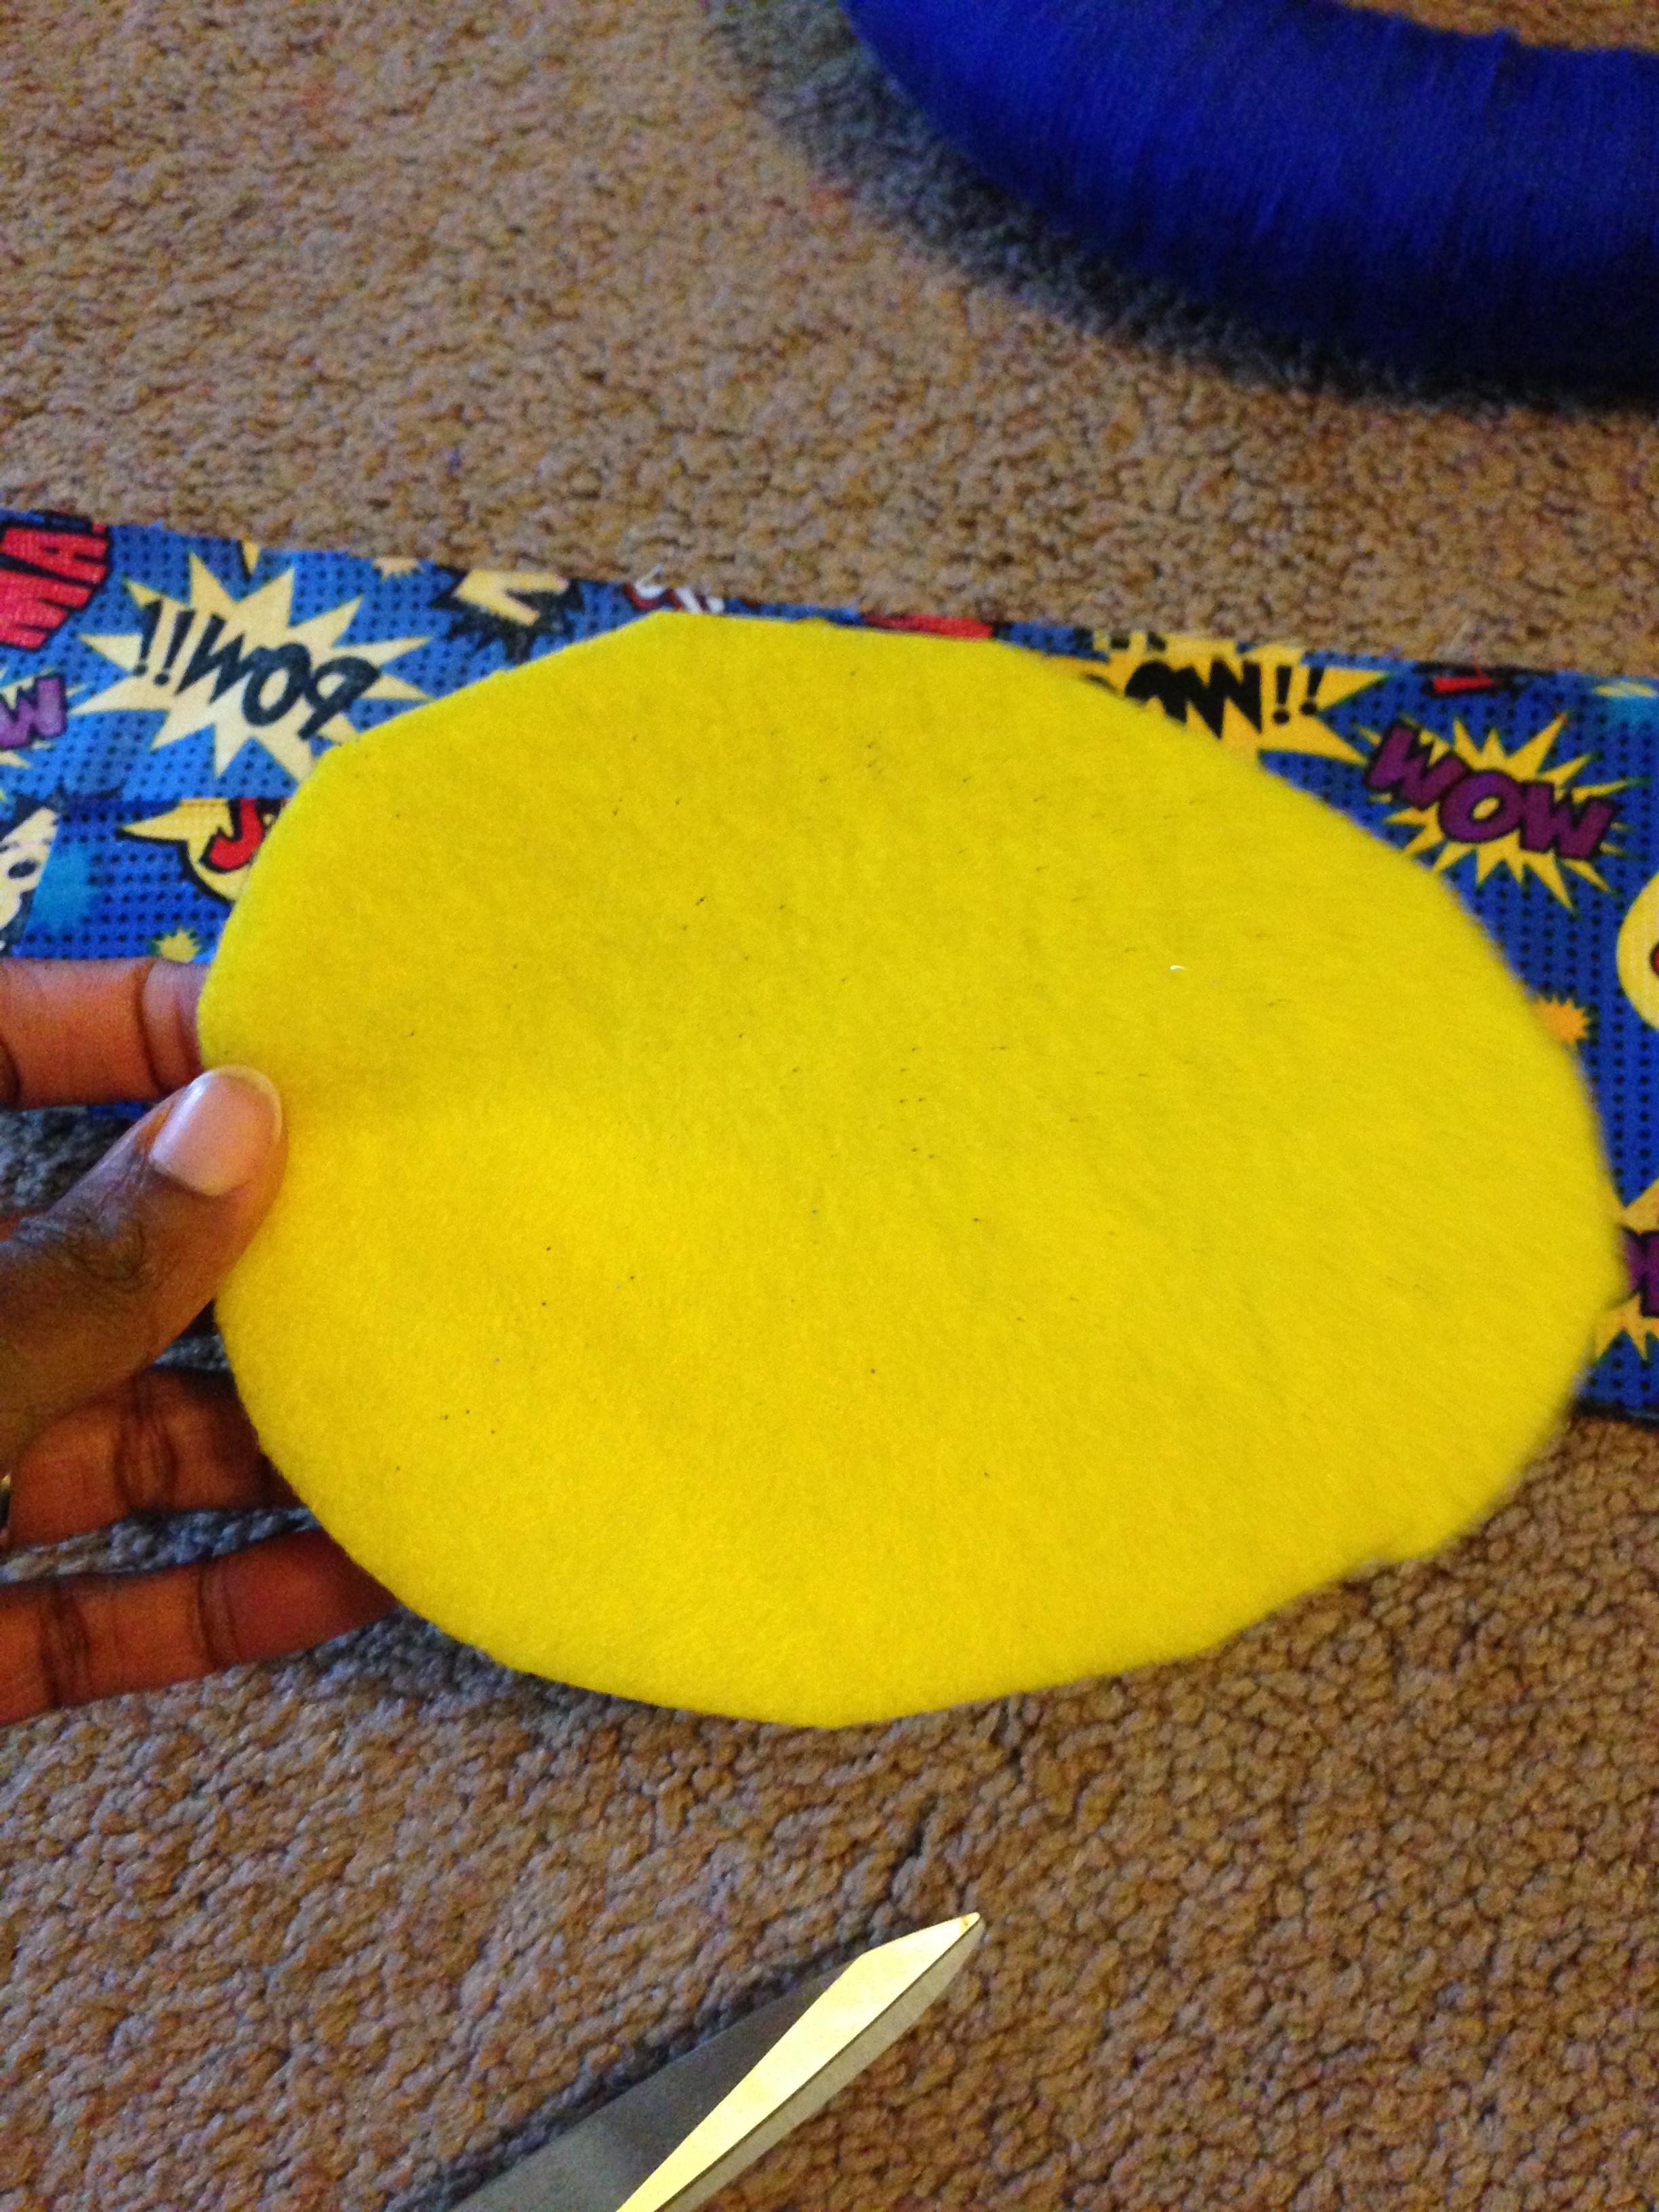
Using the shapes found in my fabric as a guide, I cut the yellow and white felt freehand until I got the shape I wanted. Then, I cut out the red letters freehand:

I thought the “W” was a little overpowering, so I cut it down a little, cut holes in the “P” and “o”, and added an exclamation mark.

I hot glued the yellow shape to the white, placed the red letters on top, and glued in place as well. Then, I glued the whole assembled piece to the bottom right side of the yarn wreath.

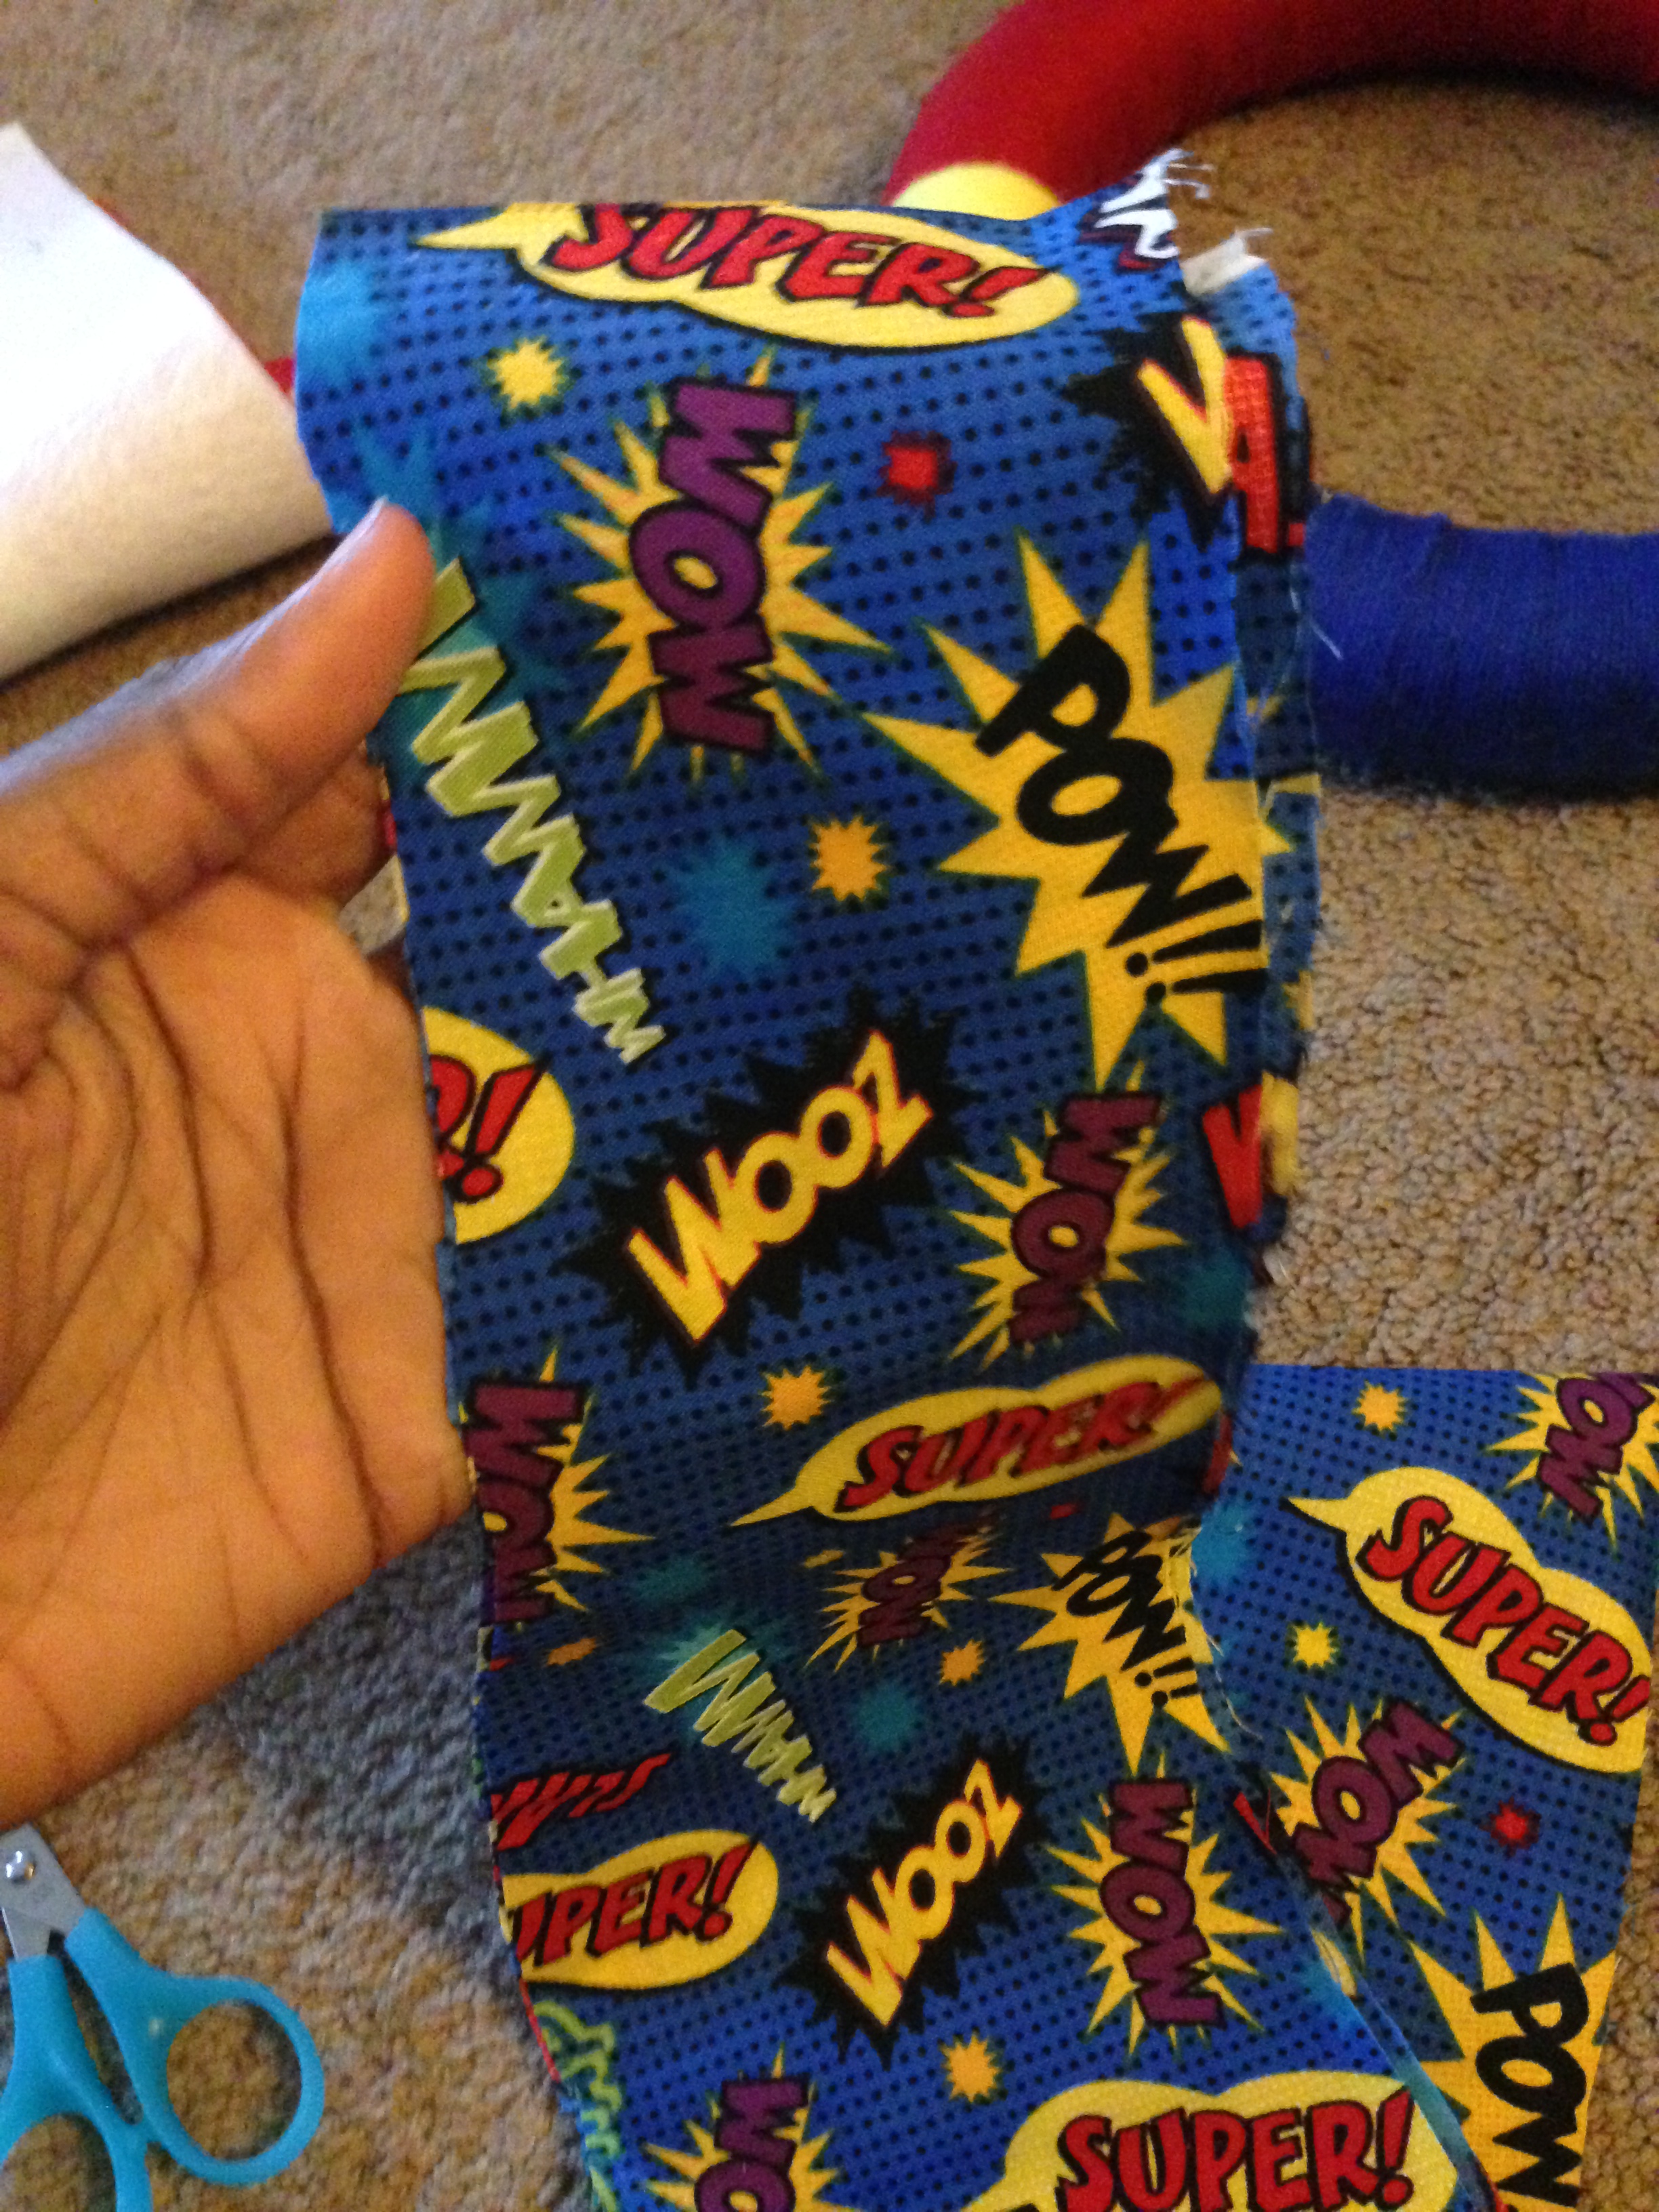
Almost done! I could have hung it using ribbon, but what better way to tie in the fabric I’m going to use inside than to include it on the wreath? I cut a strip of fabric:
I folded it length-wise and sewed it into a tube. It literally took no more than two minutes. (It was time to put baby girl to bed, and I promised Hubby it would take no longer to sew this than it took for him to get her pajamas on. I was right.) I turned the tube inside out, placed it around the wreath and secured it with a safety pin until I can get it on my door to figure out exactly how long it needs to be.
That’s it! My superhero wreath, and my reminder that summer is speeding along! *insert sad violins here*
As always, I hope you enjoyed the post, and maybe even learned a new trick. If you liked what you read, please share, and be sure to check out my other DIY posts. Thanks for reading!
