Over the past few weeks, I have been on a Pinterest overhaul. I typically pin a lot and only complete a small fraction of those projects. I came across a pin that led me to a blog by the name of “It’s Always Autumn”. This particular post focused on a Flutter Sleeve Dress.
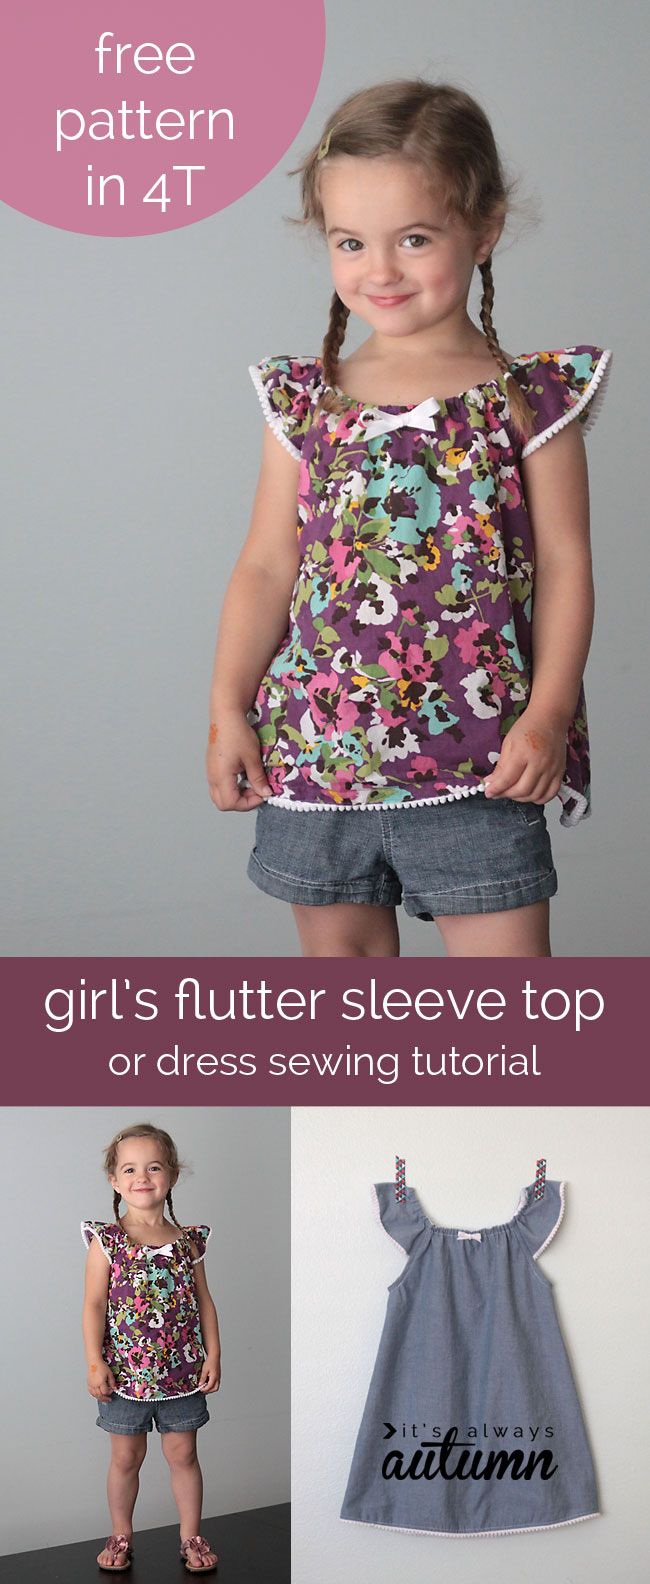
It included a PDF pattern that was only available in 4T, which is perfect for my little lady. She’s in 3T, but we’ve started getting some items in 4T for her to grow into.
Okay, let’s get down to the construction.
*Note: I used the blog mentioned earlier primarily for the pattern. I changed several things about the construction of the piece, the biggest change being the fact that I omitted the bias tape.*
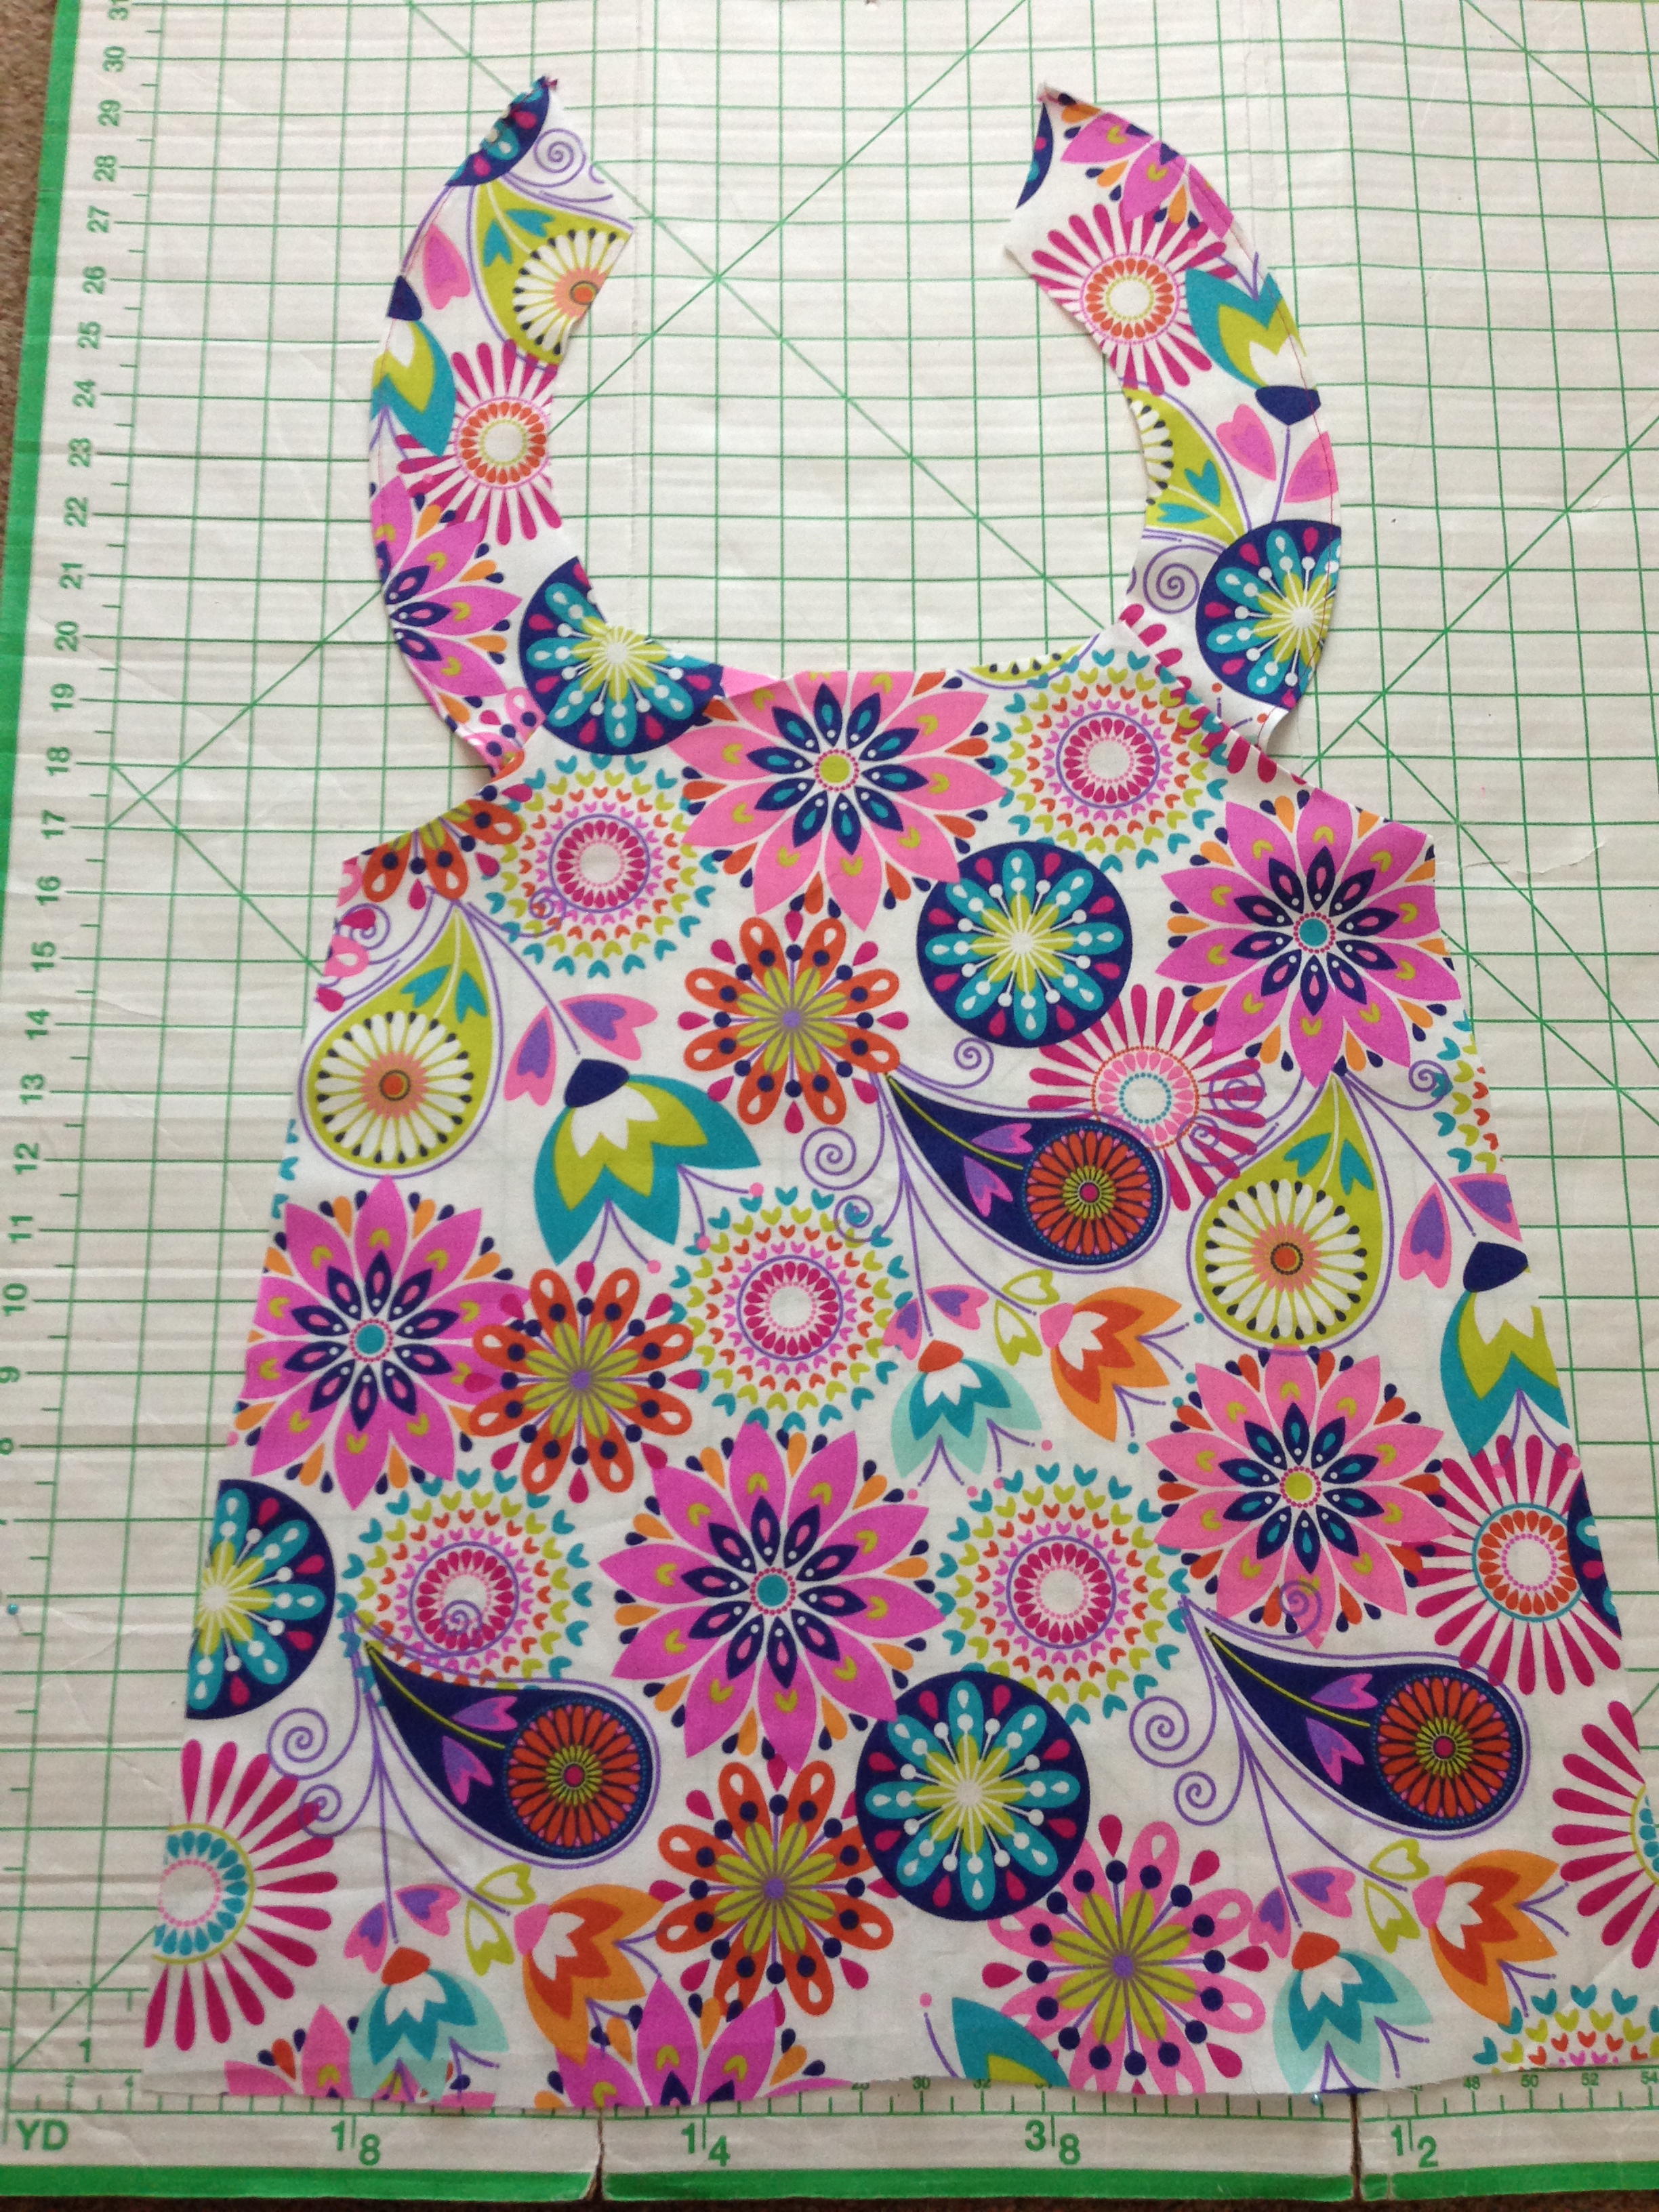
I found some adorable fabric at Jo-Ann Fabric and Craft, went straight home and started cutting! There are four pattern pieces. (Not pictured is the sleeve/strap piece). The three pieces pictured form the body of the dress.

Here is the dress all cut out:

I started construction by folding and pressing the edges of what will be the armholes.

I then folded and pressed the outside edges of the sleeves.

Then, I stitched around the edges using hot pink thread.

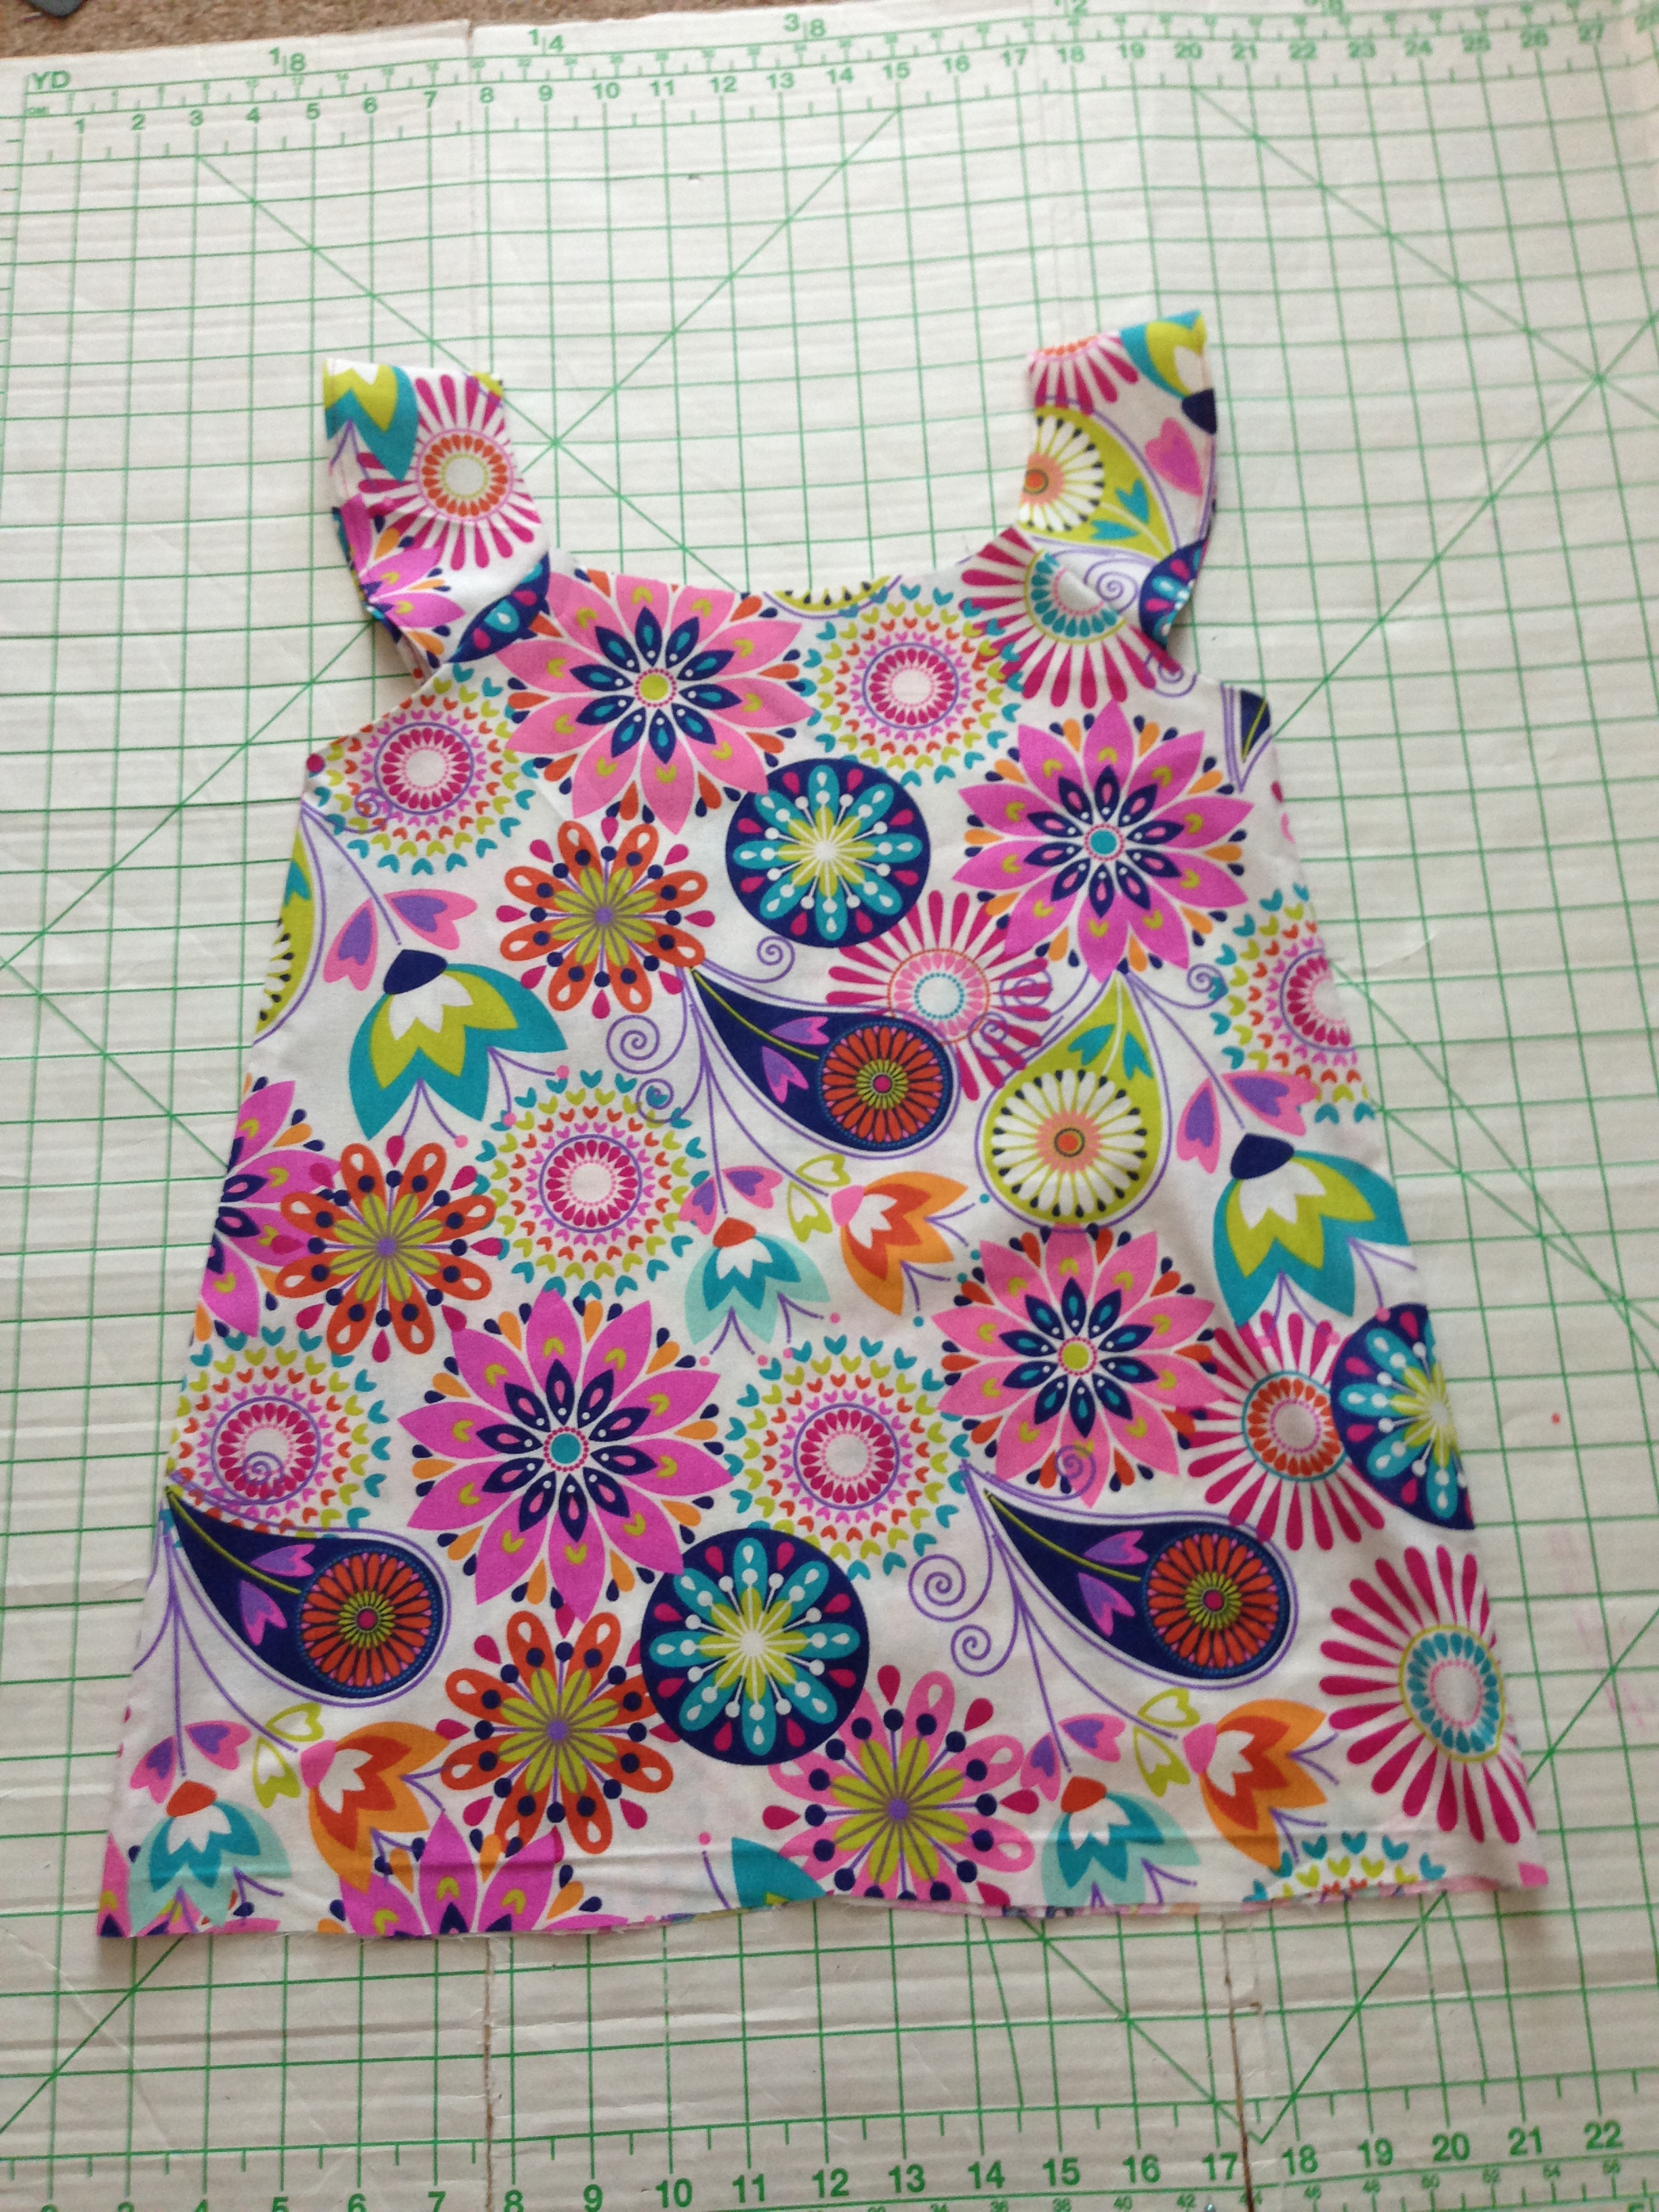
I laid out each sleeve on top of the dress as pictured:

I then stitched the sleeve onto the dress and continued down the side of the armhole.

Next, folded the armhole so the stitching was on the inside and pressed the edges.

Here is one complete side finished.
Once I attached the sleeves to the other side, I stitched the front and back together. (I like to finish my seams with a serger, but since I didn’t have enough spools of thread for the serger, I decided to zigzag the edge. I will probably go back and serge it later.

Almost done! Front and back sewn together:
I created an elastic casing along the top (about 3/4 inch) by folding, pressing, and stitching. I use this handy elastic puller for casings that aren’t too small. Safety pins will also work.
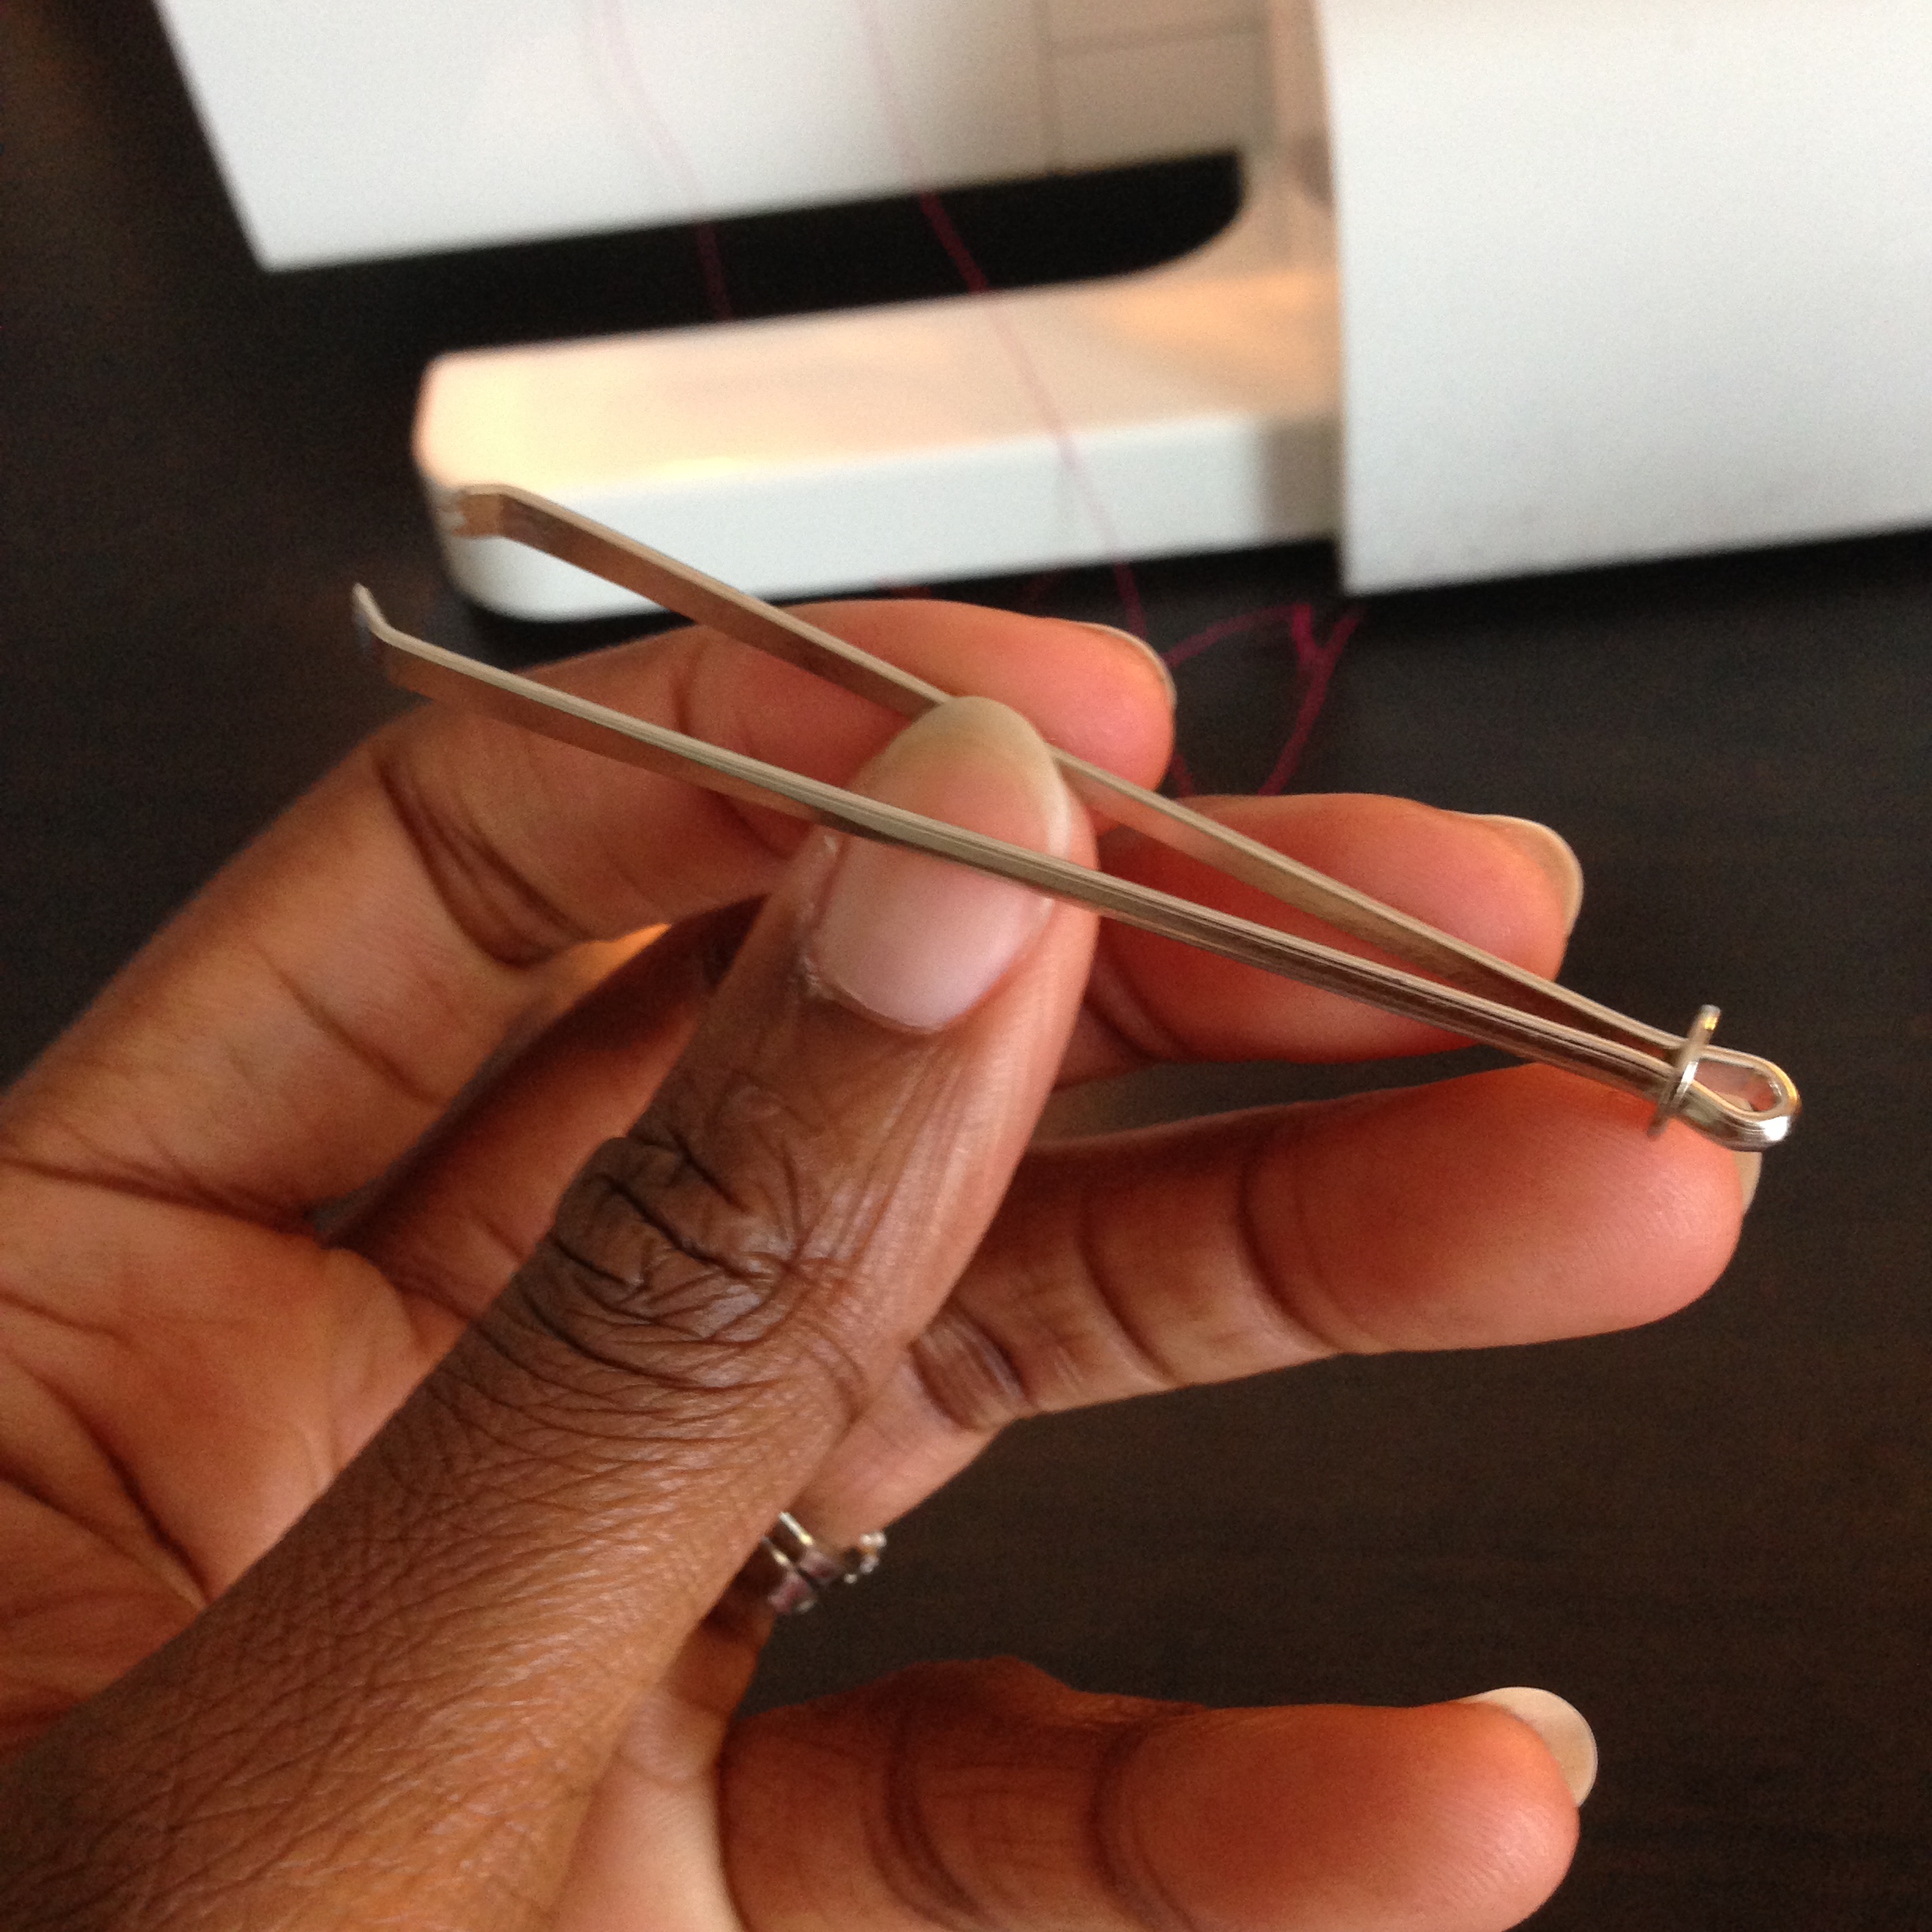

I pulled the elastic through and stitched the hole closed.

I added the trim to the bottom and I was finished!

It was so simple to create that I made the shirt version the next day! For the shirt, I included trim on the sleeves as well.
The dress and shirt side by side:
I will definitely make more of these, and plan to experiment with the sleeve length when it gets cooler. I don’t see it being difficult to size up as my daughter grows, so I plan to reference this pattern for a while.
Thanks for reading! Let me know what you think!
